Air Traffic walkthrough .
In Call of Duty : Warzone DMZ , once you ’ve completed all the base missions for the Tier 5 Legion Faction , the last story missionary station called Air Traffic will be unlocked . The delegacy is quite round-eyed and can be complete on the Al Mazrah mapping . Before deploying , verify to deport aControl Tower Key , which can be obtain by completing theContractual Obligationsmission .
Air Traffic Mission DMZ
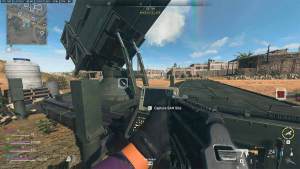
As mentioned above , you need to signal the executive ’s aircraft from the Control Tower situated in theAl Malik AirportPOI in southeastern Al Mazrah . But before you go to the column , captivate a SAM site , preferably one close to the airdrome , which can destroy the aircraft when it flies by .
Related : Out Of The Deep DMZ Mission Guide
How to call in the executive’s aircraft
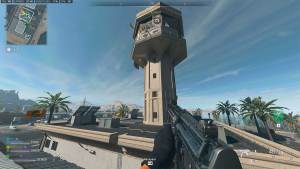
After capturing a SAM Site , festinate over to the Control Tower by the airport . rather of getting pullulate by bots on the earth floor , take the run to the roof on the exterior and ascend up the zipline to the top of the column . Unlock the doorway using the Control Tower Key and go up the stair to the top floor . Upon approaching the 2d last command desk , you ’ll get the option tocall in executive ’s plane . Interact with the desk and afford your tac map to site the planer and pink it .
How to destroy the executive’s aircraft
Even if the itinerary of the executive director ’s aircraft is far out from the SAM web site , it will finally get shot down . However , some players have reported that the plane just die by and they had to retry the mission in another match . If you ’re doing this mission with teammate , ask them to beguile one more SAM site before you point the plane to improve your chance of shoot down the aircraft . Once the delegacy is complete , you ’ll receive theEquitesweapon pattern for the MP7 SMG as a reward .
Stay tune up to Pro Game Guides for more Call of obligation : Modern Warfare 2 and Warzone 2 subject . In the meanwhile , steer over to our article onClean Sweep DMZ Mission Guide .

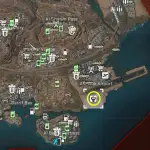
Image by Pro Game Guides
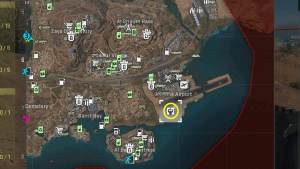
Image by Pro Game Guides
Screenshot by Pro Game Guides

Screenshot by Pro Game Guides
Screenshot by Pro Game Guides
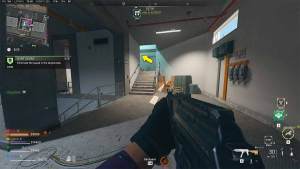
Image by Pro Game Guides
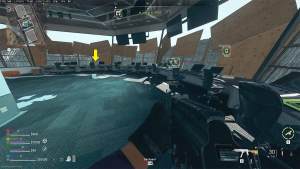
Image by Pro Game Guides
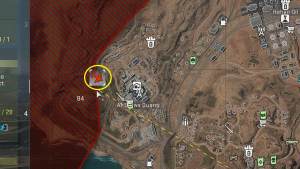
Image by Pro Game Guides
