Here ’s where to get all the Collection Chests in the Manor Cape region !
There are Collection Chests scattered all over the map in Hogwarts Legacy , and these chests contain some amazing interior decoration items for your Room of Requirement , traits for your gear , and wand appearance . Manor Cape is one of the most southerly region of the World Map in Hogwarts Legacy , and it bear seven of these Collection Chests filled with some more goodies to loot . Here is where you’re able to collect all of them .
All Manor Cape Collection Chest Locations in Hogwarts Legacy
The Manor Cape region Collection Chests are spread around various location in that arena . A majority of them are correct in the main hamlet of Bainsburgh , and the rest are in bandit camps and a dungeon . You will need to have at least a level two Alohomora to get all of these , so be sure to start theMan Behind the Moon questand advance your spell ahead of time .
All Bainsburgh Collection Chest Locations in Hogwarts Legacy
Bainsburgh holds four of the total seven chests for Manor Cape , and you may find them in various houses around the hamlet . First , take the Bainsburgh Floo Flame to get started , and then head to the following locations :
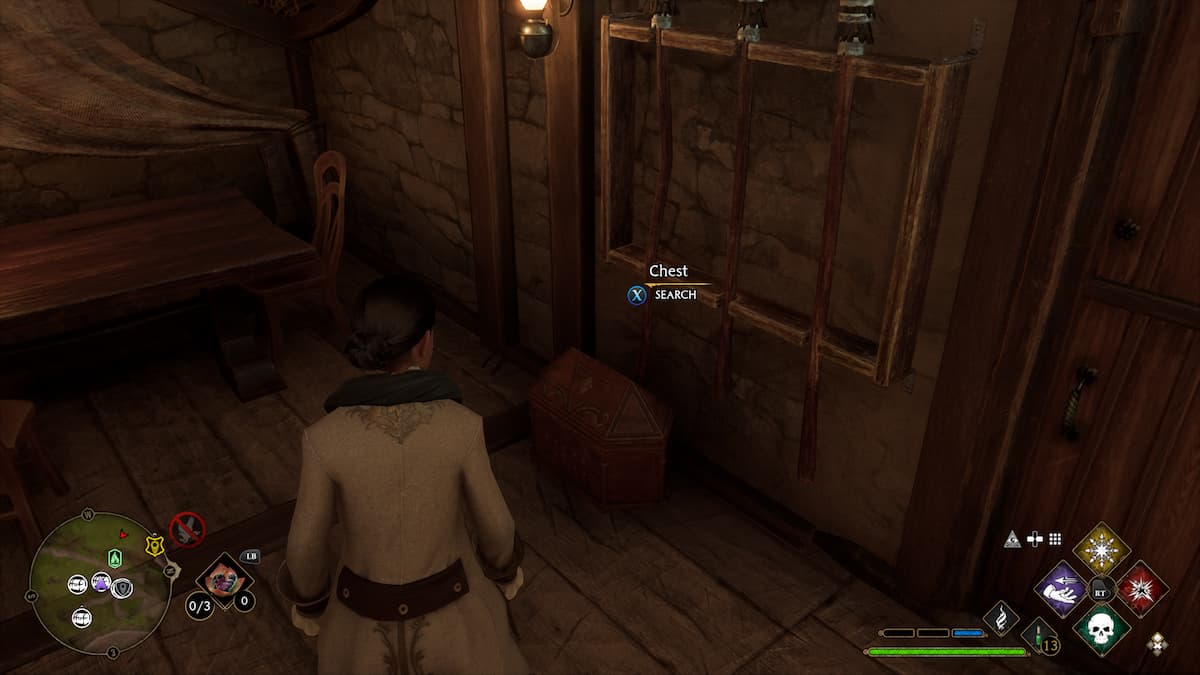
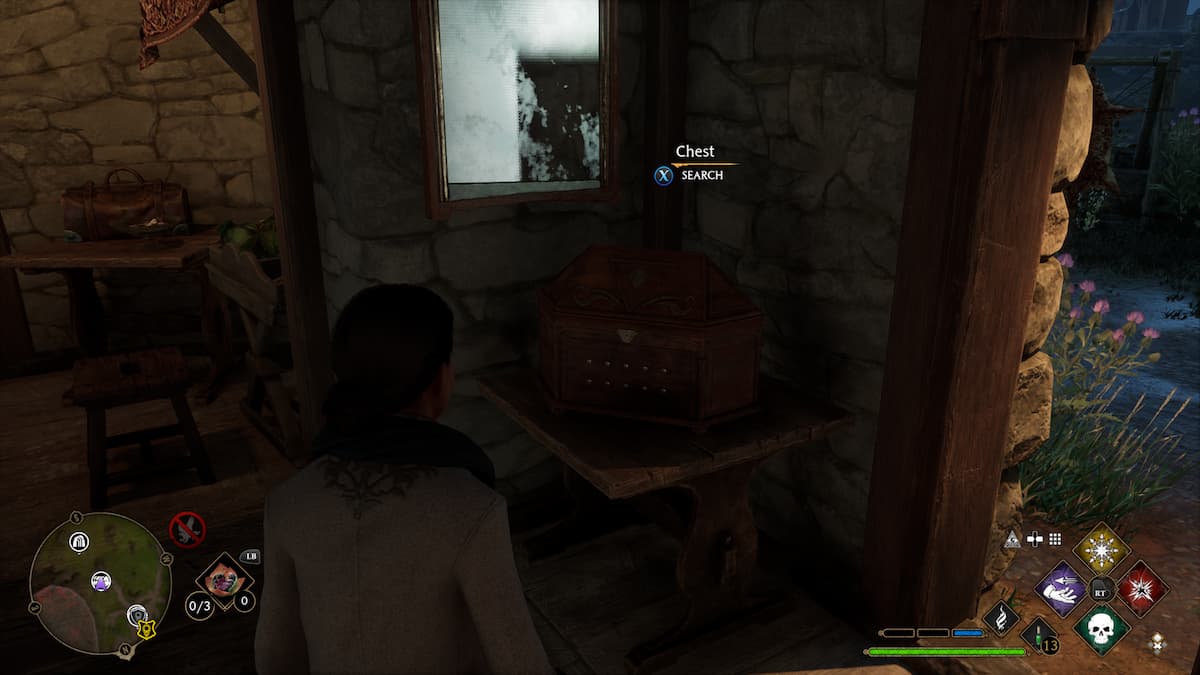
The first Collection Chest in Bainsburgh is locate in the burrow home at once in front of the Floo Flame . You should remark it as soon as you teleport . This menage requires you to use Alohomora on a level two lock and then pectus will be directly to your right inside .
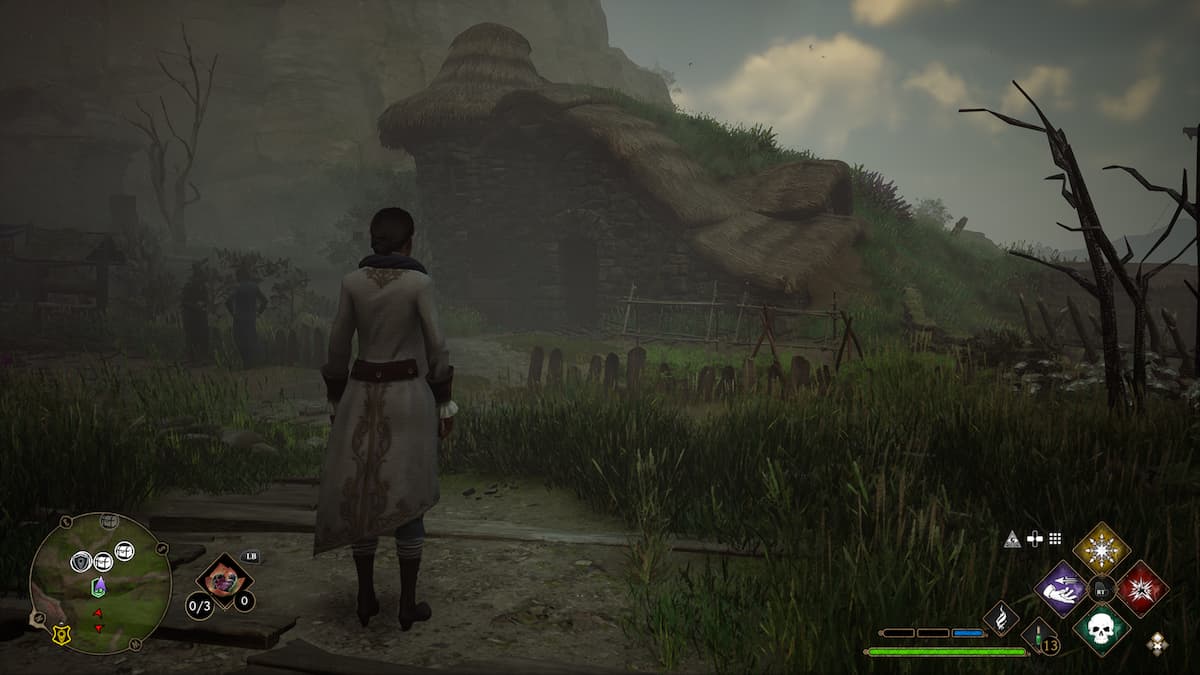
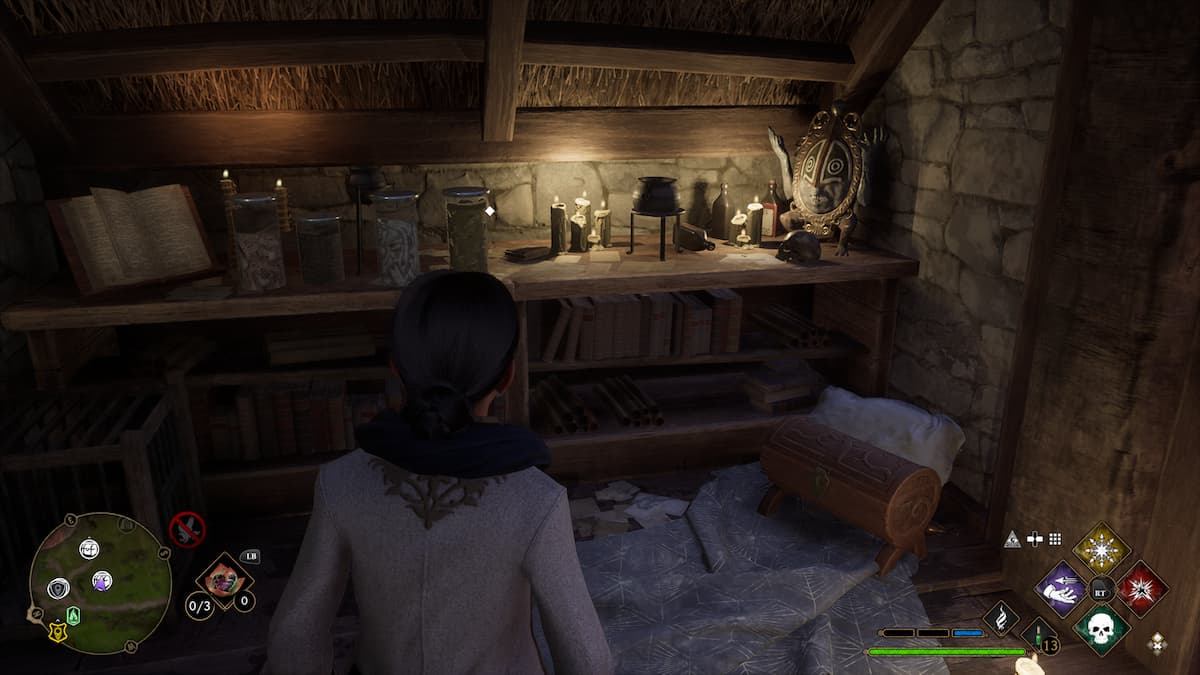
The next Collection Chest is settle in a smaller shed like house just down the hill from the tunnel mansion around the ripe side . This shed also has a lock but you ’ll only take Alohomora horizontal surface one to break out it . The chest of drawers will be right inside to your right .

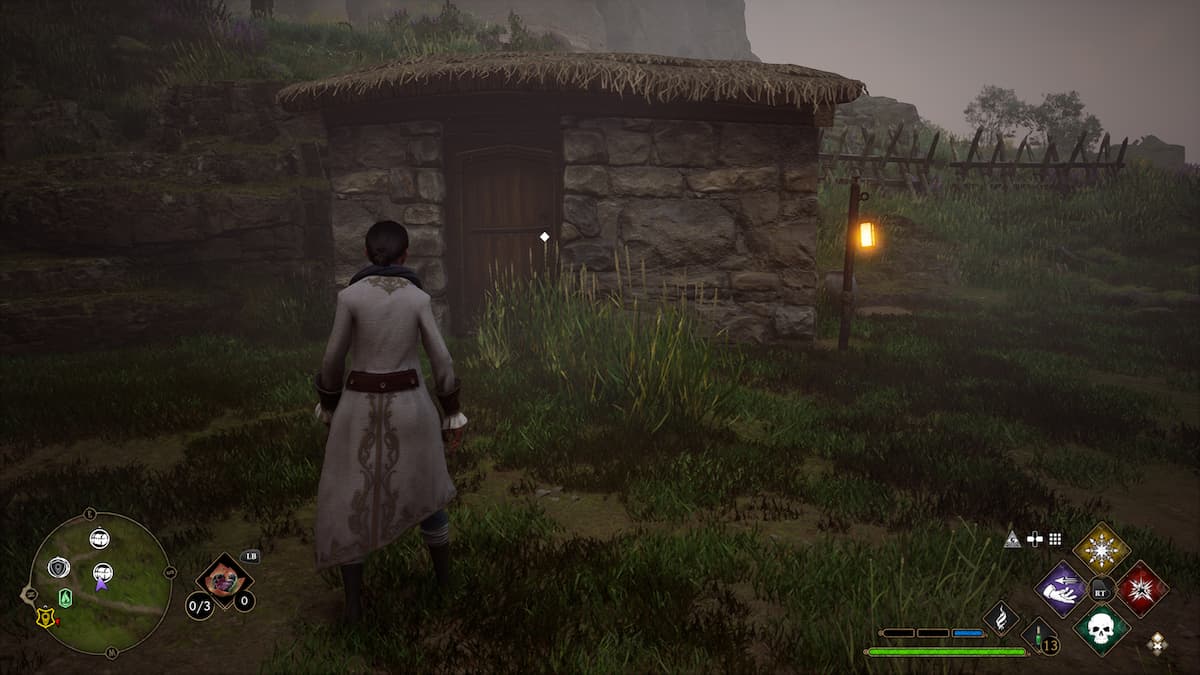
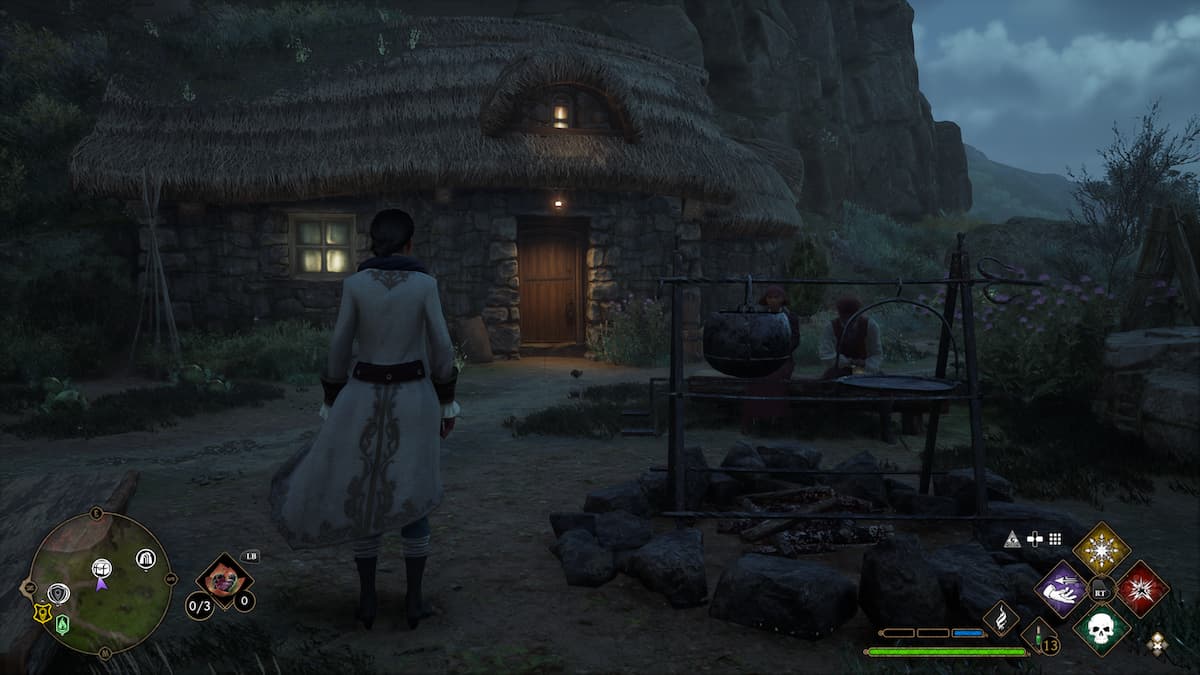
The third Collection Chest in Bainsburgh is located in the planetary house with the campfire out front . To get there , rise up the James Jerome Hill behind the shed and it should be directly in front of you , also northeast from the Floo Flame . This house has a point one lock to erupt into it , and then you ’ll get the dresser once again on your right side .
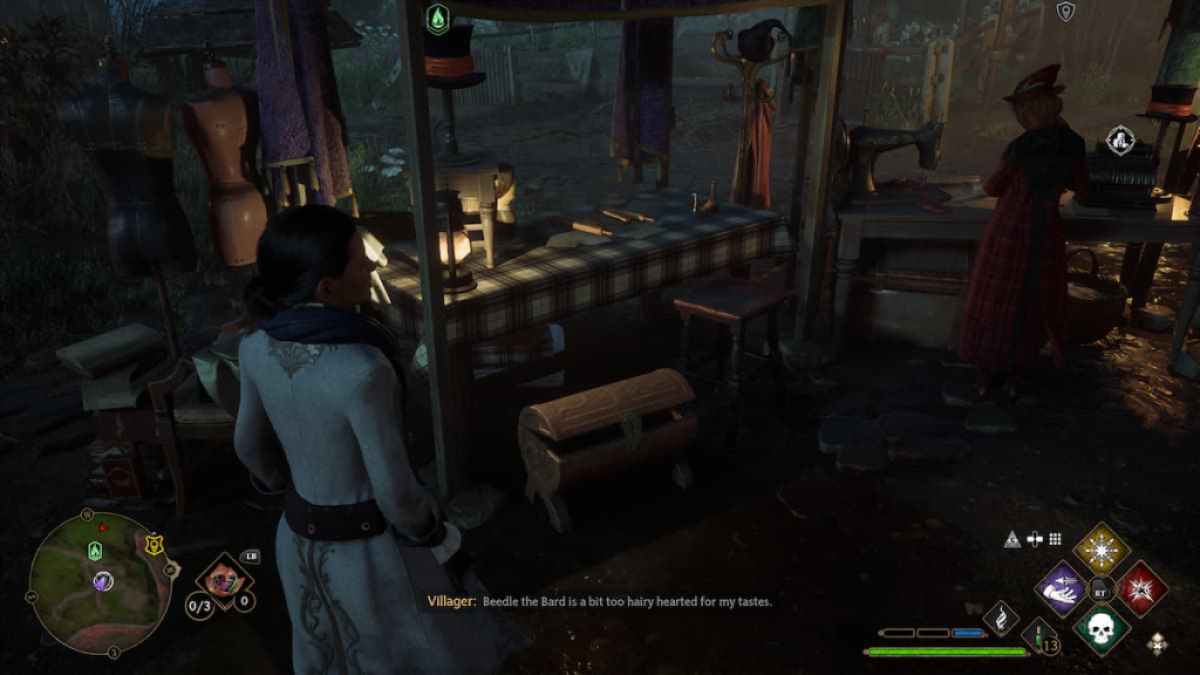
The last Bainsburgh Collection Chest is not inside a business firm but outdoors , and perhaps the easiest of all of them to pillage . You will find it directly behind the merchant ’s table . The merchandiser is symbolize by the slew of Galleons icon on your mini - map , so it should be well-heeled to regain .
Related : All Cragcroft Collection Chests , Field Guide Pages , and Demiguise statue in Hogwarts Legacy

Screenshot by Pro Game Guides
All Manor Cape Bandit Camp Collection Chests in Hogwarts Legacy
You ’ll get two more Collection Chests in the Manor Cape part , within bandit camp . Bandit summer camp normally hold Collection Chests but ask you to fight some goblins or Ashwinders to retrieve them peacefully . Here ’s where you may find these :
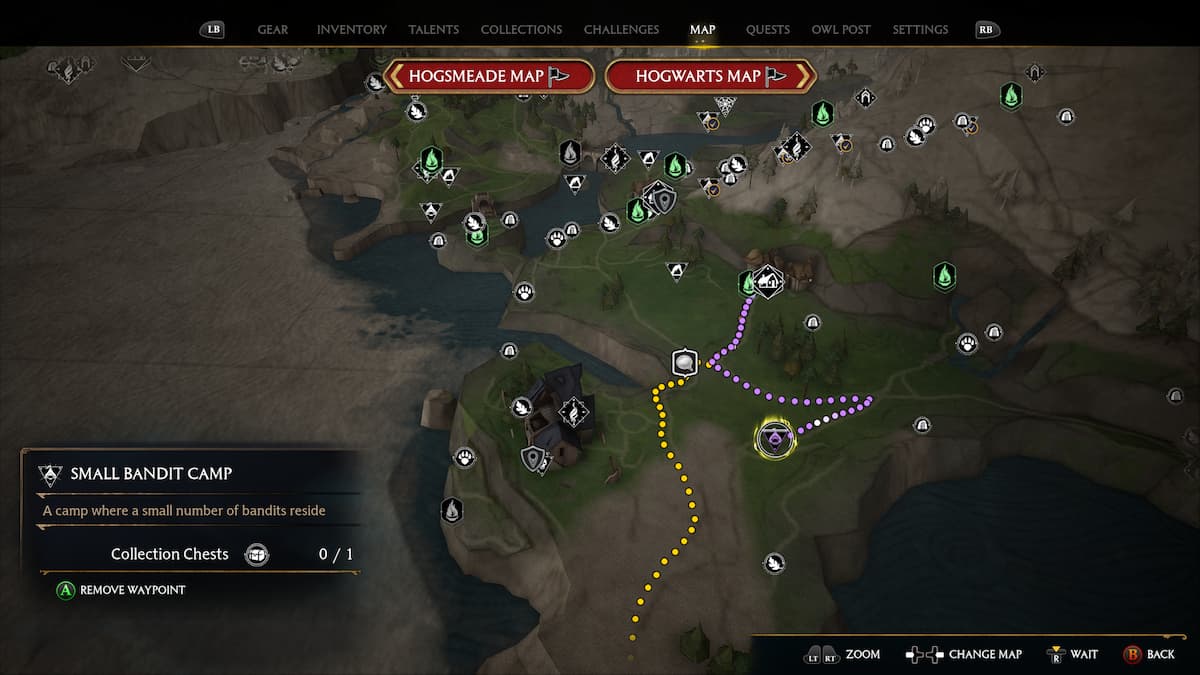
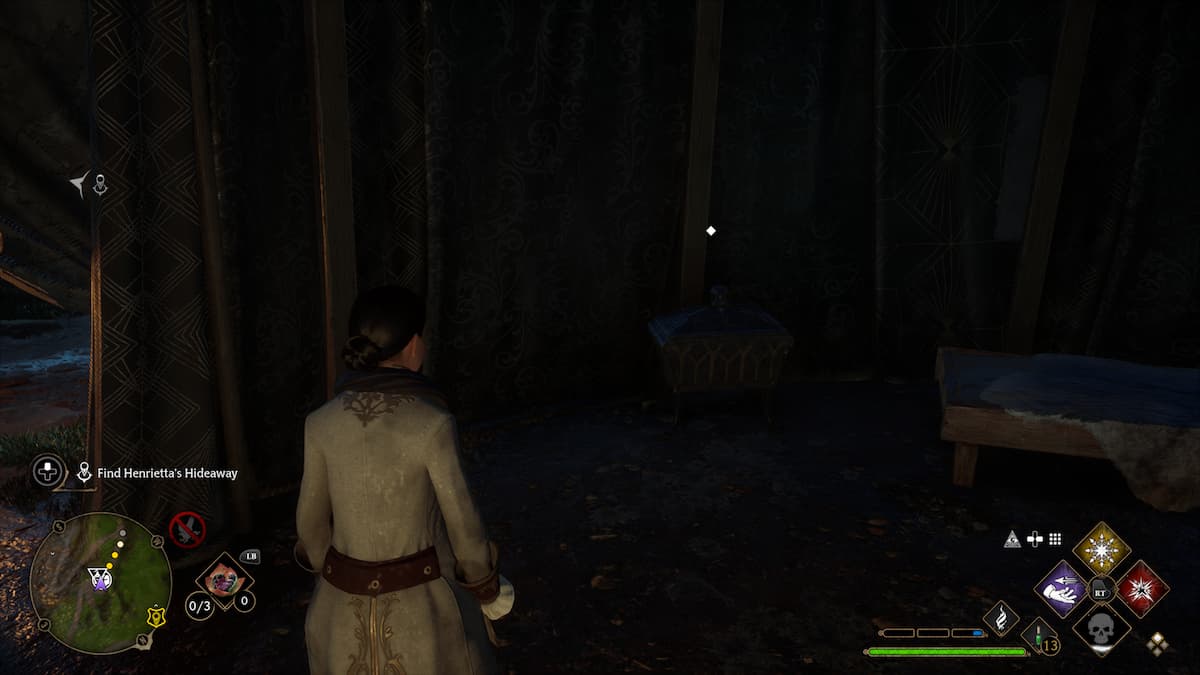
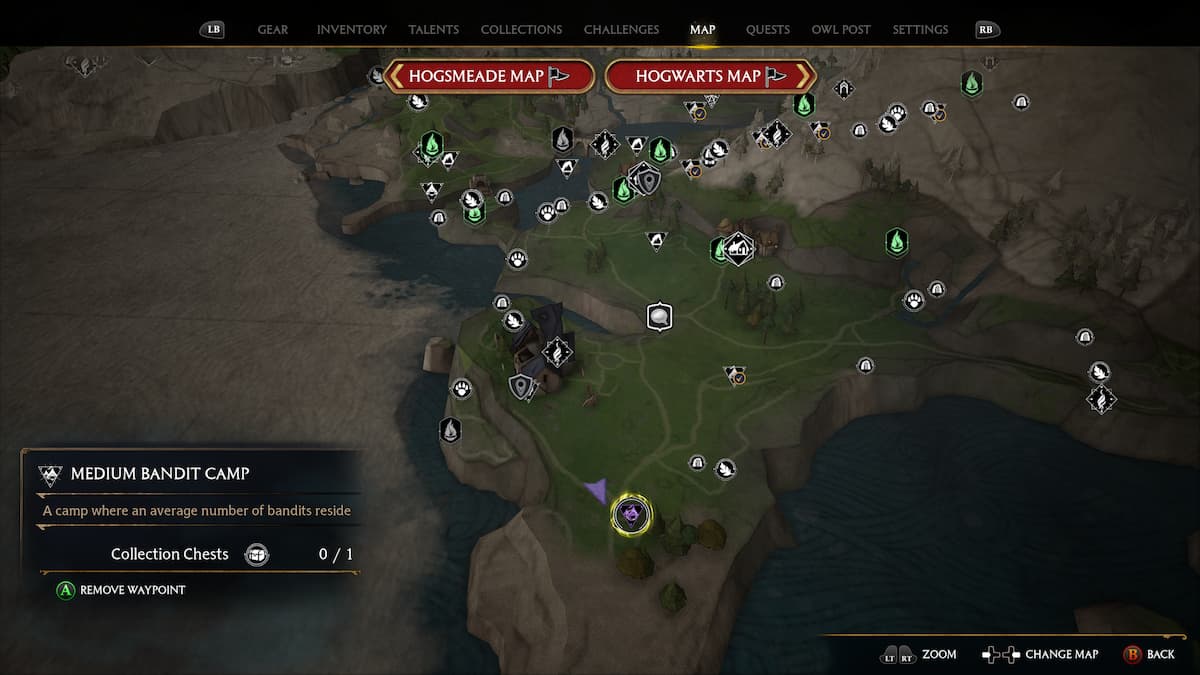
The first brigand camp is only a small one just south of the Bainsburgh hamlet . There are only a few brigand to take out here and then you ’ll feel the thorax inside their collapsible shelter .
The second brigand clique is just a footling bit larger , mean you might have to put up a fleck more of a fighting , but nothing too difficult . You ’ll find it heading Southeast from the West Manor Camp Floo Flame . The chest is within the sum tent .
Screenshot by Pro Game Guides
interrelate : All Forbidden Forest Collection Chests in Hogwarts Legacy
Henrietta’s Hideaway Collection Chest in Hogwarts Legacy
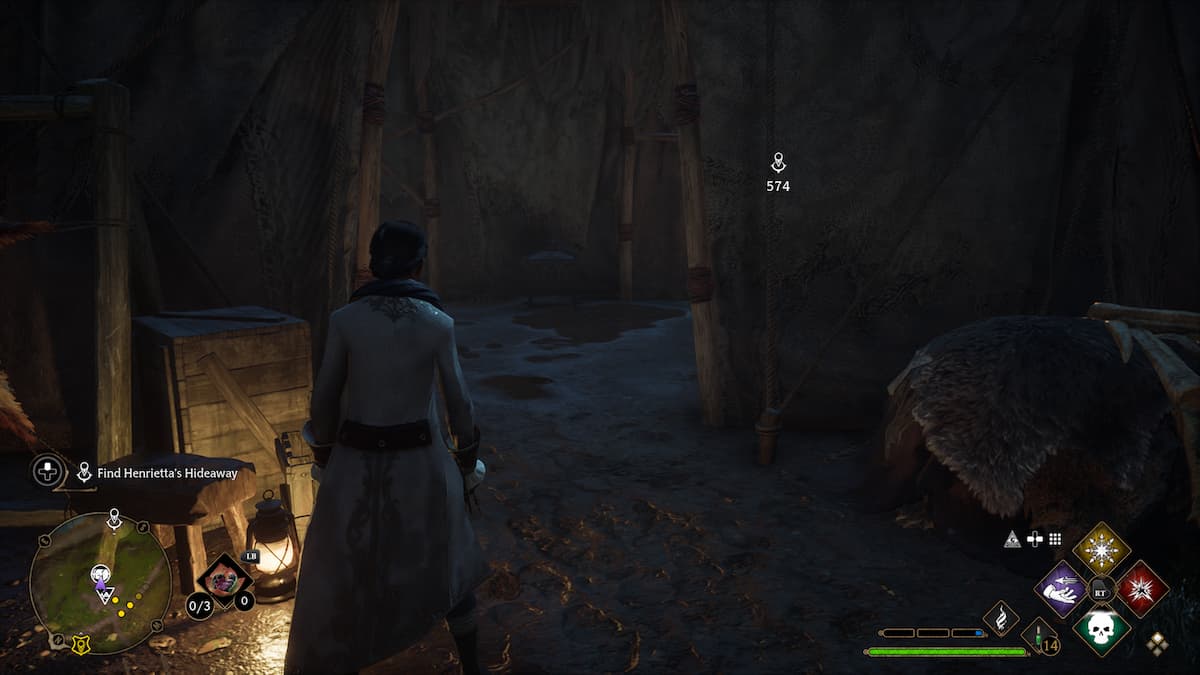
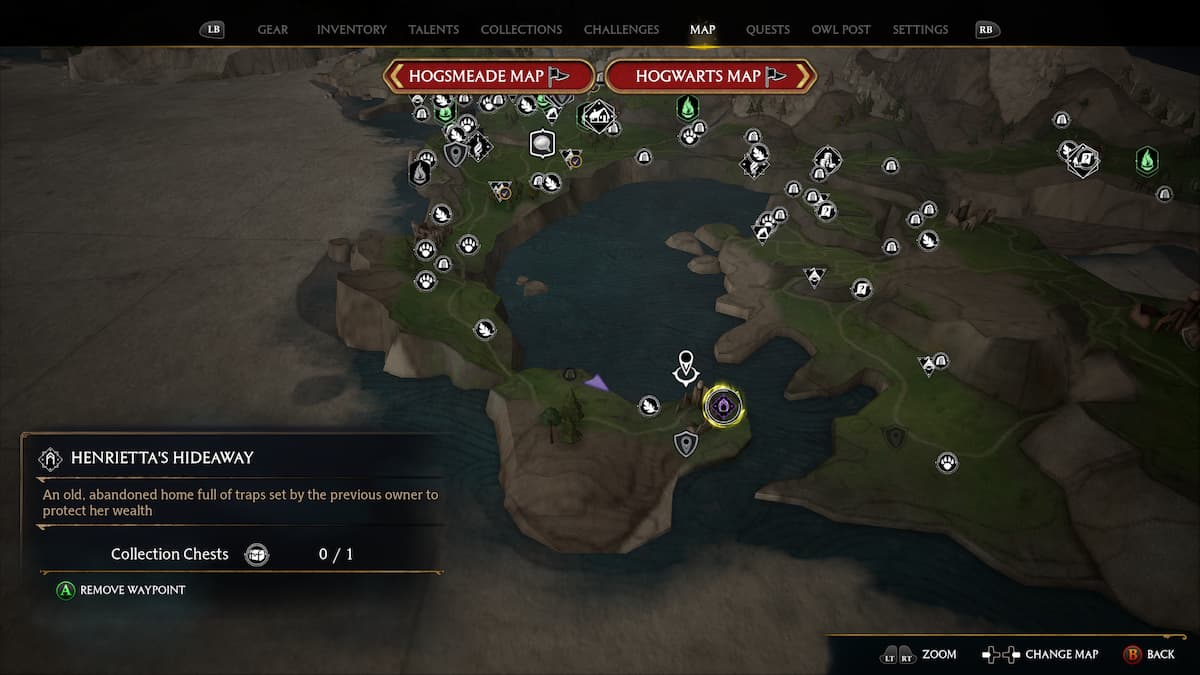
The last Collection Chest in Manor Cape is within a keep anticipate Henrietta ’s Hideaway . This is a keep you delve into for the side quest ' Rescuing Rococo . ' It is at the very top of the Manor Cape coast , southeast of West Manor Cape Floo .
This dungeon in particular is filled with perplexing trap and puzzles to solve . It also has a adequate amount of Ashwinders to battle so be ready for a fight . If you have n’t already , embark the dungeon by descending the stairs leading down from the ruination .
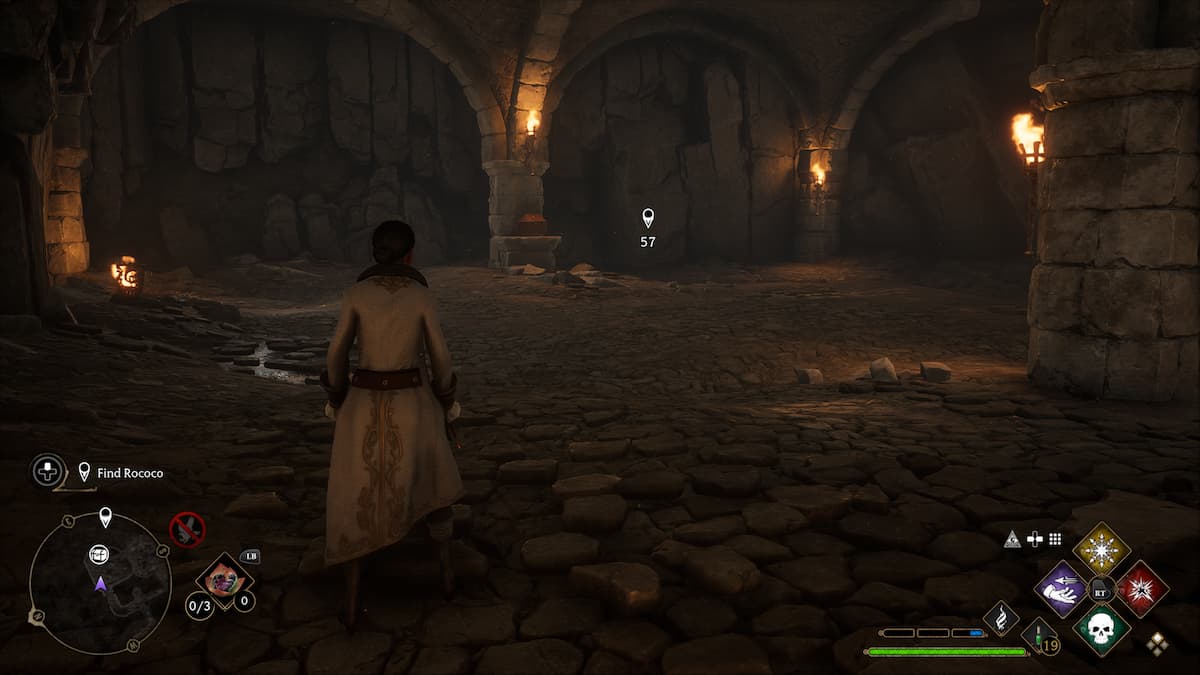
At the entering there will be a pulley block puzzle to clear . The glass mental block is already set on the matching memorial tablet , but you ’ll require to retrieve the fire stoppage . Turn to the statue on your left and use a flame spell to light up the brazier . This will rotate the statue and bring out the fervency block . Use Accio to place the blockage on the plaque and get down it with a fire spell . This will allow you to continue further into the dungeon , where you ’ll come to a griffon statue .
Screenshot by Pro Game Guides
At the statue , you ’ll postulate to first fend off some Ashwinders . Once they are all gone , plow to your right and ignite the brasier in front of the statue like you did at the entrance . This will reveal a platform with a button . footstep on the button and it will spread out you into a out of sight way . Here you will need to target a fire pulley once again on its matching brass and then heat it . abuse back on the button after you ’ve done this to return to the griffin statue . Now you should notice a newfangled passageway directly across from you .
direct through the passageway . To your left will be an ice block puzzler , but continue forward instead until you come to a fervency cube puzzle . The brass will be on the ground in front of you , but the block is behind the gate . You ’ll need to employ Accio to draw out the block over the gap in the gate and then invest it down on the plaque . fire up it to unlock the logic gate and guide inside to call up the Collection Chest .
Now you should have all the Manor Cape region Collection Chests and all the goodies that they held to bestow to your collection . Keep an eye out for more chest dissipate around the World Map . There are still plenty to loot !
Screenshot by Pro Game Guides
front for more Pro Game Guides Hogwarts Legacy content ? Check out our guides onAll North Hogwarts Region Collection Chests in Hogwarts LegacyorAll Marunweem Lake Collection Chests in Hogwarts Legacy !
Screenshot by Pro Game Guides
Screenshot by Pro Game Guides
Screenshot by Pro Game Guides
Screenshot by Pro Game Guides
Screenshot by Pro Game Guides
Screenshot by Pro Game Guides
Screenshot by Pro Game Guides
Screenshot by Pro Game Guides
Screenshot by Pro Game Guides
Screenshot by Pro Game Guides
