Do n’t forget to snaffle the Dragon Vein token in this degree !
Whether it ’s for building Morale or for windup purposes , finding all the Marking and Battle Flags in Wo Long : Fallen Dynasty is authoritative . Finding them throughout the degree will make it so every enemy that you bump is a bit prosperous to defend , and accomplishment hunters get that much closer to their 100 % completion . Finding them in fiat from each other will get actor through the level with less struggle . This is where to find every Flag in The Valley of Crying ghost .
All Marking Flags and Battle Flags in The Valley of Crying Wraiths in Wo Long Fallen Dynasty
These flag will be listed in the order they are rule since many Marking Flags are in faithful proximity to Battle Flags .
1st Battle Flag
This is unlocked by default and will be at the start of the degree .
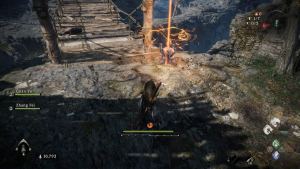
2nd Battle Flag
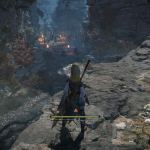
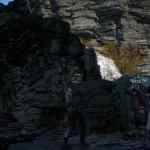
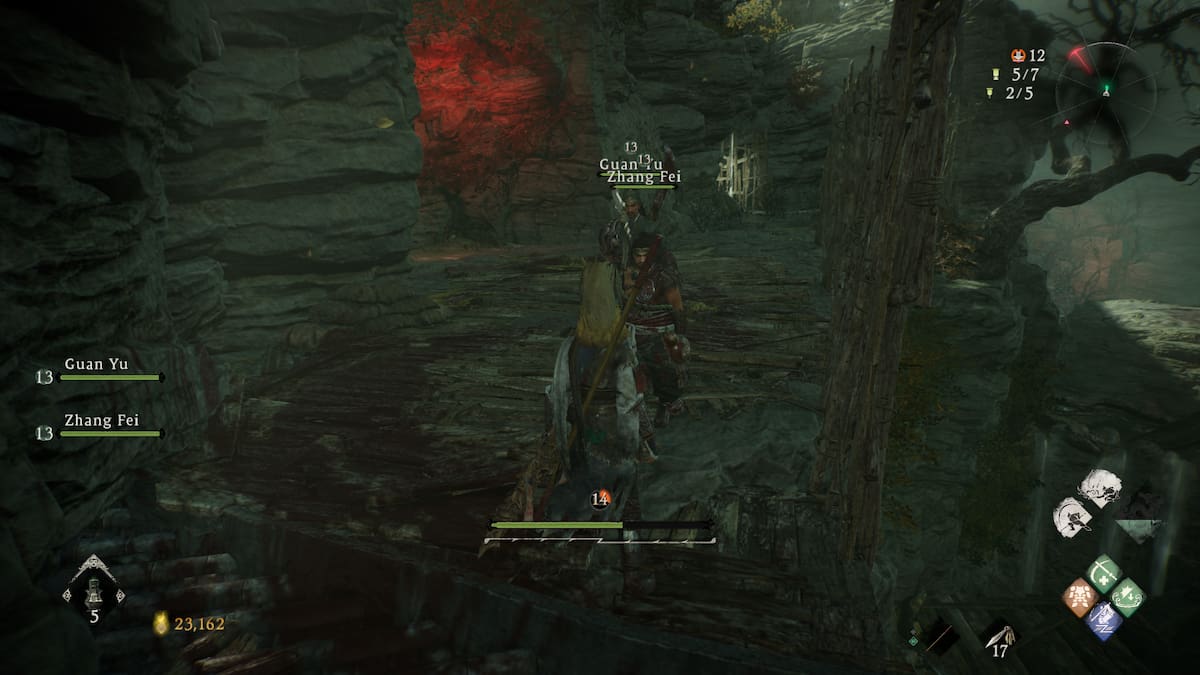
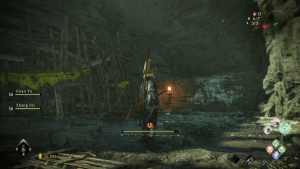
The second Battle Flag can be found by go up to the bridge . From the start of the floor , this can be find by going to the left and around .
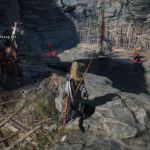
3rd Battle Flag
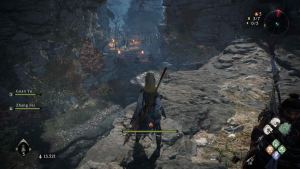
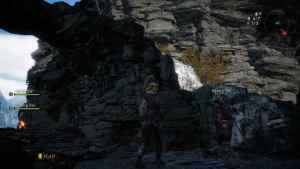
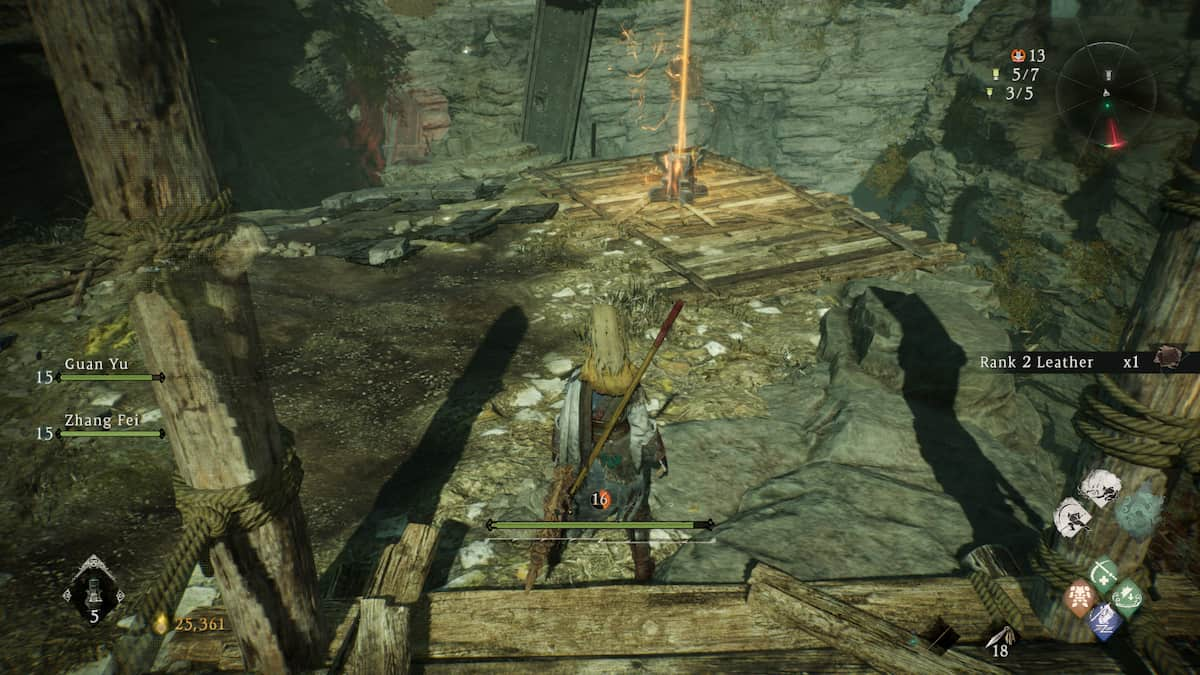
This Flag is guard by a group of enemies and wo n’t be capable to activate until they are unclutter out . This can be found by going across the bridge of the last Battle Flag and proceeding until this bivouac is found .
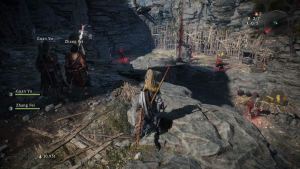
1st Marking Flag
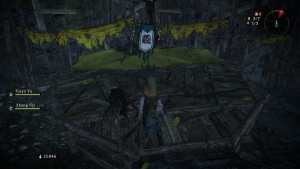
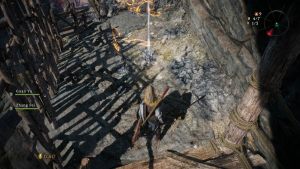
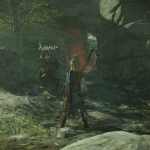
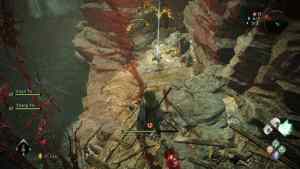
The first Marking Flag of the level can be found at the bottom of the vale , guard by a group of foe . Dropping down from the bridge deck field will make it easy to determine .
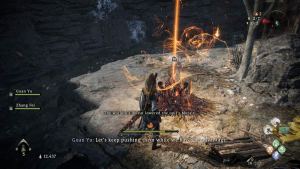
4th Battle Flag
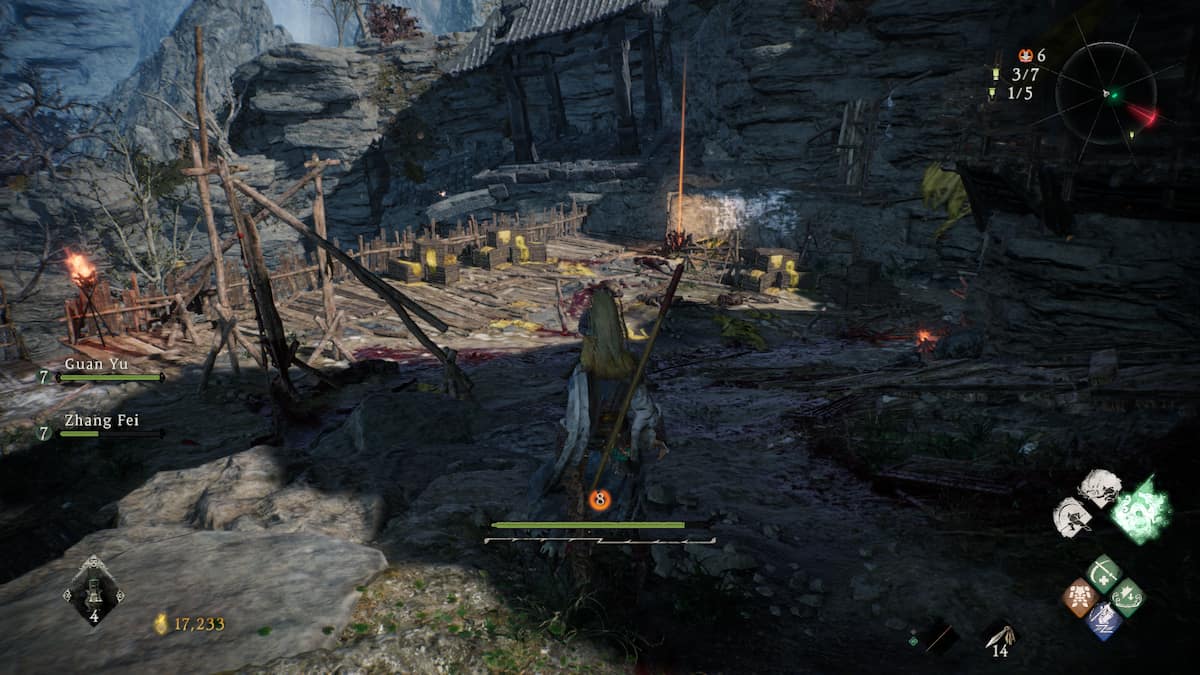
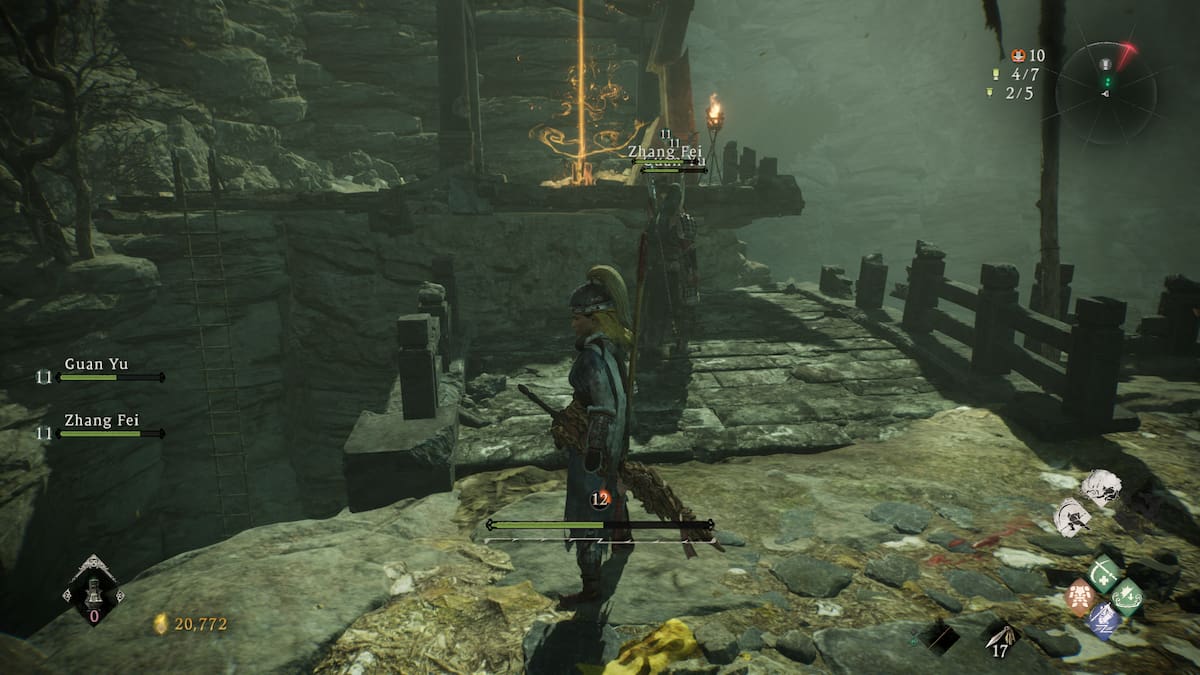
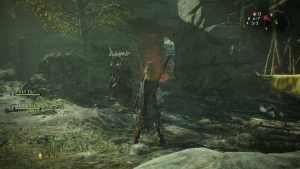
This Battle Flag can be receive after traveling through the valley and crossing the break bridge . A tumid foeman choke up it from being used , but can be taken out easily with counter .
2nd Marking Flag
From the last Battle Flag , the next Marking Flag can be found by journey up the rock ‘n’ roll and across a bridge deck . This is marked by some white rocks before traveling toward the next part of the level .
5th Battle Flag
This Battle Flag can be encounter to the left of where the giant flying creature attack the histrion . A jump is require to get across , but a ravel can be used for actor that overlook their target .
Related : Best Spirit Beast in Wo Long , Ranked
3rd Marking Flag
A large enemy will be stop this Marking Flag and is found on the path toward the caves . Ourbest early plot buildscan facilitate in taking it out as well as some of thebest Wizardry spells .
6th Battle Flag
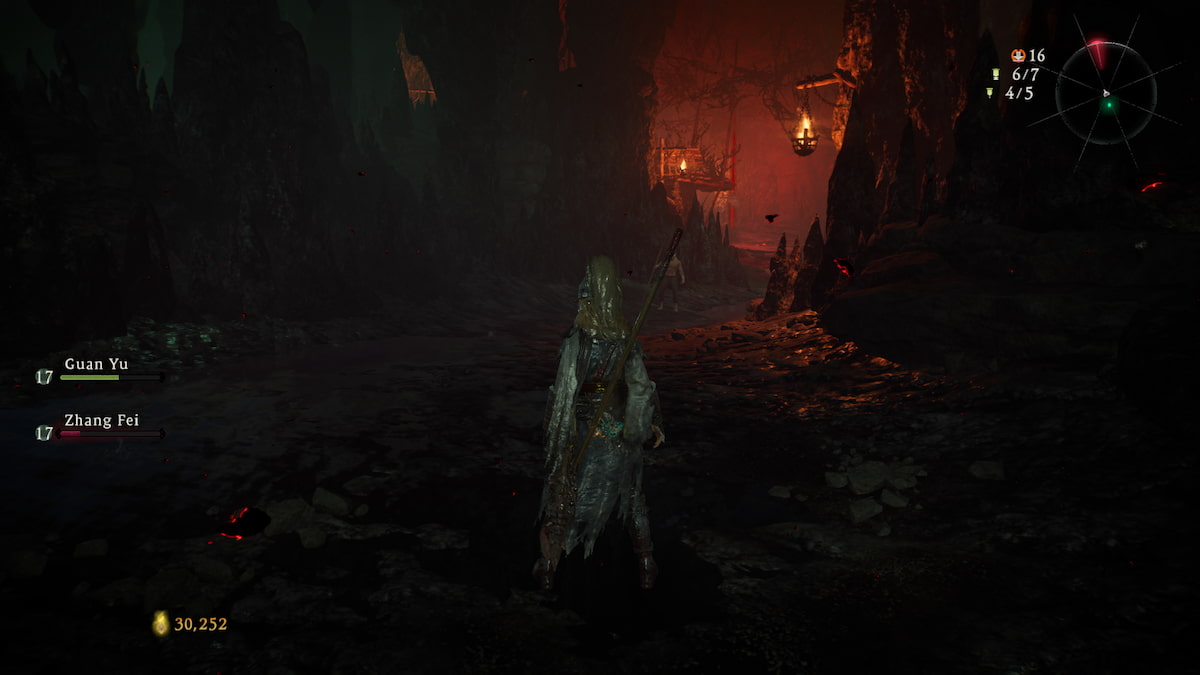
The next Battle Flag will come up as players are direct toward the cave , before the field with the two bombastic beasts .
4th Marking Flag
The next Marking Flag is found by conk out through two dissimilar areas . From the Shitieshou Demon , there is a elbow room to go left toward an tenting . Climbing up , there is a radical of enemies and a few items . Behind them is a way to proceed , notice by white . Going up will take players to another encampment where , to the right of the Wizardry user , is the 4th Marking Flag .
bear on : What are Morale Rank and Fortitude Rank in Wo Long ?
7th Battle Flag
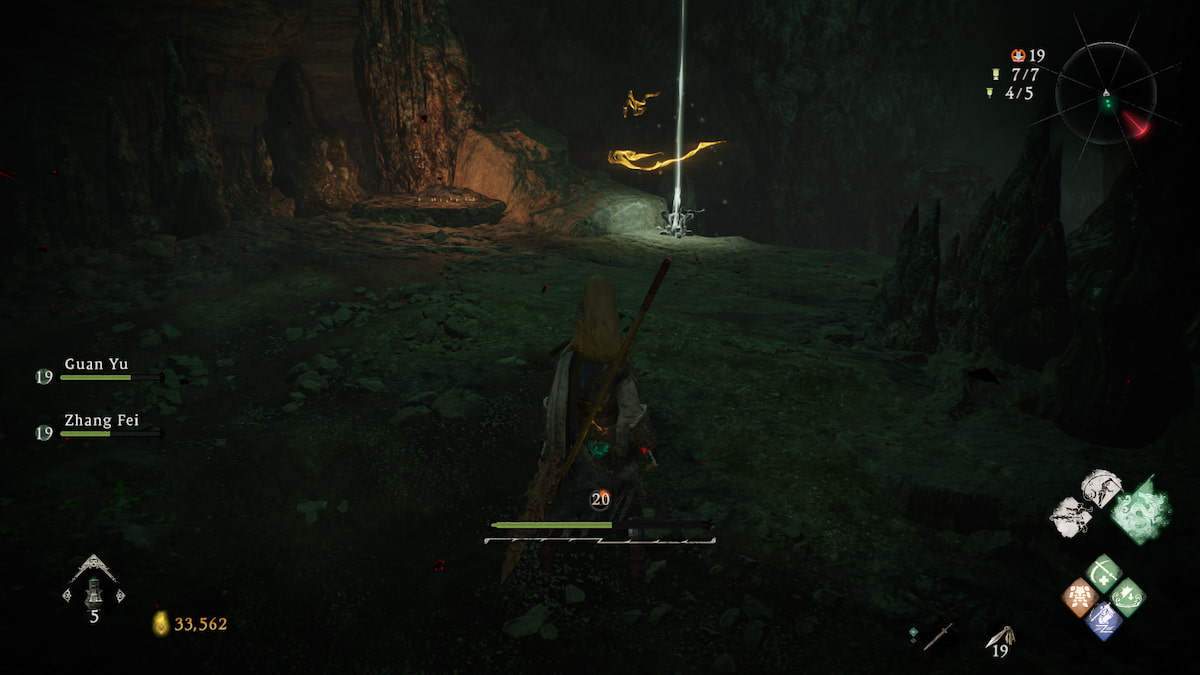
Inside the cave , past the spook in the water , is the last Battle Flag . Inside the cave , it is to the right hand being ward by more enemies .
5th Marking Flag
From the final Battle Flag , a way up to a shelf can be found to the right . Another beast daimon can be found , ward the last Marking Flag of the degree .
For more Wo Long : go down Dynasty guides , check outAll Marking Flags and Battle Flags in Two Chivalrous Heroes in Wo LongorBest Wizardry Spells in Wo Longon Pro Game Guides .


Screenshot by Pro Game Guides

Screenshot by Pro Game Guides
Screenshot by Pro Game Guides
Screenshot by Pro Game Guides
Screenshot by Pro Game Guides
Screenshot by Pro Game Guides
Screenshot by Pro Game Guides
Screenshot by Pro Game Guides
Screenshot by Pro Game Guides
Screenshot by Pro Game Guides
Screenshot by Pro Game Guides
Screenshot by Pro Game Guides
Screenshot by Pro Game Guides
Screenshot by Pro Game Guides
Screenshot by Pro Game Guides
Screenshot by Pro Game Guides
Screenshot by Pro Game Guides
Screenshot by Pro Game Guides
Screenshot by Pro Game Guides
Screenshot by Pro Game Guides
Screenshot by Pro Game Guides
Screenshot by Pro Game Guides
