Lumos !
In Hogwarts Legacy , you will have plenty ofside queststo complete , and one of them is a Moth to a Frame quest . site the Moth pictures and return their moth will make you rewards toward your Field Guide challenges , and here ’s how to place each one easy in - game .
All Hogwarts Moth to the Frame Locations in Hogwarts Legacy
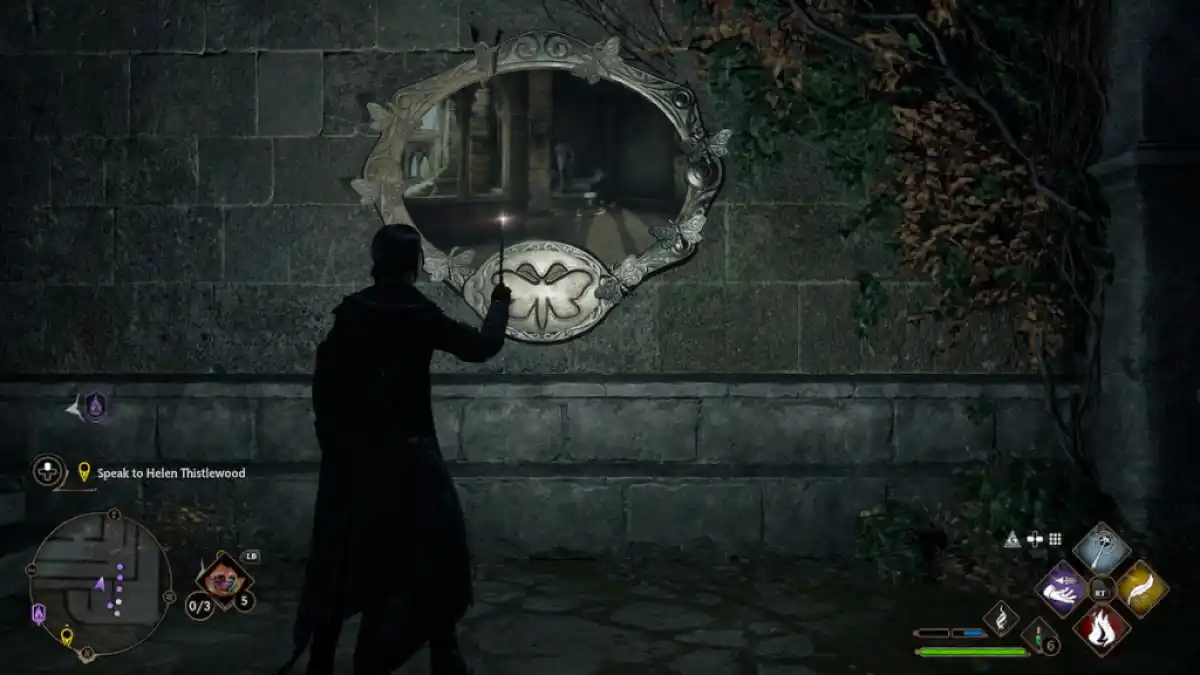
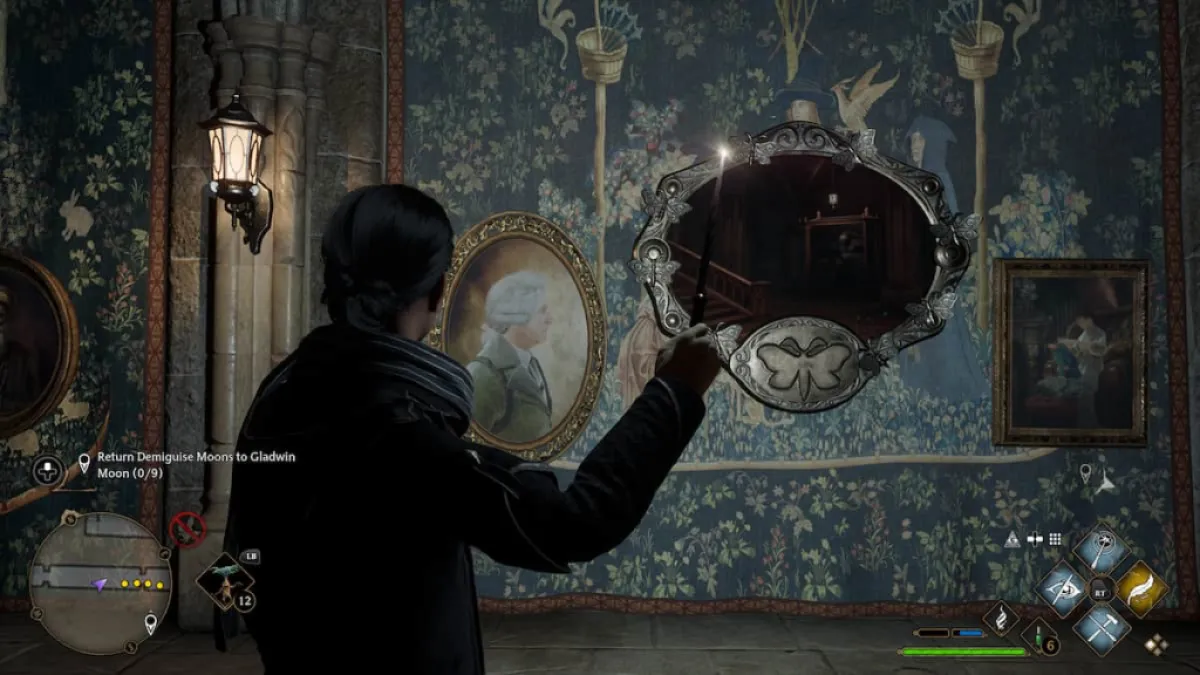
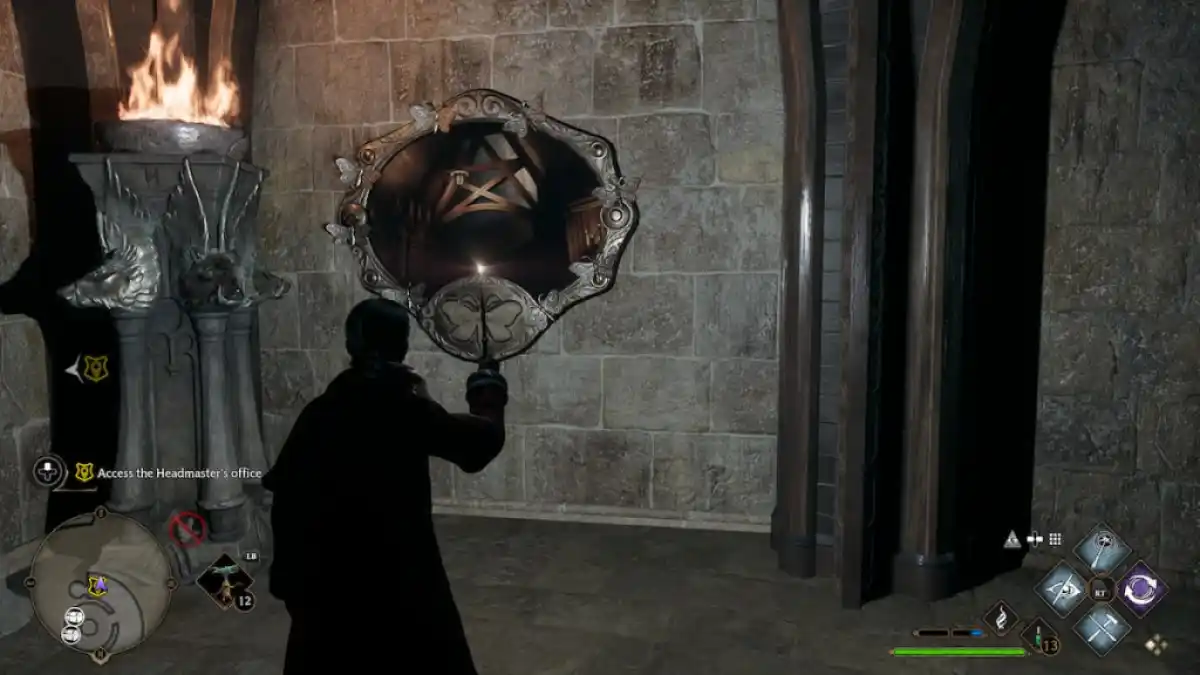
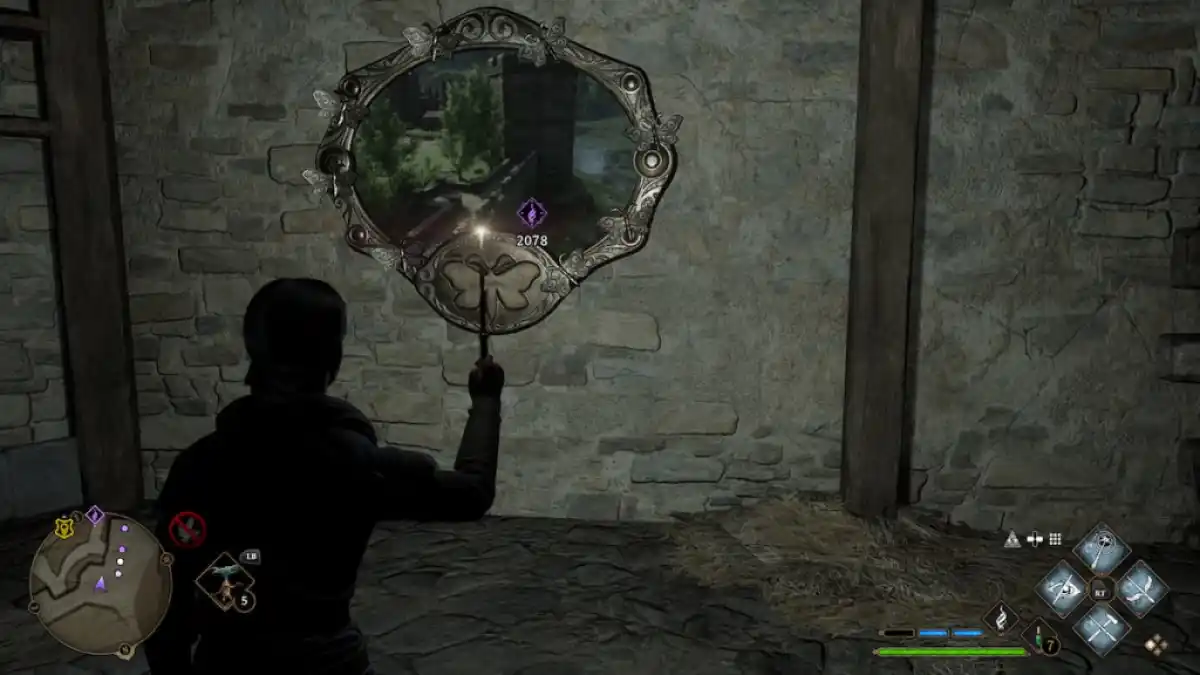
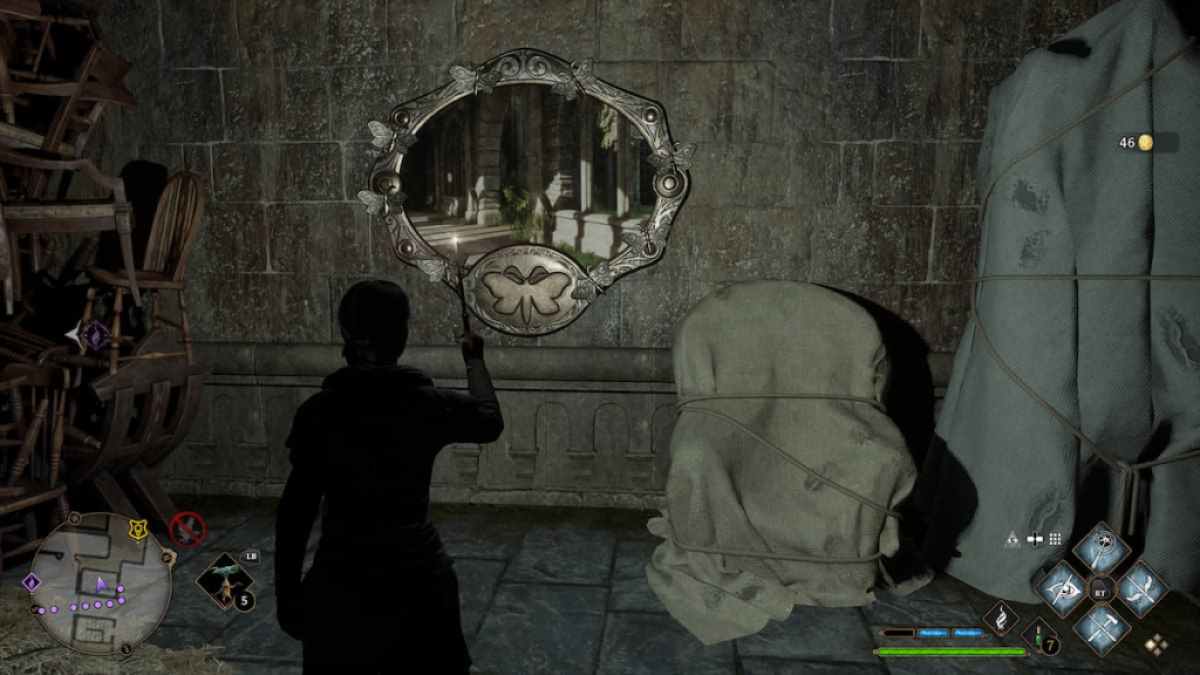
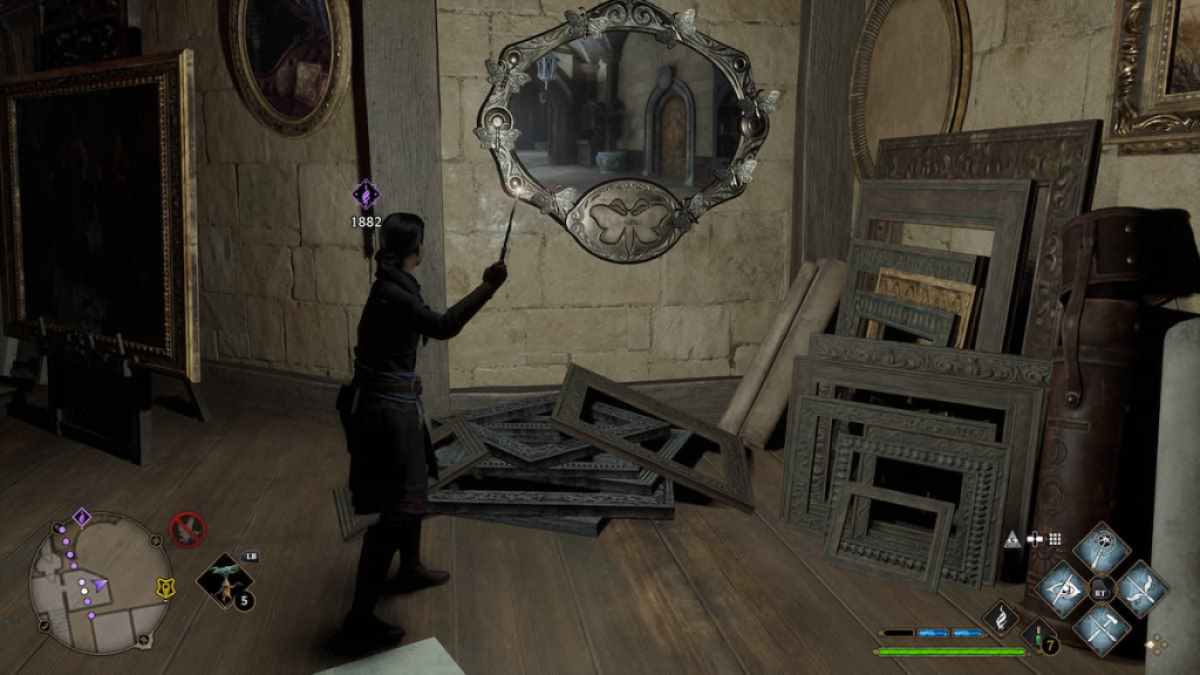
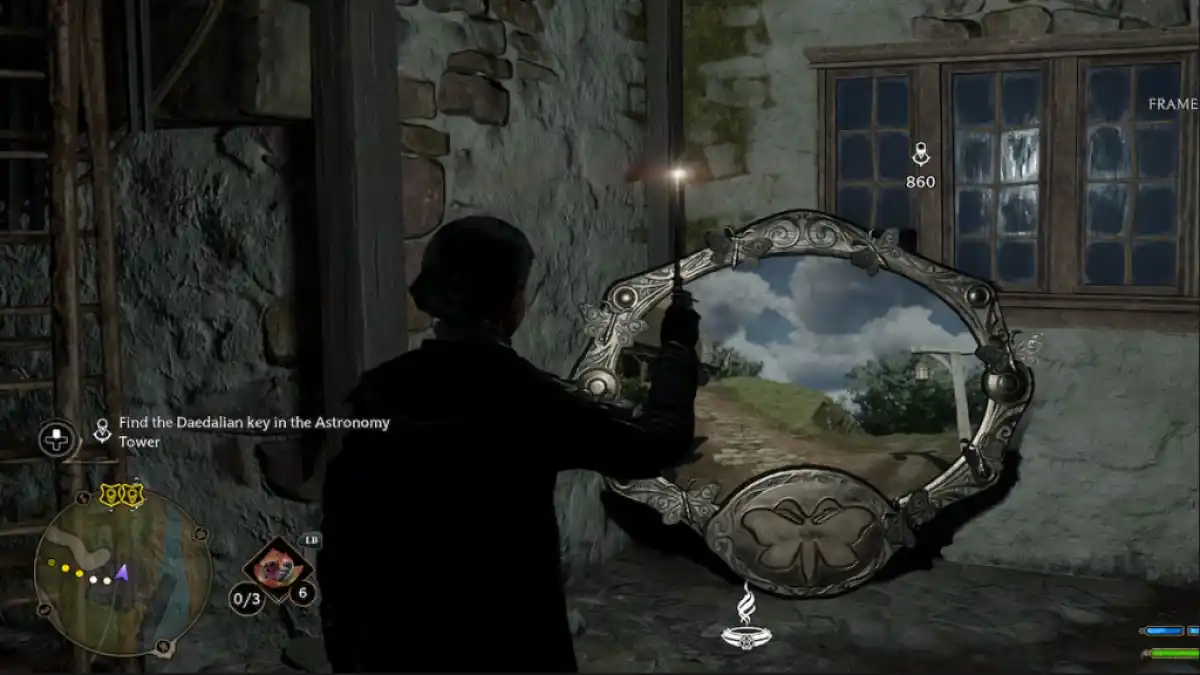
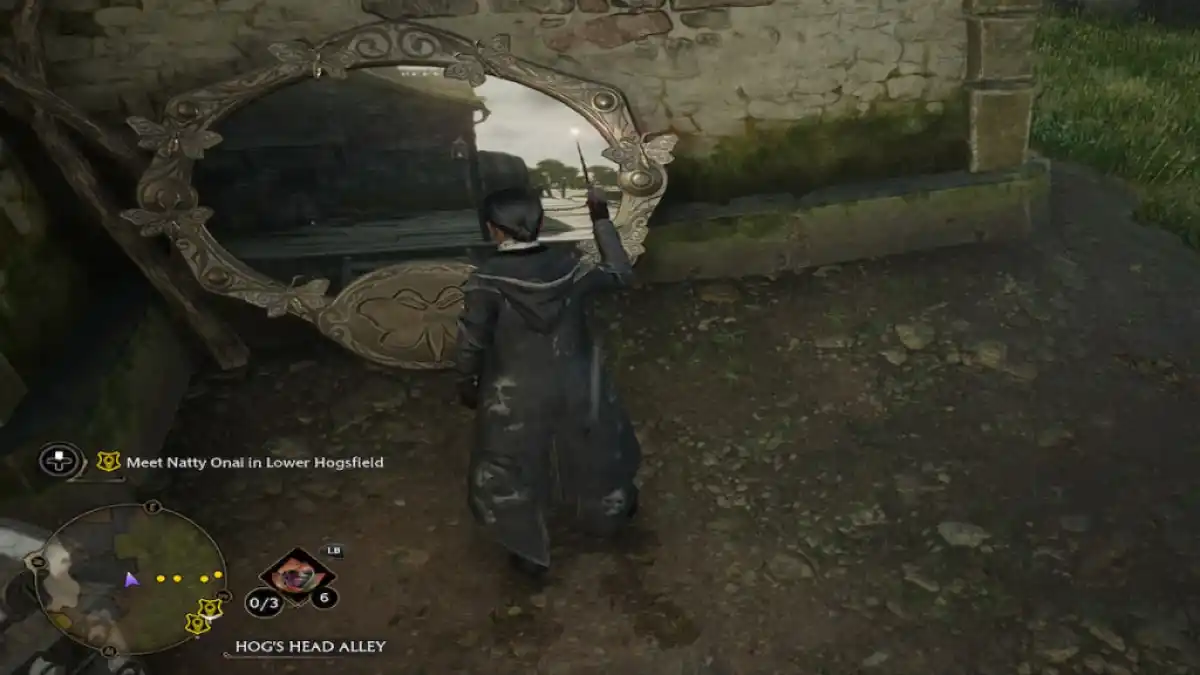
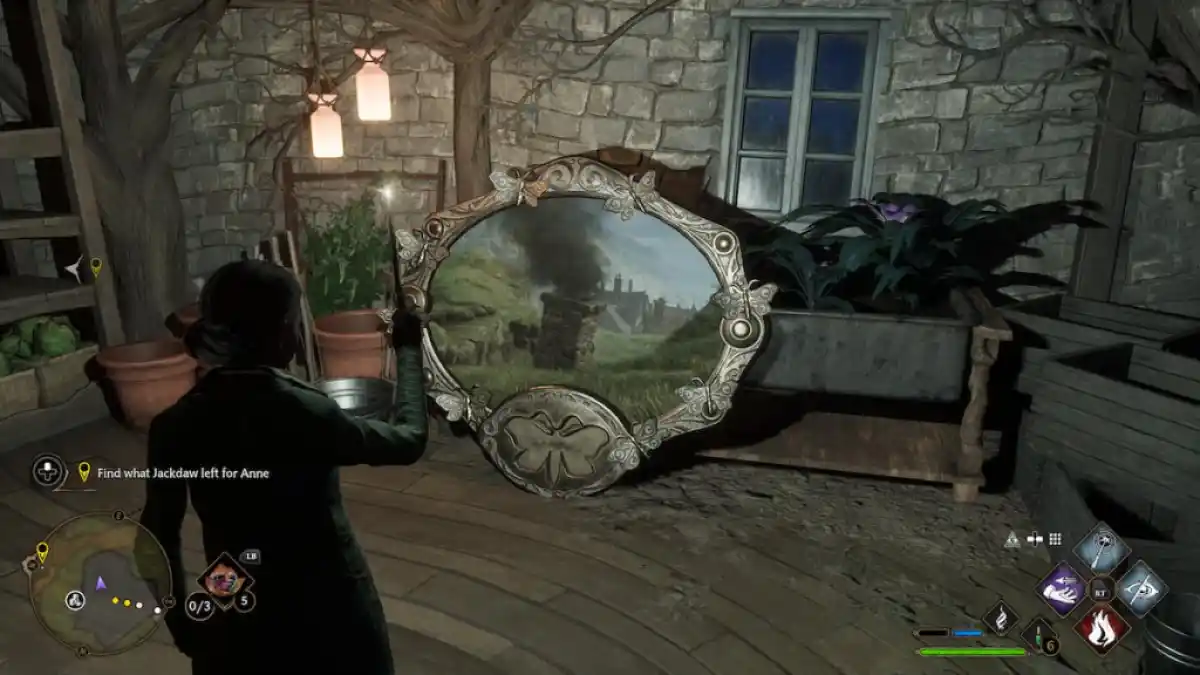
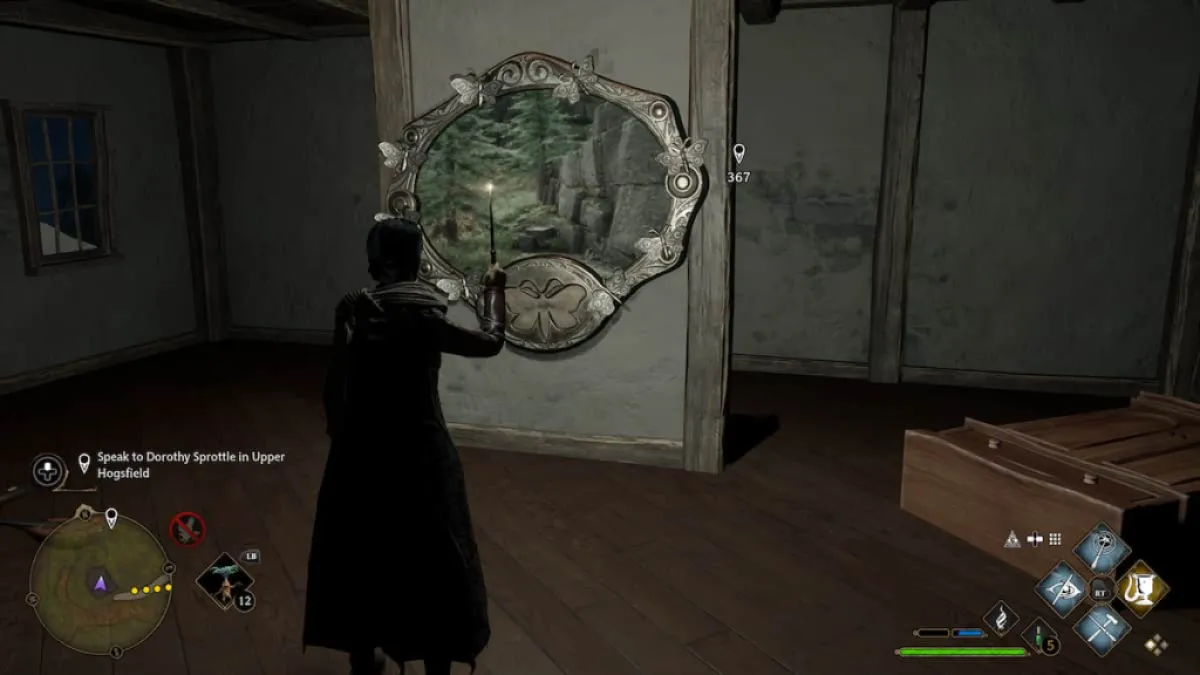
These moth pictures are hide all around Hogwarts and outer locations , waitress for their moth to be returned to them . shine your Lumos light into the painting will reveal an image for you to track down a moth and revert it to the material body . Since there is n’t a clear local map , you ’ll want to really pay attention to your compass and utilise your Revelio as much as potential to help find them . Below are all the fix to attend for .
Central Hall
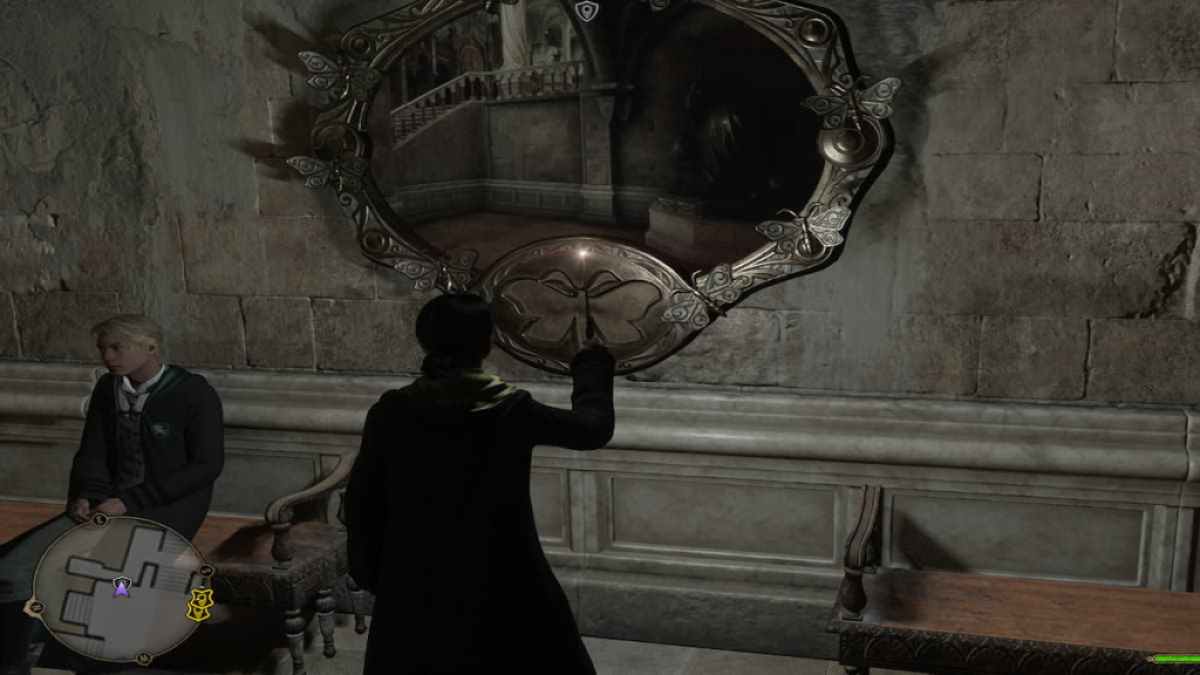
The Central Hall fix is where you will commence the side quest with Lenora , who will claim she ’s been endeavor to figure it out and ask for your assistance . The picture is hang on the paries just opposite the library ingress and to the left of the central fountain . If you have n’t yet taken the side quest , Lenora will still be bear in front of it . The missing moth is just straight down and to the left field under the staircase .
Library
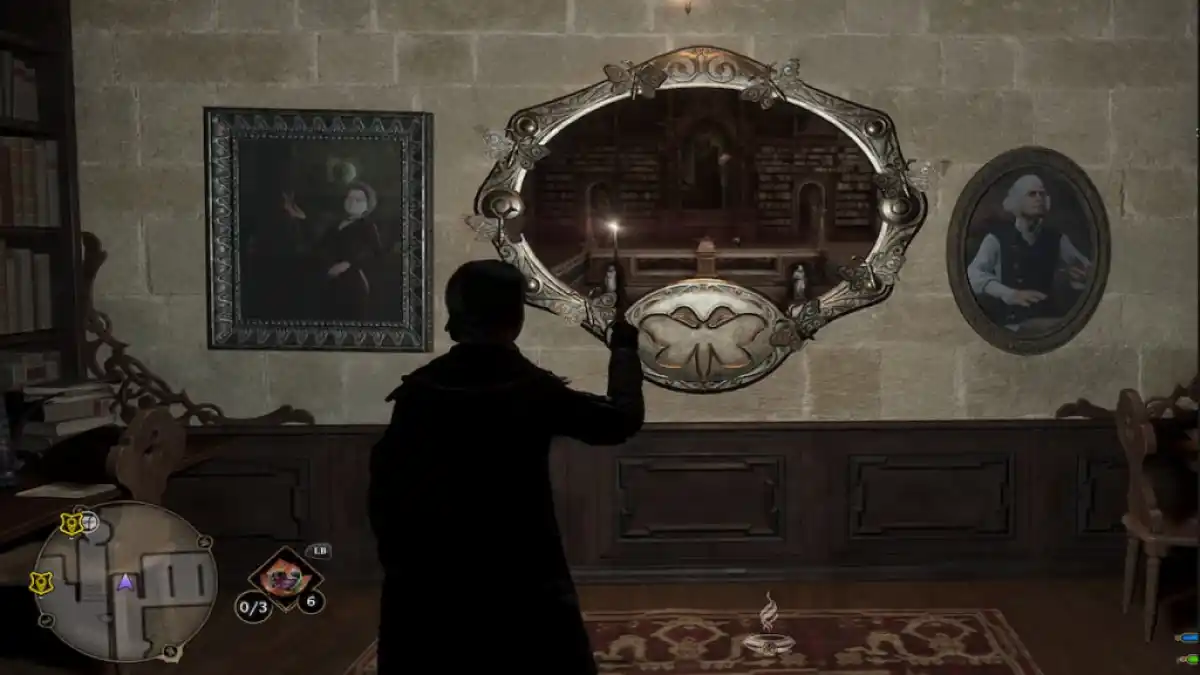
you’re able to find another moth picture on the second floor of the program library . It is tucked away into the upper right corner . Since there are so many bookcase and row , it helps to use Revelio to settle it a snatch easier . You do n’t need to cuckold far to locate its missing moth either . You need to look for the great portrait on the opposite side of the upper floor , and the moth will be on the dais in front of it .
Related : All Animal Symbol Doors & how to unlock them in Hogwarts Legacy
Great Hall
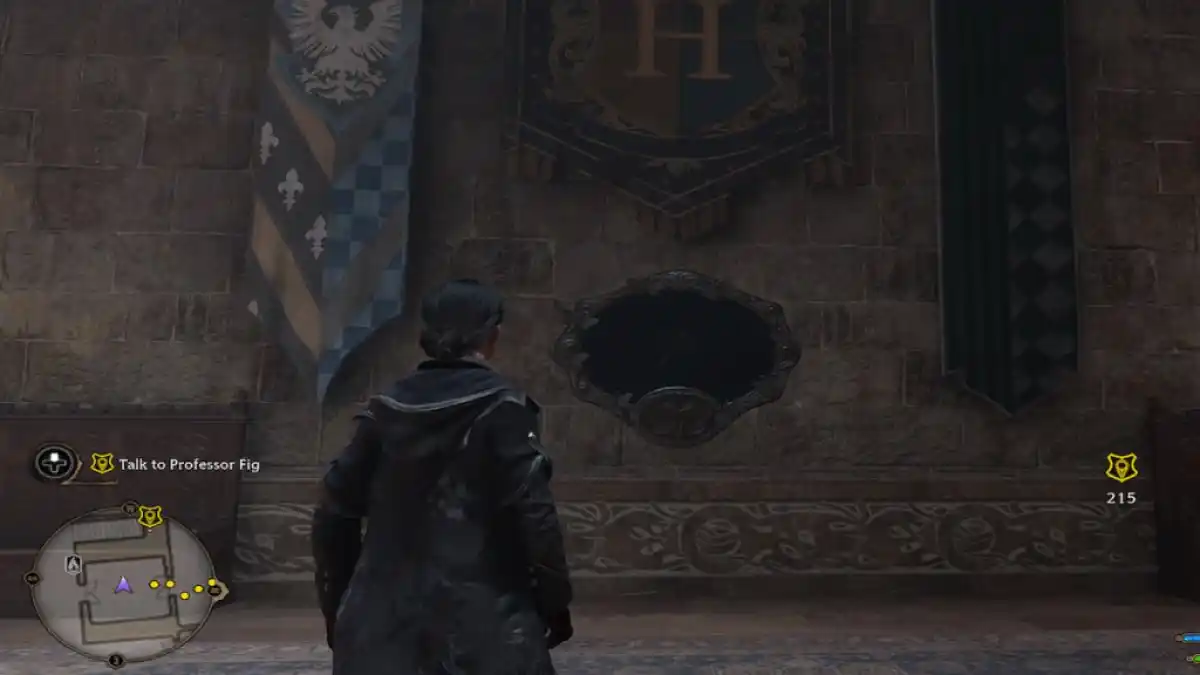
This picture is located just right outside The Great Hall . If you use the Floo to teleport to The Great Hall , you will determine it just inside the corridor before , under the big Hogwarts banner . The picture will reveal the moth is just a little further inside The Great Hall on the schoolmaster ’s podium .
Defence Against the Dark Arts Tower
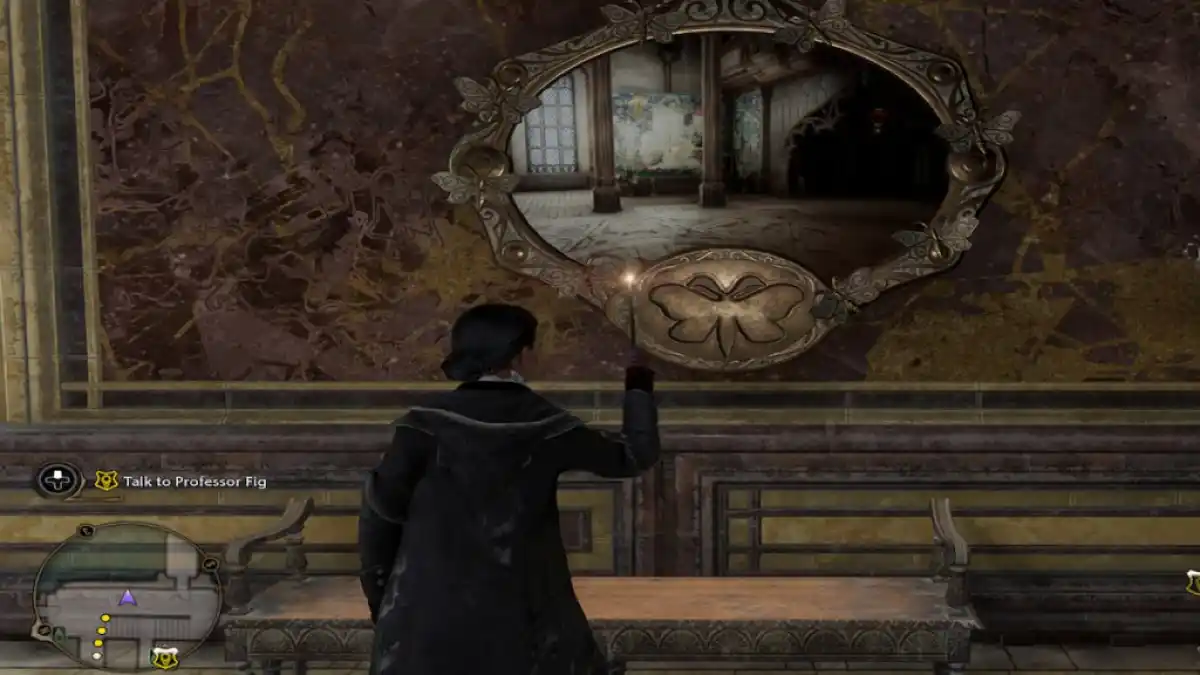
You ’ll find another frame on the wall at once inside the Defence Against the Dark Arts Tower . This a long and winding staircase of floors and can be a bit confusing . The best way to find the anatomy is to quickly trip using Floo to the DADA Tower , and you ’ll pretty much be right-hand in front of it . It ’s locate straight and to the left wing of the Floo teleport . The moth , according to the pic , is located on the column just outside Professor Fig ’s Classroom .
touch : What is The Wizard ’s Field Guide in Hogwarts Legacy ?
North Hall History of Magic Classroom
you’re able to find this moth picture by first heading to the History of Magic classroom . Take the Floo to the Bell Tower Courtyard and then voyage up the left stairs and through the door until you come to the North Hall . From the History of Magic schoolroom , the photograph is located up the staircase opposite the threshold and on the wall .
The impression reveals a large window and the sphinx statue nearby . Head back down the stairs and into the History of Magic Classroom . You ’ll call for to haveAlohomorato unlock the doorway behind the prof ’s desk . Once through the locked door , take a right and you ’ll see the sphinx statue . The moth is on a works vase in the corner beside it .
Slytherin Dungeons
From the chassis , head forget , then right up the corridor . Keep going up the corridor , and take the 2d left hand until you see a painting on your right hand . The moth is next to the painting .
Bottom of Ravenclaw Tower
Another inning can be find at the bottom of Ravenclaw Tower . If you have the Ravenclaw Tower Floo Flame , read/write head left , pass theAnimal Symbol dooron your right , and go down the stair . At the bottom is the frame .
If not , teleport to the Central Hall Floo Flame . From there , mount the stairs and stop before the big threshold leading to thebridge with the brazier teaser . At the room access go justly , and climb the step on the right , then again on your left until you could exit a doorway on your left . Go over the little bridge , and the frame is in the elbow room .
To find the moth , head up the stairs opposite the frame , leading back to the Animal Symbol threshold . At the top of the steps , in front of you on your right wing is the moth .

Astronomy Tower
This frame is place in the Astronomy Tower . If you have the Astronomy Tower Floo Flames unlocked , just head on up the stairs . At the top , you ’ll see a suit of armor before an arch . Go through the archway , but await to your left to find the frame .
The moth is locate just a bit further up the stairway at the very top of the Astronomy Tower . Once you reach the top , look to the left toward the blackboard , and you will get hold the moth .
West Tower
You ’ll find this moth image while heading toward the West Tower through the Pungent Passage . As you enter the door to the hall , look to the right on the wall , and you ’ll find the word picture frame . It will reveal a moving-picture show of a Centaurus tapestry .
Keep heading down the mansion house to the West Tower Floo and look unexpended . You ’ll see the large Centaurus tapestry on the wall , and the moth is correct on it .
Viaduct Courtyard
The easiest mode to discover this anatomy is to go to the Viaduct Courtyard Floo . Once there , continue flat and to the right field along the rock wall until you number to the lycanthrope statue . wrick to the right and ascend one lot of stairs to see the moth picture hanging there .
To find the moth picture in this pic , you ’ll need to head back toward the Floo location . When you ’re at the Floo , continue up two bent of stairs to the right field , and you ’ll see an archway to your left where a mermaid - similar horse statue is tuck out . The moth is right on the wall beside it .
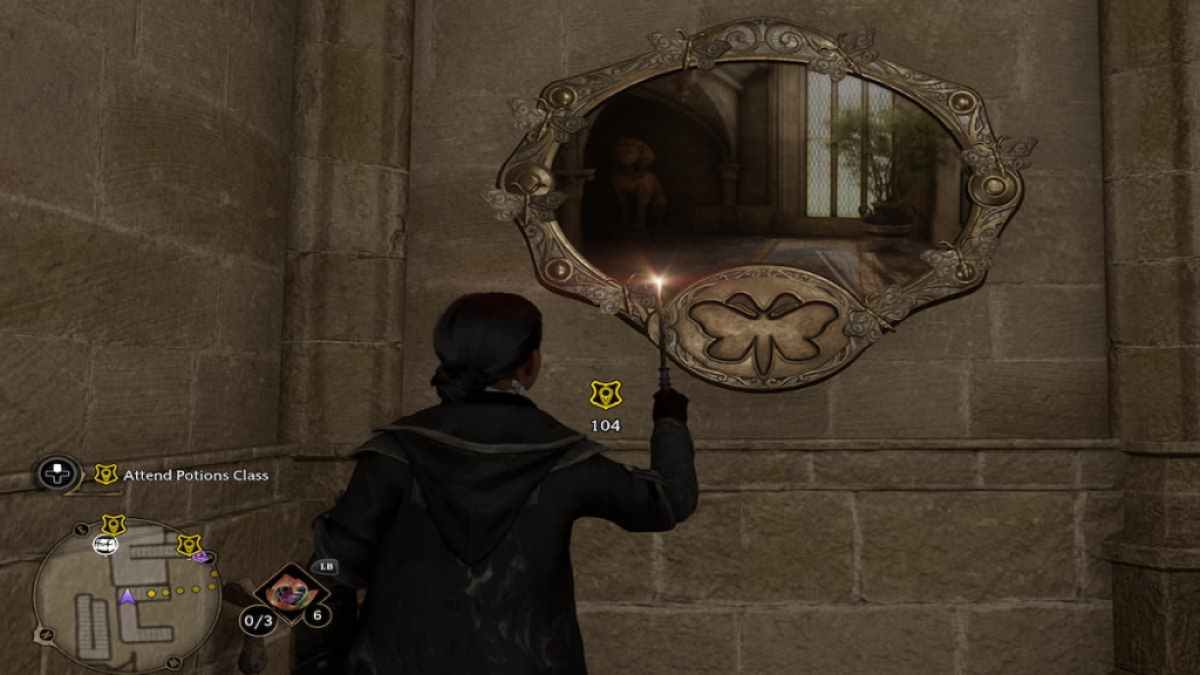
Potions Classroom
utilize the Potions Classroom Floo , enter the door lead inside , and then head down the spiral staircase past the classroom entrance . Continue all the way to the bottom to find a House Cabinet and , beside it , a locked threshold . Use Alohomora to unlock the door and then uphold into the hall . As you head through the hallway , you ’ll settle the bod on the right-hand side .
To regain the moth , continue through the hallway until you get to the room with the round display . On the correct side of the room , the moth is resting on the top of the troll display .
Trophy Room
From the Trophy Room Floo Flame , head through the Trophy Room until you situate the metallic element logic gate leading further up the step . uprise up through the metal gate and up all the steps and the spiral staircase until you turn over the ingress to the Headmaster ’s Office . The Frame will be just to the right of the entryway .
To find the moth , take the air back down the spiral stairway until you come to the bottom , where there is a wooden archway . The moth is resting on the top of the archway for you to grab with Lumos .
Hogwarts North Exit
Take the Hogwarts North Exit Floo , turn around , and head up right back into the logic gate . Once you walk through the logic gate , turn to your left . There will be a shed directly in front of you . Enter the shed and then place the locked threshold in front of you . practice Alohomora to unlock the point one lock , and the moth picture is straight to your right wing on the wall .
The picture reveals a pillar . To find the moth , head back out of the shed and take a left toward the tower . take the air past the stairs and lower tower door . wax over the low stone wall , and the moth is cling to the outer wall of the tower .
Clock Tower Courtyard
Take the Clock Tower Courtyard Floo and head to the locked doorway on the right side of the large gate . utilise Alohomora to unlock it and head inside the entrepot room to find the human body on the wall to the right hand .
To find the moth , channelise back out into the courtyard and then choke out of the logic gate into the away courtyard . Immediately take a right and through the stone archway , and you ’ll retrieve the moth clinging to the stone wall in the right recession .
Gryffindor Tower
Take the Clock Tower Courtyard Floo , then work and head through the room access right beside the Floo Flame . Walk across the outside span and recruit the Gryffindor Tower . immediately to your leftfield will be a large single-valued function . Use Depulso to hit the push above it and give a room access into a storage area . The Moth skeleton will be in the far left corner .
All Hogsmeade Moth to the Frame Locations in Hogwarts Legacy
Water Wheel Hogsmeade
Hogsmeade has plenty of goodies to bring out , including some hidden moth pictures . These ones are a piece lower to the primer , but you could still easy locate them using Revelio and looking for that blue schema . You ’ll notice one on the northeast side of Hogsmeade at the construction with the pee bike . The impression will reveal a lamp post just down the path from the building where you could discover its moth .
Hog’s Head Alley Hogsmeade
You ’ll find another frame tuck away in Hogsmeade toward the lower southeast side . If you head toward Hog ’s Head and take the air around the back of the buildings to Hog ’s Head Alley , you ’ll find the picture leaning against the edifice .
Climb over the stone fencing and headspring toward the rightfulness to find a planetary house with a dock stretching out behind it . You ’ll see the large cask against the side of it , which equalise up with the picture , and you’re able to find the moth there .
Dogweed & Deathcap
This obscure frame is locate in theDogweed & Deathcapshop on the northwestern side of Hogsmeade toward the fringe . you’re able to situate it by the mushroom image record on your map . As soon as you enter the workshop , attend to the rightfulness , and it ’s leaning against some plantation owner .
The painting reveals a chimney glint over a hill . To find the moth , exit the shop and straightaway back your way of life around the side to the back exterior of the workshop . You ’ll require to climb up some rocks and a slight Benny Hill . Once you spot the chimney , the moth is clinging to the side of it for you to grab with Lumos .
South Hogsmeade
From the South Hogsmeade Floo Flame , wrench to your right , and you ’ll incur the moth frame behind the firm with the red lawn cart . The picture reveal a vista slightly outside of Hogsmeade with a stone fence .
To find the moth , deform around take the air down the steps , and follow the track leading off from the town . Turn left around the corner of business firm , and you ’ll discover it just past an eye - chest on the gem fence behind one of the houses .
The Old Fool Abandoned House
This frame is located in the abandoned house , The Old Fool , on the upper N side of Hogsmeade . It is just left of Dogweed & Deathcap shop , slightly further out from town . You ’ll require to employ Alohomora level one to unlock the doorway , and then you ’ll find it hanging on a wall to your rightfulness .
To find the moth , walk back out of the theater and take the air to your leave all the way around to the back of the business firm . You ’ll notice the rocky cliffside jibe the scene and spot the moth resting on it .
These are all twenty of the moth characterisation location . Completing these challenges is a great way to earn unique rewards for your character and find out Modern locations and secrets around the globe .
Screenshot by Pro Game Guides
look for more Pro Game Guides Hogwarts Legacy depicted object ? Check out our guides onHow to earn money / money glitch in Hogwarts LegacyorHogwarts Legacy Merlin Trials – All Puzzles and Solutions .
Screenshot by Pro Game Guides
Screenshot by Pro Game Guides
Screenshot by Pro Game Guides
Screenshot by Pro Game Guides
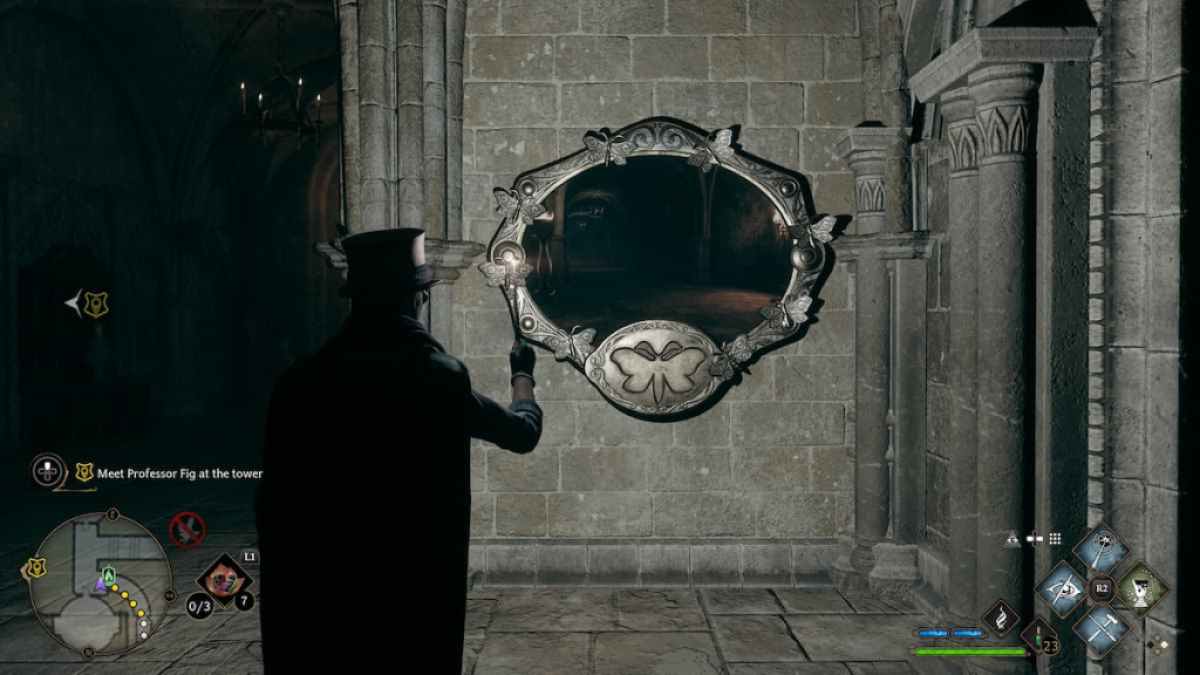
Image by Pro Game Guides
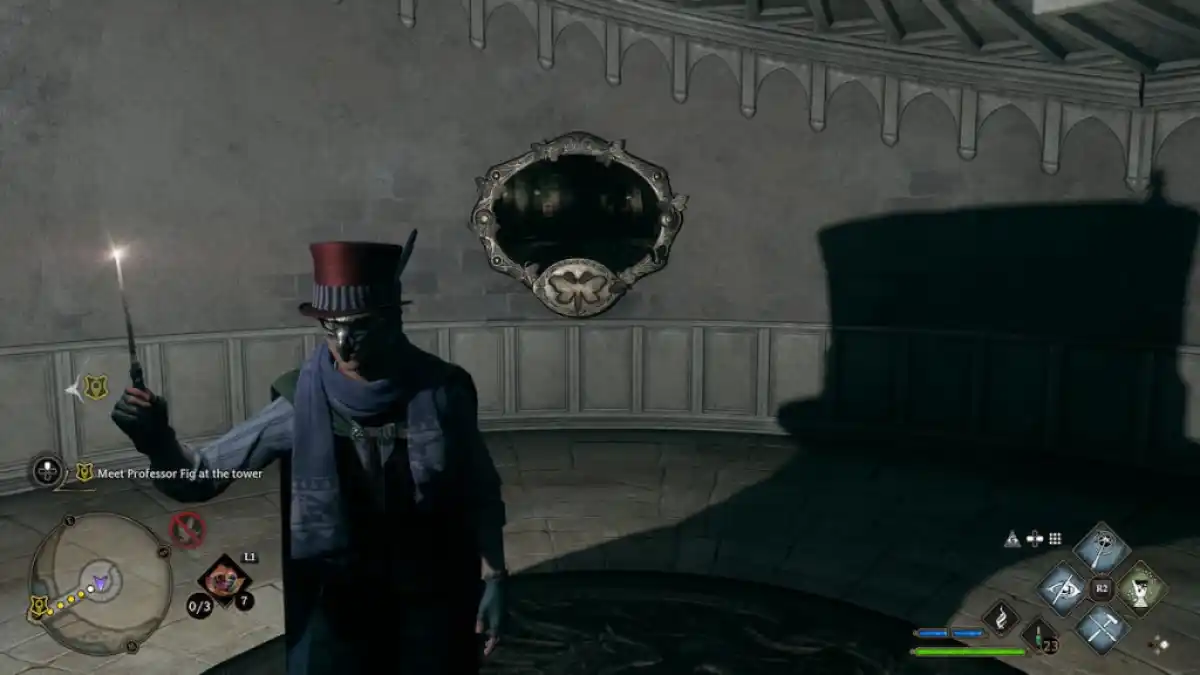
Image by Pro Game Guides
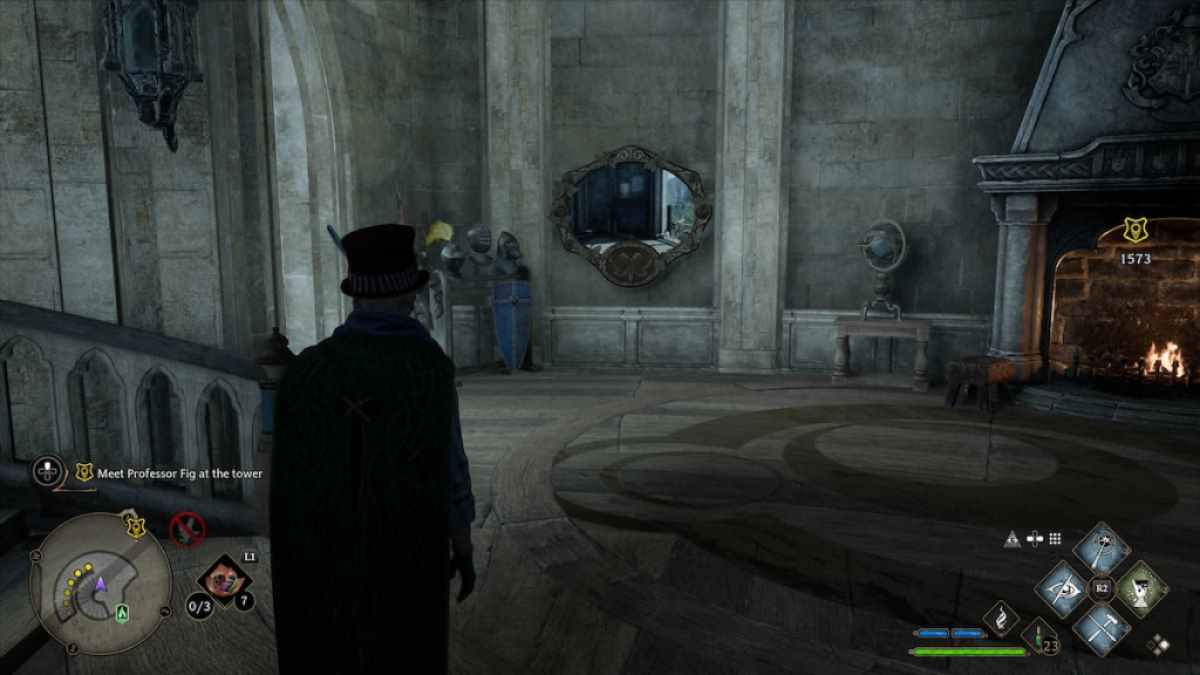
Image by Pro Game Guides

Screenshot by Pro Game Guides
Screenshot by Pro Game Guides
Screenshot by Pro Game Guides
Screenshot by Pro Game Guides
Screenshot by Pro Game Guides
Screenshot by Pro Game Guides
Screenshot by Pro Game Guides
Screenshot by Pro Game Guides
Screenshot by Pro Game Guides
Screenshot by Pro Game Guides

Screenshot by Pro Game Guides
Screenshot by Pro Game Guides
