This map is small , but it sure is cramped .
The Outlast Trials Challenges start to amp up the trouble for Program 3 , ingest office in an orphanhood . The mathematical function is small and feels claustrophobic with how little way there is between some area . There are a caboodle of loops and billet to hide still , but you ’ll desire to organise with your teammates just who is distracting enemies like Mother Gooseberry . This is what you ’ll have to do for both the Feed The Children and Foster The Orphans MK Challenges in Outlast Trials .
Outlast Trials - All Program 3 Cleanse The Orphans MK Challenges – Full Walkthrough
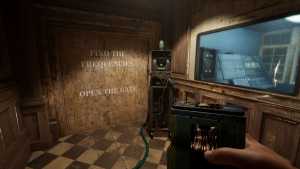
How to complete Feed The Children in Outlast Trials
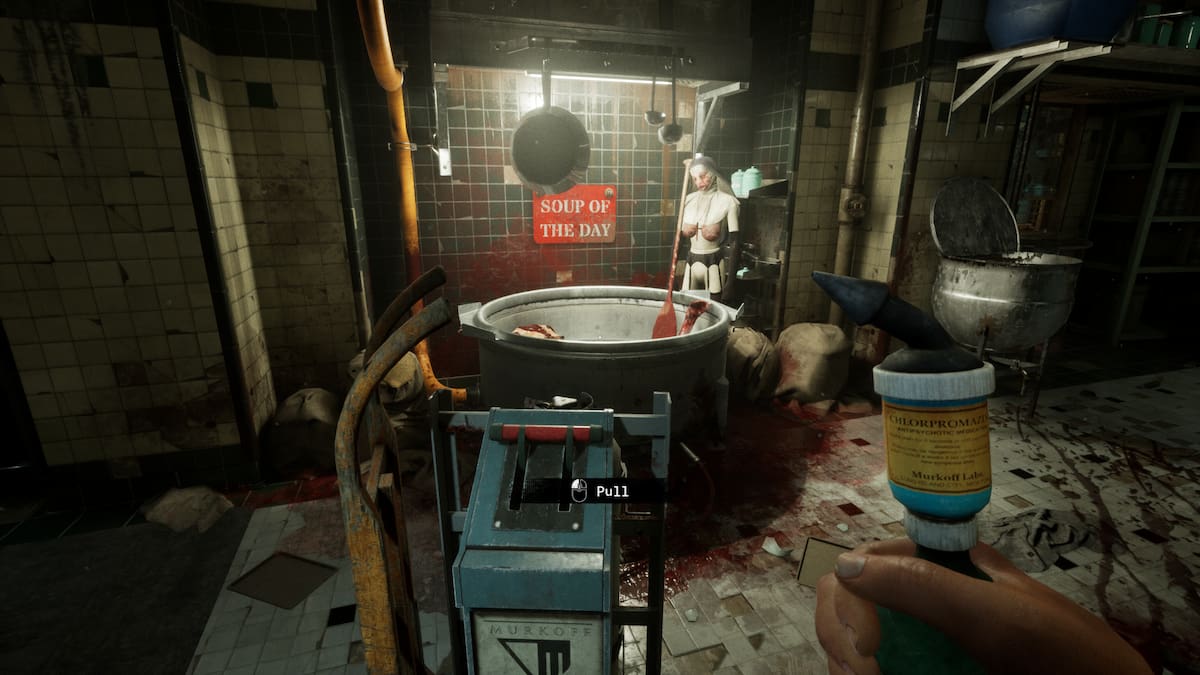
TheFeed The Children MK Challengeof The Outlast Trials has you take care for nursing bottle ofbleachin two different areas of the orphans' asylum to pour into thesoup . These are heavy object , meaning your movement speed will be slowed down while you ’re carrying the nursing bottle , and you ca n’t use your items until you drop them first . Adrenaline is one way to increase your speed while bringing them back to the kitchen , but you may also get the Tier 2 prescription drug to increase your upper while carry large objects . In a squad setting , you ’ll desire to protect the person holding the bleach with the other people disquiet , stunning , or blinding the enemies for them .
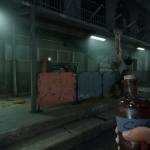
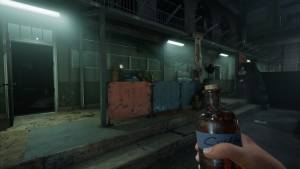
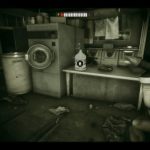
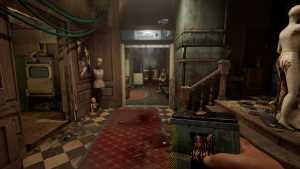
The area on the left lead to an open courtyard with a building on the left and right side where the bleach can breed . The building on the left has no Christ Within until you shift toward the right wing and hasa pickle in the bathroomto loop enemies around . The building on the rightfulness has a swimming pool and a few room surrounding it that top back into the edifice on the leftfield . You ’ll be taking advantage of the maw more than anything if you ’re looping around whenever you ’re caught . If you ’re work solo , you might require to take bottles with you for these areas .
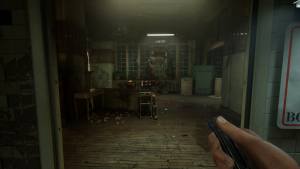
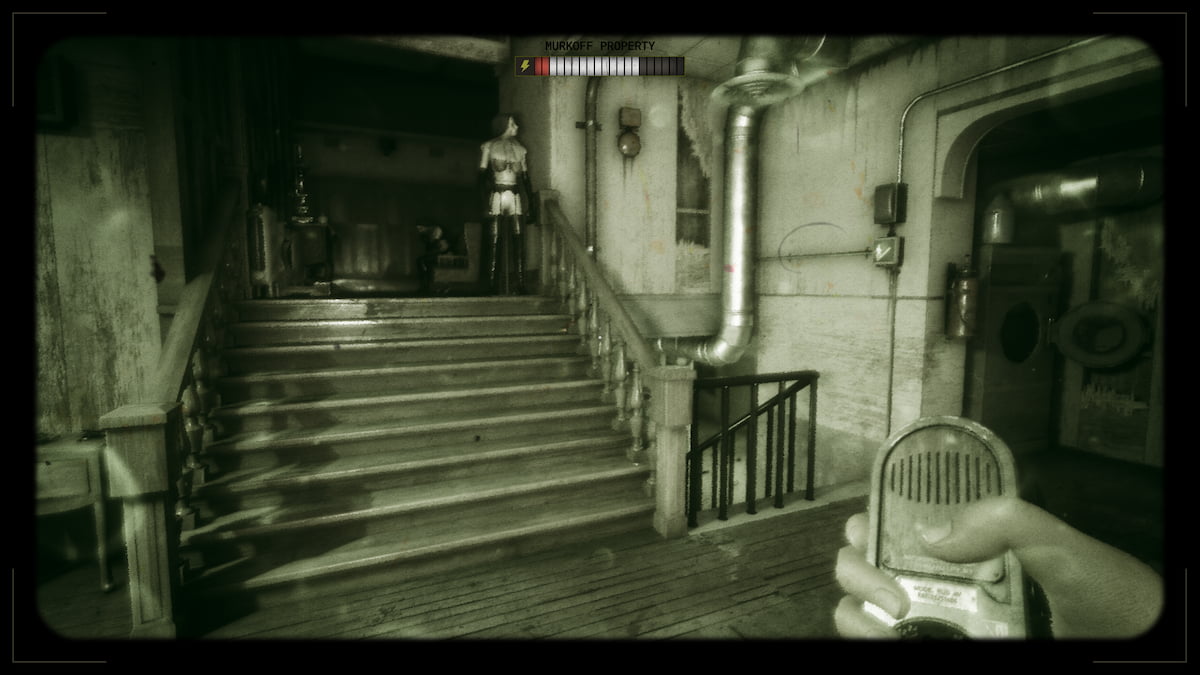
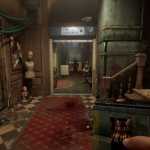
The other area is to the rightfulness of the soup and has an upstair and downstairs area . They both connect at some point , with the upstairs being a gloomy chapel and the downstairs being a store area . The chapel is easy to crouch and cover in while carry bleach , but there are n’t many places to go if catch . This can lead to dropping the whitener , finding a place to hide , and yield to a room full of enemies . In a squad , this is a passel easy , but in solo , this may require going down the stairs to make noise and then going back to the chapel after they are led aside .
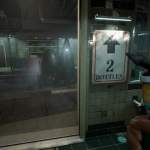
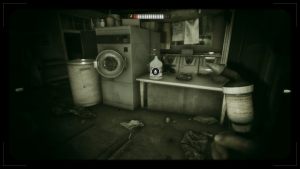
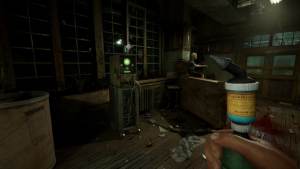
The downstairs area has a lot of items to amass but is very bright illuminated , hold it hard to catch the bleach and sneak back up . If you unlock some of the doors that lead straight to the step , this will make your loss a raft easy , even if you ’re being chased . close up every door behind you will give you enough time to land the bleach close enough to the soup that you shake off it , hide , and then pick it back up once the enemies are on their patrol again .
Related : All enemy types in Outlast Trials
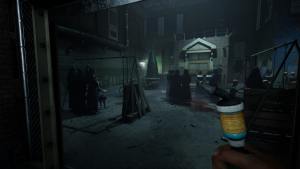
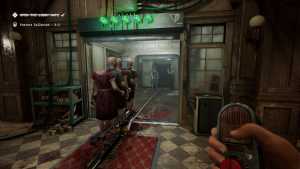
If you result bleach behind , the symbolic representation will still show up for you , so do n’t be afraid to drop it , even in the dark . If enough sentence overtake or you ’re cheeseparing enough to the whitener , these symbols will show up for you mechanically . Once you ’ve collected all the bottle and poured them in , you ’ll just have to press the push to feed the orphans . The gates will close , Mother Gooseberry will spawn , and you ’ll have to run to the exit . you’re able to obliterate before she shows up or run back to the entryway and throw bricks at her as she tries to catch you .
Screenshot by Pro Game Guides
How to complete Foster The Orphans in Outlast Trials
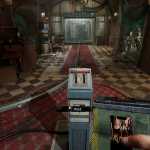
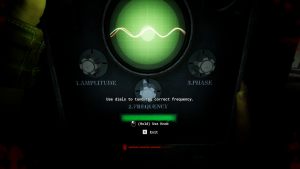
In theFoster The OrphansMK Challenge of The Outlast Trials , you ’ll have to aline the frequency of several devices to open up the gate to the exit . The trial trigger after pulling the lever , lend the orphan to the logic gate . The first equipment will be to the left field of the main gate , and you ’ll need to correct the Amplitude , Frequency , and Phase to melody to the correct frequency . Your Blind Rig Upgrades will come in handy here to keep enemy off of you while you work on these simple machine .
Related : How to complete Grind The Bad Apples Program in The Outlast Trials – Full Walkthrough
After adjusting the frequency of the first motorcar , the gate to the right field of the lever tumbler will unlock . From there you need to find more machines on the map . Mother Gooseberry patrols around the map from the start , and you ’ll have to stand out in the open when you ’re adjusting the oftenness . If you ’re toy with a grouping , you’re able to all go for a machine each , but there are more than four enemies on the map . If any of you get spotted , you ’ll have to loop them until they lose sight of you and render again , but you may re-start when you return to the car .
Screenshot by Pro Game Guides
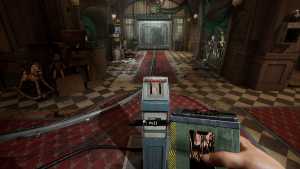
The wave do n’t have to be exact , leave a little room for error . If you ’re pretty faithful to it match , sometimes all you ’ll necessitate to do is allow go of your telephone dial , and it ’ll count for you . If you ’re tight but get fascinate , ping the automobile so your teammates have it away it ’s safe to start using the dials . When all the machine are set to the correct frequency , you just need to head back to the orphan on the railing and press the push button to start the gate .
For assistance with the previous MK Challenges in Outlast Trials , check outAll Program 1 Kill The Snitch MK challenge in Outlast Trials – Full WalkthroughandAll Program 2 comminute The Bad Apples MK challenge in Outlast Trials – Full Walkthroughon Pro Game Guides .
Screenshot by Pro Game Guides
Screenshot by Pro Game Guides
Screenshot by Pro Game Guides
Screenshot by Pro Game Guides
Screenshot by Pro Game Guides
Screenshot by Pro Game Guides
Screenshot by Pro Game Guides
Screenshot by Pro Game Guides
Screenshot by Pro Game Guides
Screenshot by Pro Game Guides
Screenshot by Pro Game Guides
Screenshot by Pro Game Guides
Screenshot by Pro Game Guides
Screenshot by Pro Game Guides
Screenshot by Pro Game Guides

Screenshot by Pro Game Guides
Screenshot by Pro Game Guides
Screenshot by Pro Game Guides
