The sodding place to test your skills .
Atomic Heart ’s Polygon Testing Grounds compound many machinist of the biz to create a puzzling challenge . There are many Testing Grounds to discover and complete , each one providing rare scratch . You will likely encounter Polygon Testing Grounds 1 first , which may allow for you wonder how to enter and make out Testing Grounds 1 in Atomic Heart .
How to complete Testing Grounds 1 in Atomic Heart
Atomic Heart ’s Polygon Testing Grounds 1 ask the use of Shok . You must also use a Dandelion Camera to afford the door for this facility . We have check off the location of the hacking station , Testing Grounds 1 , and camera in the image below .
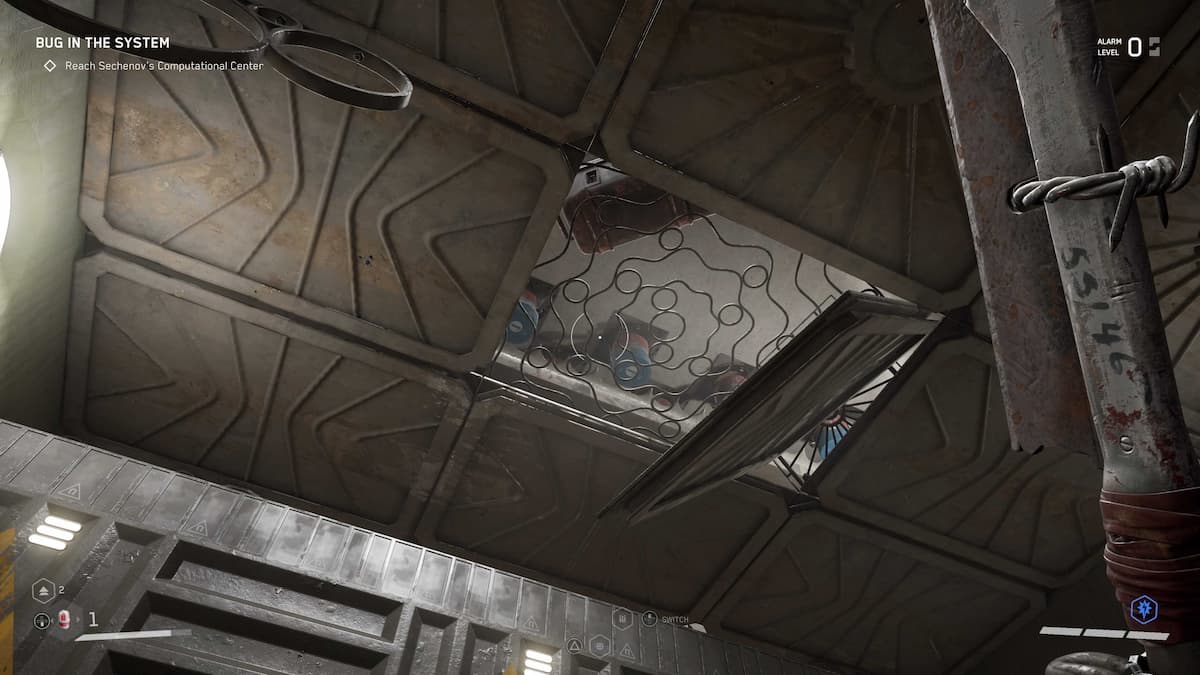
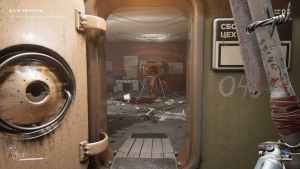
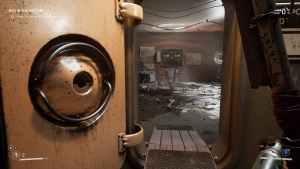
Once inside , proceed until you come to a bulwark . There is an initiative in the roof that reveals some magnets . Use Shok on the attraction to lift the rampart . Cross the room and enter the door before the paries comes down .
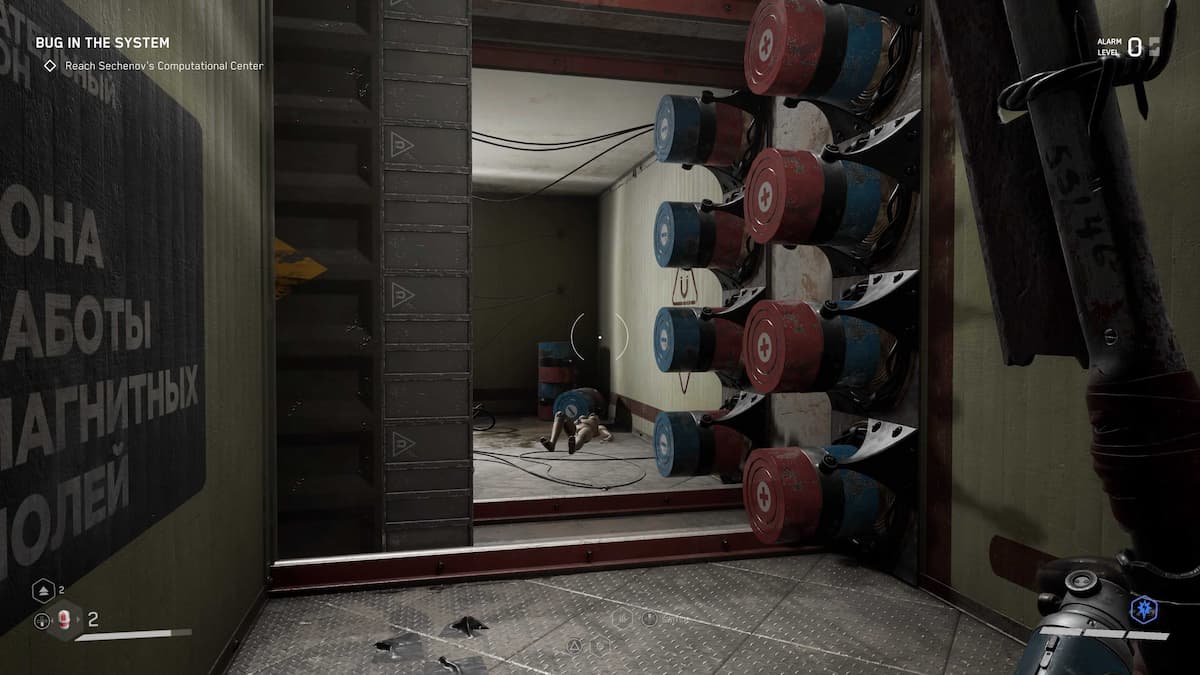
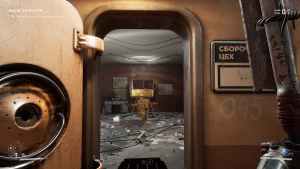
Make your way to the shopping center weapons platform using Shok to bring up the walls . Then , put up on the crimson square to the left of the advance platform . Jump to the platform that has the cherry-red and blue magnets . Jump to the platform with the doorway and proceed .

keep through the hallway until you get to a burrow . Climb into it . Move forward and take the first right . Turn left and drop into the low-pitched tunnel . Go left and exit the tunnel . You will discover yourself in an open room — go to the door with the orangish light and open up the breast on the dancing golem . This will reward you with the Fox - Handle .
call on around and go through the door beside the tunnel . Go to the back right quoin of the room with the red machinery . Enter the next room and take the air around the recession , go up the stair , and through the muddle in the wall . There will be a break room to your left .
Related : How to flip objects in Atomic Heart
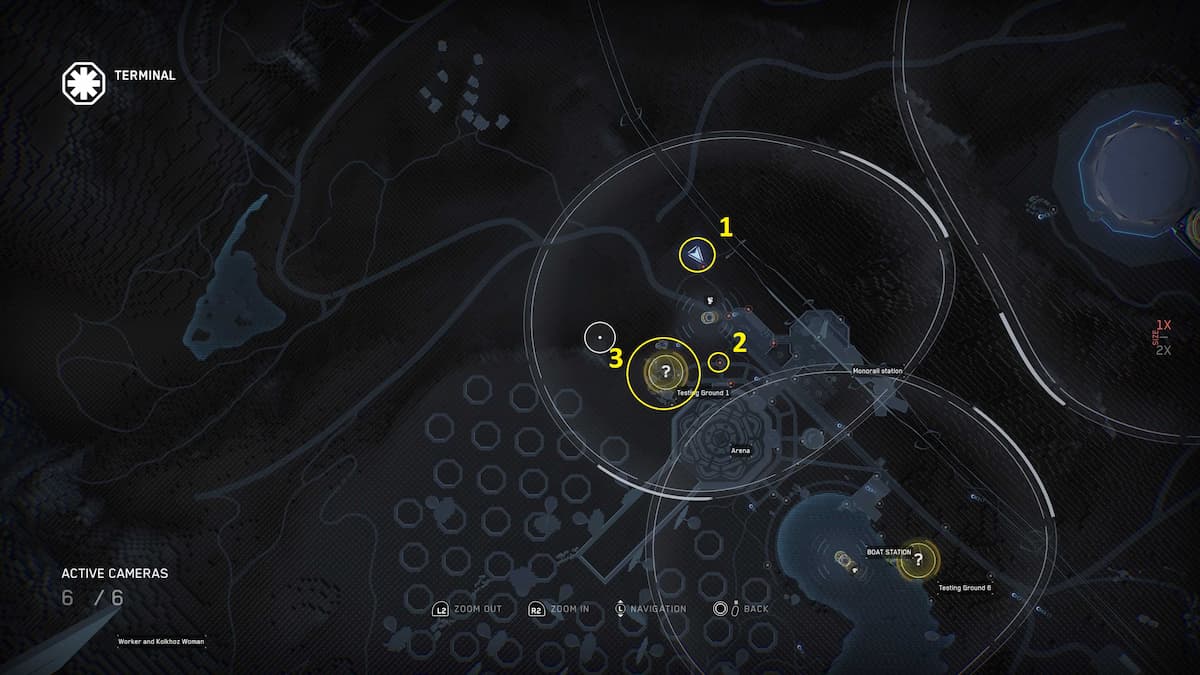
Image by Pro Game Guides
Go through the door and practice Shok to move the paries . Continue and go through the room access on the far side of the wall . There will be another threshold with orange light and a dancing dresser automaton . unfold this to claim the Expansive Converter .
reverse and head back to the room with the Shok wall . Shok the magnets again to reveal a Modern course on the right . proceed forth until you come to another way with attraction and walls . You will require to use Shok to find a way of life across the room .
Related : Is there fast locomotion in Atomic Heart ?
Screenshot by Pro Game Guides
Jump to the red platform to your right , then the dreary one in front of that . Shok the magnets , rise , and dash to the lowered carmine chopine before you . cautiously walk on the cherry-red wall attached to the platform and Shok the magnet . Jump to the puritanic platform before you and then the red wall . Walk forward to the cherry-red platform to the leftfield of the exit and Shok the magnets .
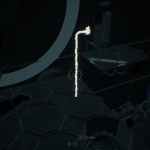
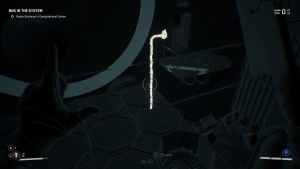
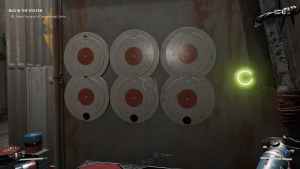
Use yourscanner , and you will see a wire leading from the threshold to a puzzler . Solve the teaser relay by aligning the color to spread the doorway and Shok the attractive feature to raise the platform you are stand up on to reach the dispirited political platform in front of you . jumpstart across and go through the room access .
Go through the mansion house and turn left . You will amount to another threshold with an orangish visible light and a chest automaton . spread this to claim the Extended Magazine and Reverse Shot . you’re able to go back and direct up the stairs to claim some loot , or call the elevator and exit Testing Grounds 1 .
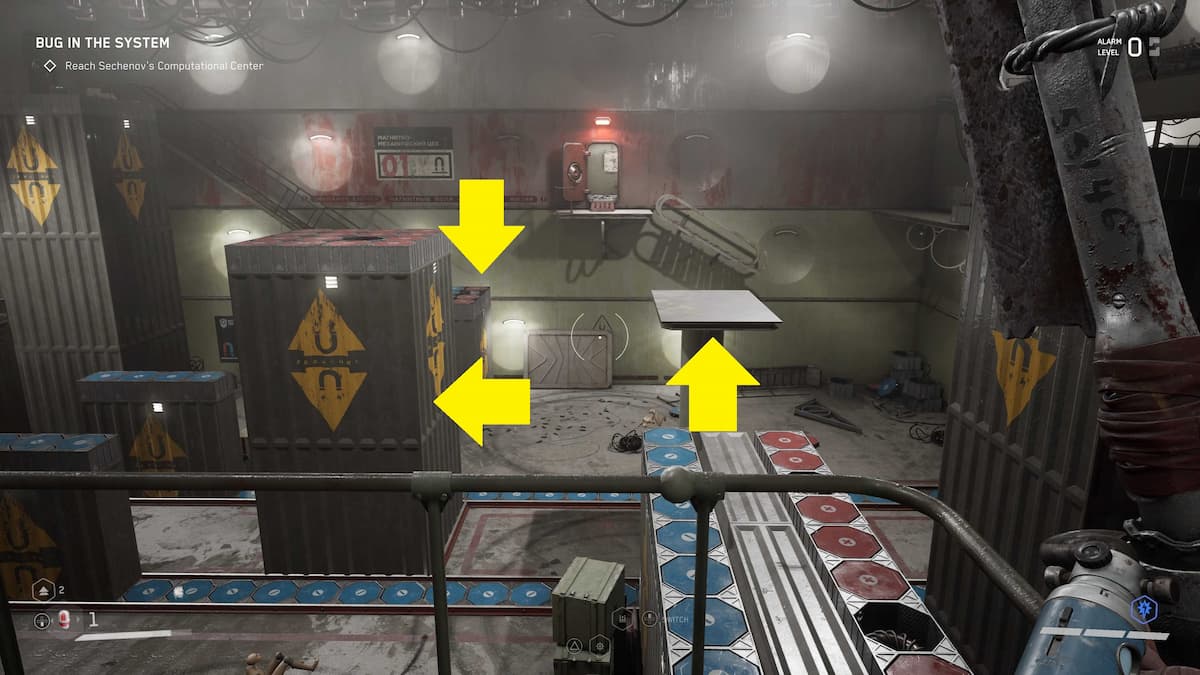
Image by Pro Game Guides
For more info on Atomic Heart , check outCan you respec in Atomic Heart?andIs Atomic Heart on the Xbox Gamepass at launch?on Pro Game Guides .
Image by Pro Game Guides

Image by Pro Game Guides
Screenshot by Pro Game Guides
Screenshot by Pro Game Guides
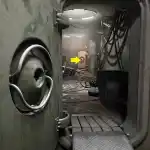
Image by Pro Game Guides
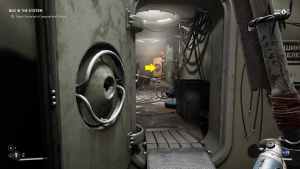
Image by Pro Game Guides
Screenshot by Pro Game Guides
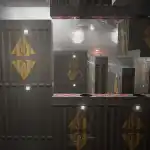
Image by Pro Game Guides
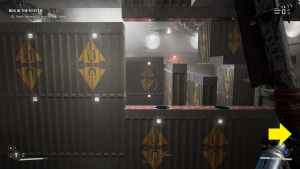
Image by Pro Game Guides
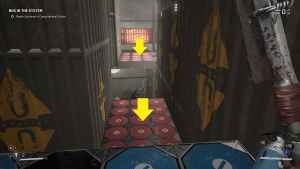
Image by Pro Game Guides
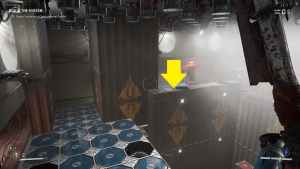
Image by Pro Game Guides
Screenshot by Pro Game Guides
Screenshot by Pro Game Guides
Screenshot by Pro Game Guides
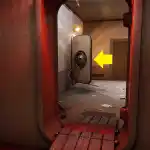
Image by Pro Game Guides
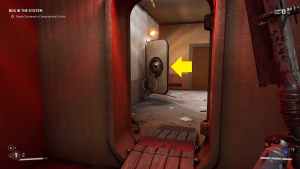
Image by Pro Game Guides
Screenshot by Pro Game Guides

Screenshot by Pro Game Guides
