Another Testing Grounds to lick .
Atomic Heart ’s Polygon Testing Grounds combine many game shop mechanic to create a puzzling challenge . There are manyTesting Groundsto discover and complete , each provide rare loot . This includes Testing Grounds 2 , which may get out you wondering how to enter Polygon Testing Grounds 2 and dispatch it in Atomic Heart .
How to complete Testing Grounds 2 in Atomic Heart
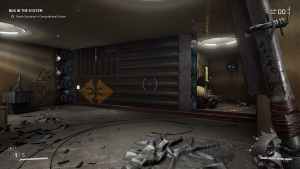
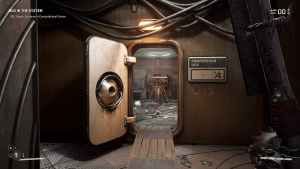
You will need to find a gimmick to hack on into security measures cameras to open up the door to Polygon Testing Grounds 2 . We have score the location of the twist and Testing Grounds 2 in the image below . Use this to make your way into the testing land .
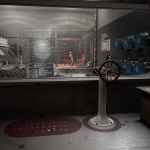
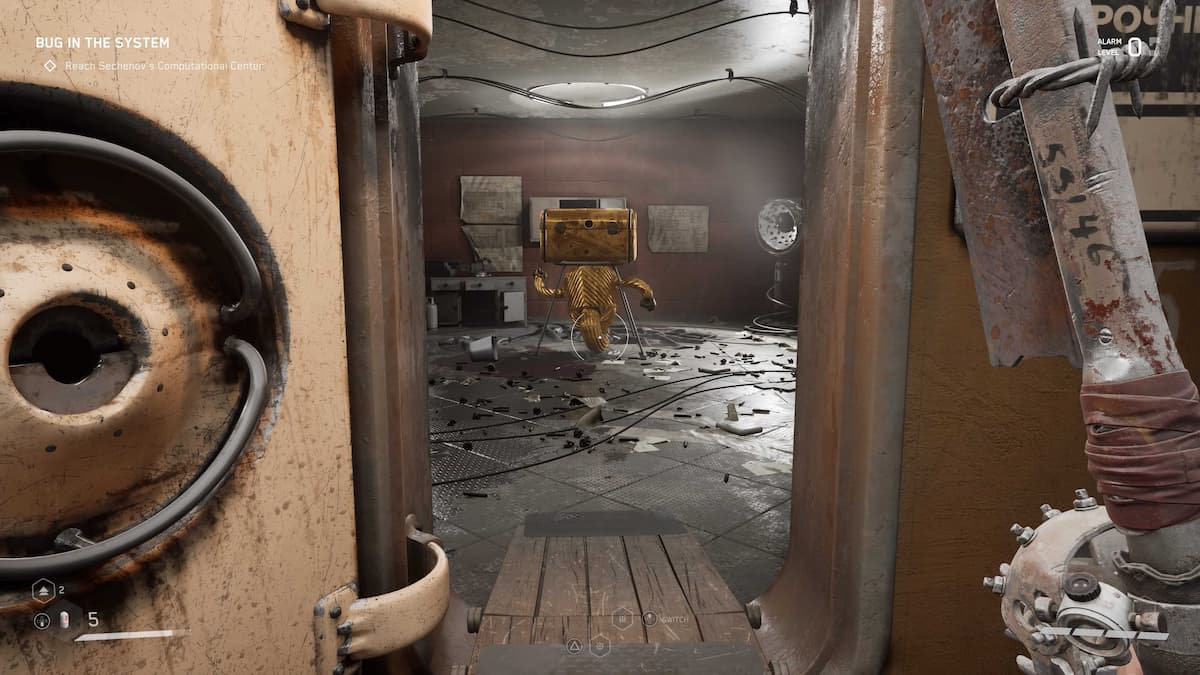
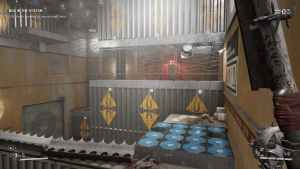
When you hail out of the lift , you could loot the room to the right but will want to take a leftfield to shape up further . Go through the doorway and vote down the enemies there . The next room will contain a revolve diagram and attracter .
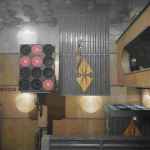
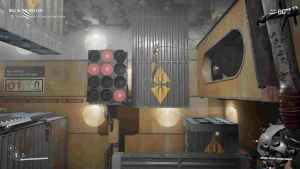
go around the first bicycle once to birl objects on the stationary diagram . Then Shok the magnets to move the wall . Wait for the spread out diagram to have an opening , the red or yellow wall , and make your way across . Rotate the cycle across the way three times so that the gullible storage locker is on top . Go through the opening .

Related : How to fell down while fall in Atomic Heart
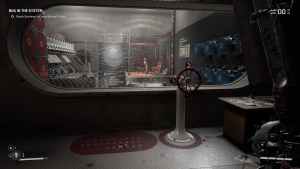
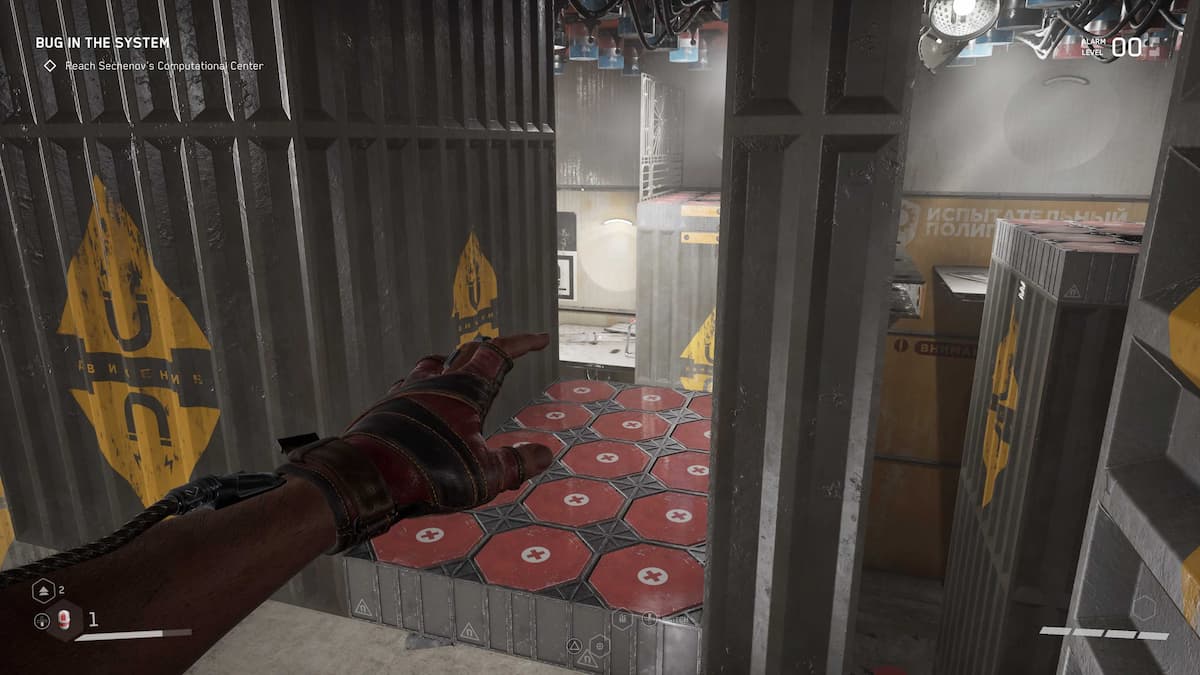
Turn right to find the first dresser and receive the MP - Electromagnetic Polarizer . Exit the way and press the red clitoris to hit the lasers . introduce the room and go left and downstairs to gather loot . To the right wing will lead you deeper into the quickness . Drop down into the bedchamber with the magnets .
Go to the center wall that has yellow handholds . Shok the ceiling magnets and quickly grab the handholds . Climb to the right and jumpstart to the next set of handholds . go up to the left and derail to the ruby chopine . Shok the cap and jump to the red platform with handholds .
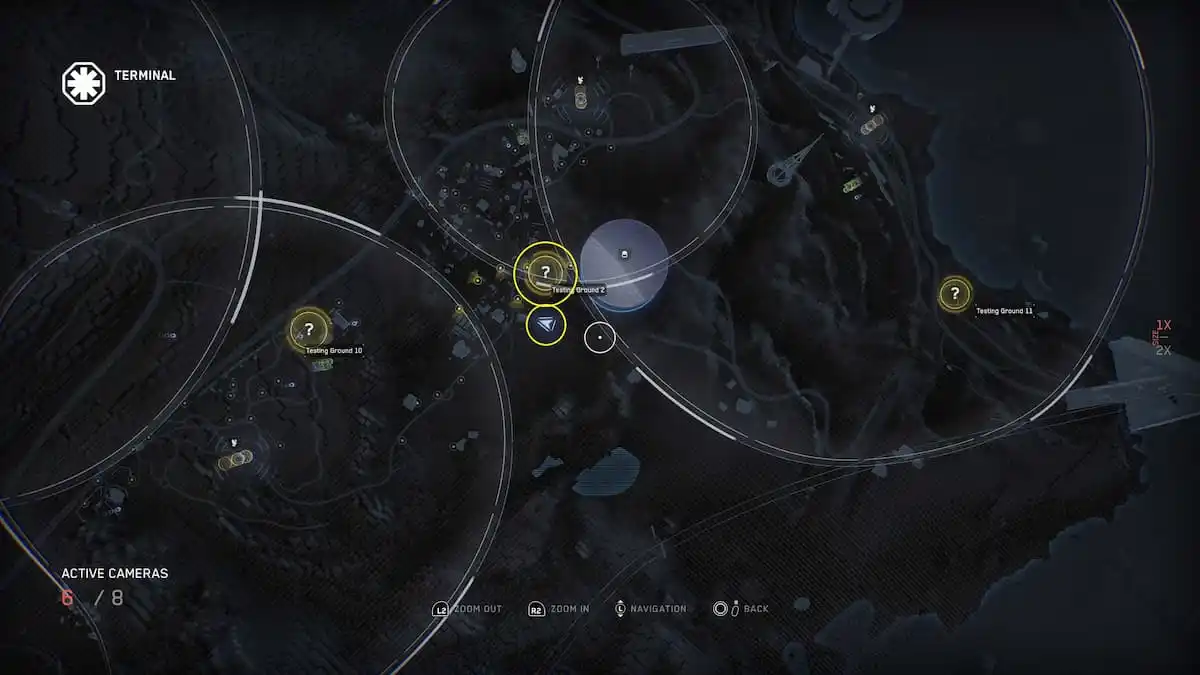
Image by Pro Game Guides
Jump to the ruddy political platform diagonally to your left . Shok the attractor straight above you . Jump to the yellow handholds on the unexpended wall and climb across . Jump to the blue platform in front of you and Shok the magnet . Jump to the handhold on the paries and go allow to the red platform .
rise on the platform in the corner and Shok the disconsolate magnets above you . climb up onto the ruby-red political program rise in front of you . Climb up the yellow wall and remain firm on the horizontal magnet wall . Shok the magnets attached to this wall and climb into the tunnel .
associate : How to increase inventorying space in Atomic Heart
Screenshot by Pro Game Guides
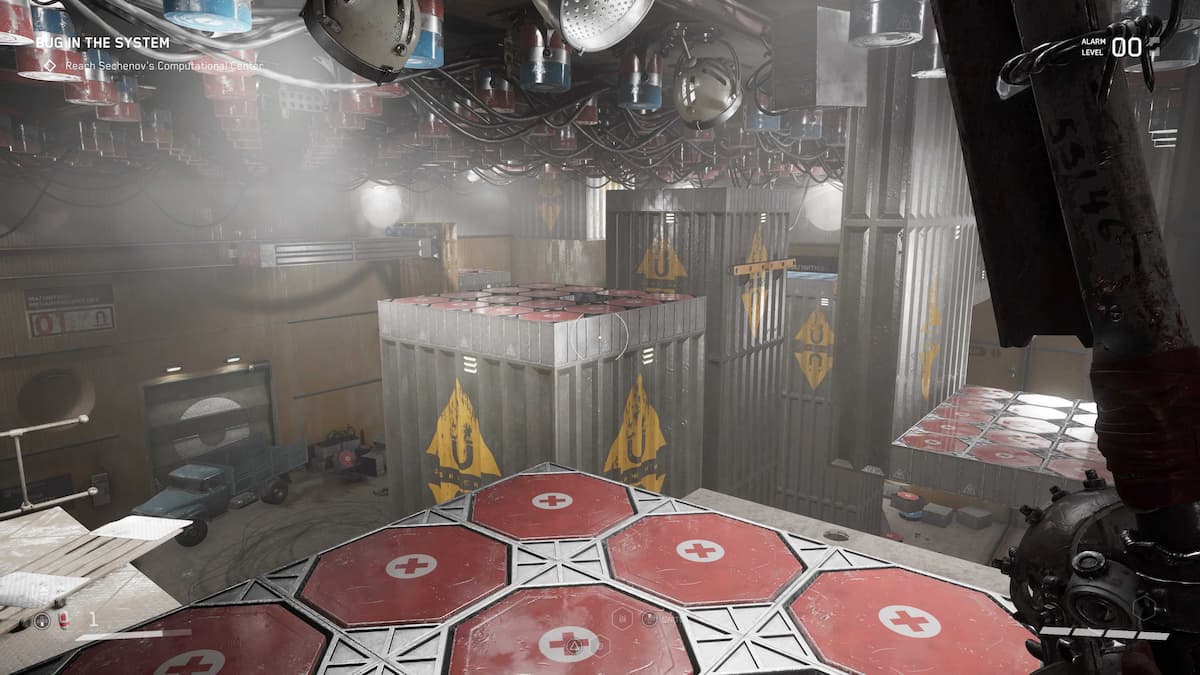
Drop out of the tunnel and go to the right field to find the next chest . Open it to receive the KS-23 Supersonic Vibrator . reverse around , Shok the magnets , and go through the hall . Enter the next way and prepare for another puzzle .
Make your way to the grey political platform , not the magnet one . Jump to the attractive feature wall and Shok the attraction on the ceiling . Jump onto the puritanic platform in the corner and Shok the ceiling . Climb onto the red platform . leap across to the aristocratic program in front of you .
Climb onto the magnet wall . You will necessitate to Shok the roof and then quickly jump as the platform depress across to the blue platform behind the gate . Drop into the John Cage and go through the door . Turn right to find the last chest and the Kalash - Thermal Scope and Snowball - Blade . Take the elevator and get out of Testing Grounds 2 .
Screenshot by Pro Game Guides
For more information on Atomic Heart , insure outAtomic Heart Voice Actors and Cast ListandHow to transfer speech in Atomic Hearton Pro Game Guides .
Screenshot by Pro Game Guides
Screenshot by Pro Game Guides
Screenshot by Pro Game Guides
Screenshot by Pro Game Guides
Screenshot by Pro Game Guides
Screenshot by Pro Game Guides
Screenshot by Pro Game Guides
Screenshot by Pro Game Guides
Screenshot by Pro Game Guides
Screenshot by Pro Game Guides

Screenshot by Pro Game Guides
