A secret base under the edifice .
Atomic Heart ’s Polygon Testing Grounds combine many biz mechanics to create a gravel challenge . There are many Testing Grounds to discover and complete , each supply rareloot . This admit Testing Grounds 8 , which may pass on you inquire how to enter Polygon Testing Grounds 8 and make out it in Atomic Heart .
How to complete Testing Grounds 8 in Atomic Heart
You must first enter the elevator to Testing Grounds 8 . Climb onto the building where Testing Grounds 8 is site and employ the gadget to hack into security cameras . Three circular white object must activate to get to the door . Once you do , lead into Polygon Testing Grounds 8 . We were not able to see the third object , but just mashing the button while switching television camera worked .
Once in the adeptness , channelise to the right and then go in good order again . Go through the opening in the paries to discover the first puzzle . Shok the ceiling magnets to take down the platform with handholds . Jump on and climb left . Jump to the handhold behind you . Then jump to the handhold to your left hand . eventually , climb to your right and jump on the blue platform behind you .
Climb up on the rampart and Shok the roof . take the air to the other side , jump onto the cardinal platform , then jump onto the blue political platform . climb up up the scarlet platform and then leap out to the door . Go through the next threshold and grab the breast on the right hand to get the Zcezedochka - Extra Saw . Turn around and head to the staircase to the left of the first puzzle room access .

Related : Can you place markers on the map in Atomic Heart ?
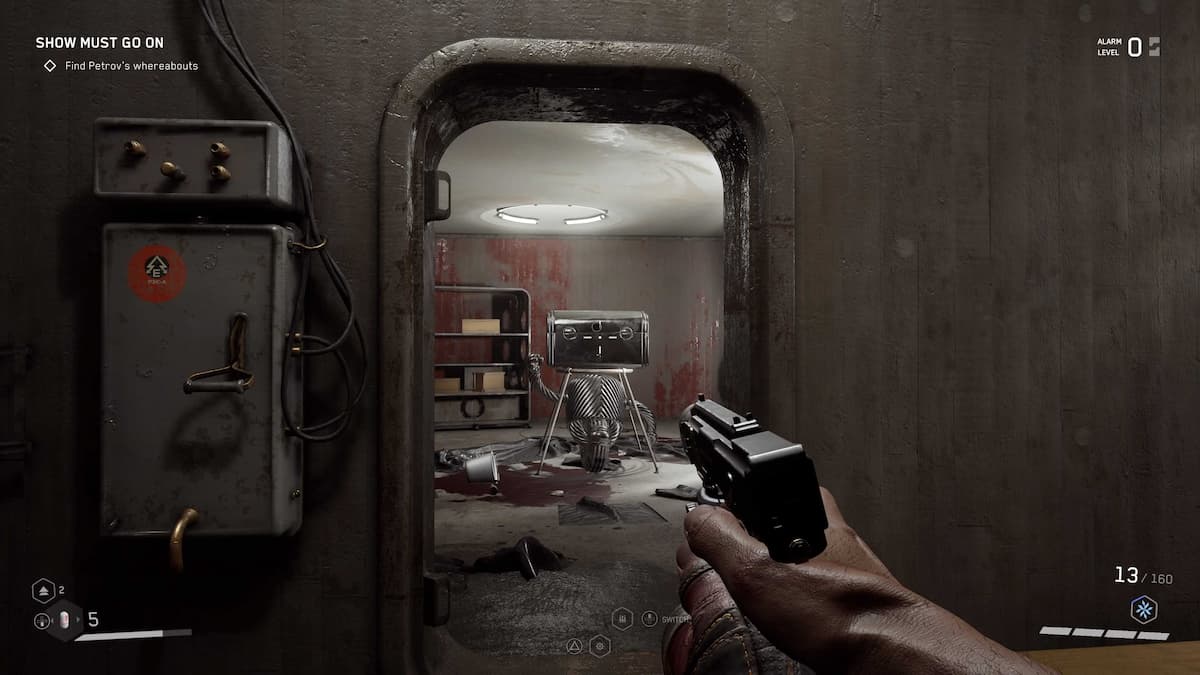
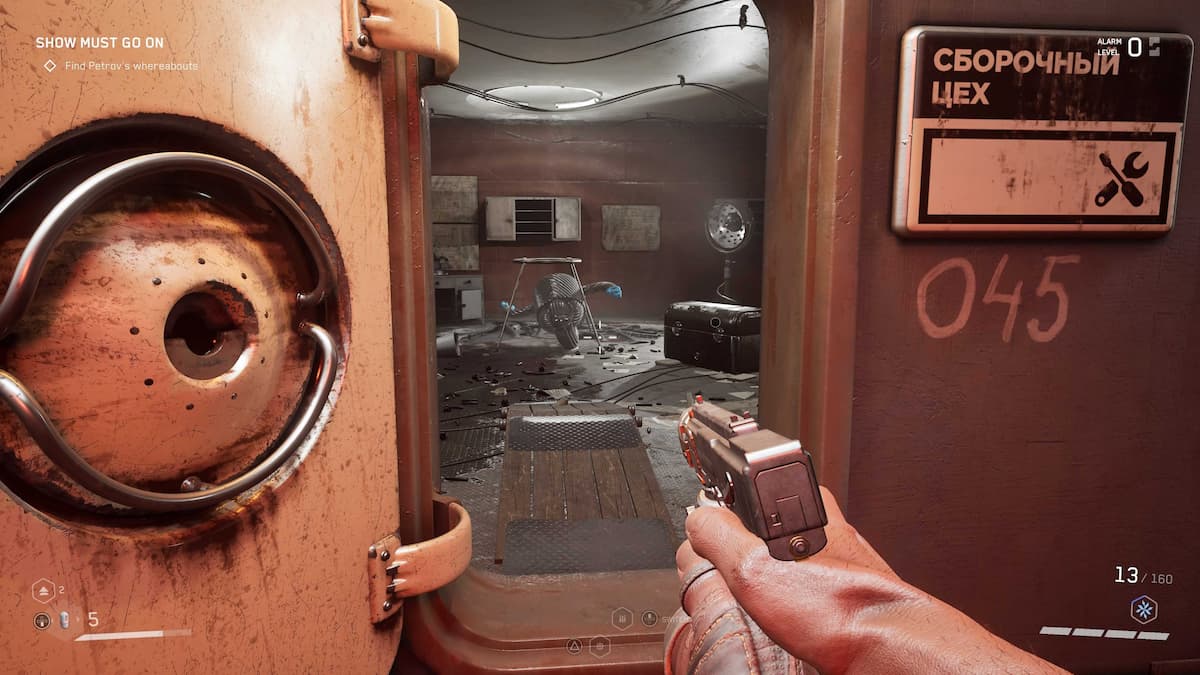
Take a rightfield and go past the blue and green motortruck to find an undecided door . Defeat the enemies that engender to open up the doorway on the far side . Climb up the container to make and go through this doorway . Go down the hall and take the first go out to get the second thorax . This contains the Fox - Blade and Dominator - Homing Bullets .
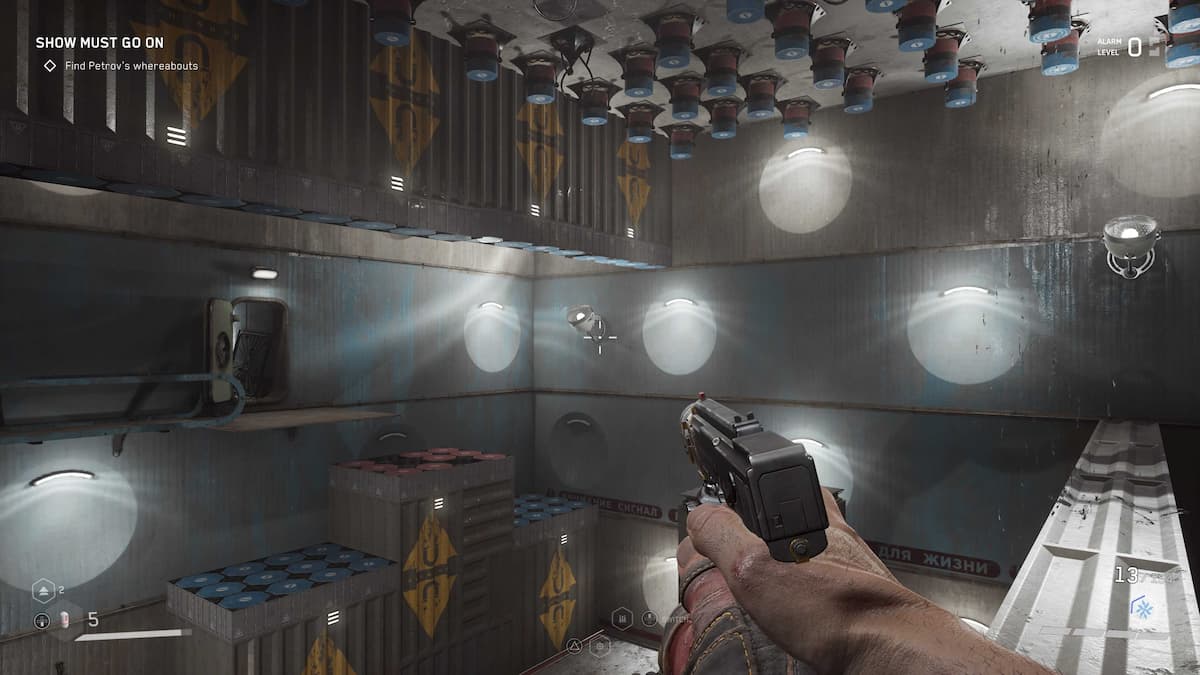
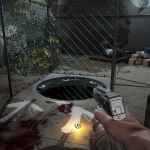
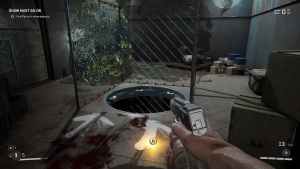
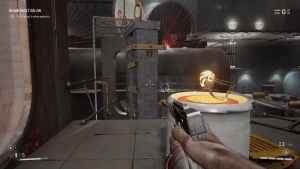
stay to find yourself in a monumental room . Jump across the platforms and go through the unfastened door . You will incur another chest , but the robot has been destroyed , and the hoarded wealth is survive . Turn around and go into the room with the polymer . fall into the blue hole with arrows pointing at it .

Image by Pro Game Guides
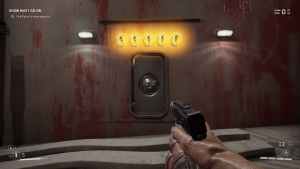
Place five great power orb in the five slots above the door . Then , go into the way beside you and push the carmine button . promptly run back and enter the threshold . On your left is a staircase ; go through the door under this . Walk forward to the wooden Allium tricoccum and grab the might revolve on the platform in front of you . Place in the ability slot up the stairs when you first come in .
relate : Atomic Heart – Polygon Testing Grounds 9 Walkthrough
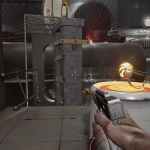
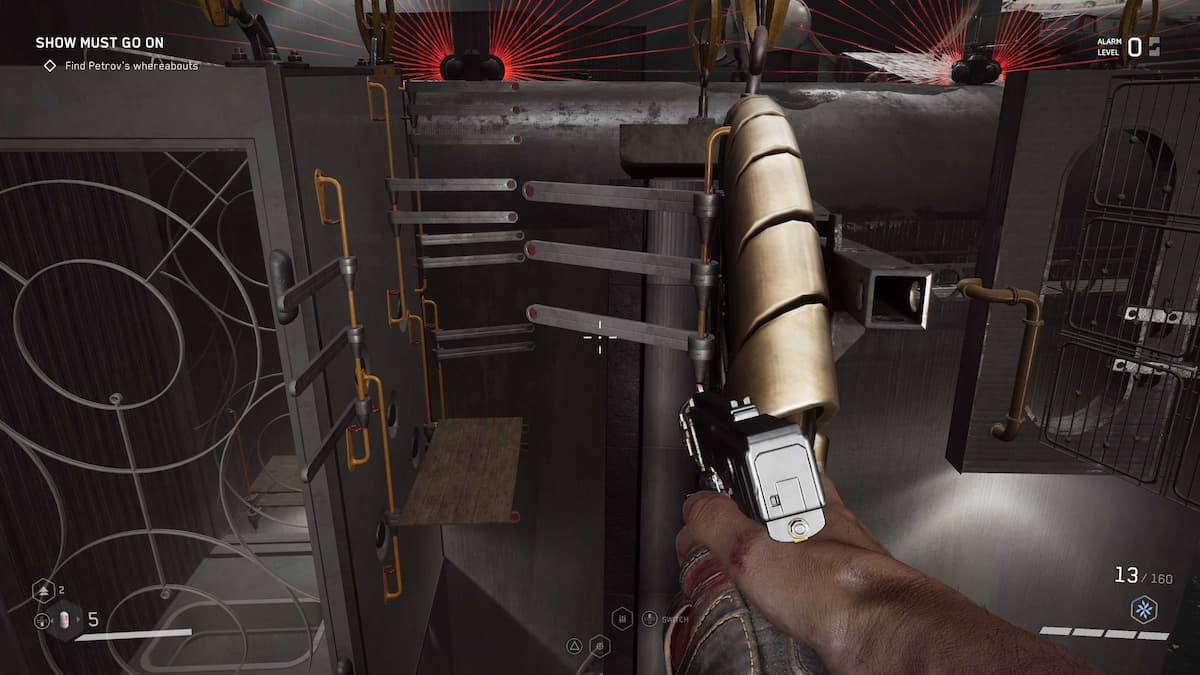
Jump on the handhold that move in front of you and climb around to the gold machine hanging from the ceiling . Jump onto the weapons platform and go up the wood ramp . catch the world power orb and place it in the might post beside you . skip to the handholds that move in front of you . Use these to get in touch with the wooden political program and then climb up the next set of handholds . stick out back and forth until you pull yourself up the yellow ledge .

Image by Pro Game Guides
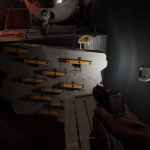
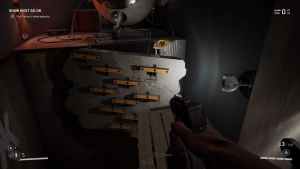
Remove the index orb from the slot to move the political platform you are standing on . Drop down the wooden platform to your right and quickly leap to the yellow handholds as the platform moves away . Climb to the left hand and jump on the handhold bond to the left rampart . Pull yourself up the shelf on your right . Go through the threshold to find the last chest hold the MP - Reinforced Bolt Frame and Swede - Blade .
Step into the elevator shaft to your rightfulness and ride up and out of Testing Grounds 8 . Some enemies will be look top side for you , so defeat them and go down the grim path and out the prominent door .
For more entropy on Atomic Heart , see outAtomic Heart – Polygon Testing Grounds 6 WalkthroughandAtomic Heart – Polygon Testing Grounds 2 Walkthroughon Pro Game Guides .
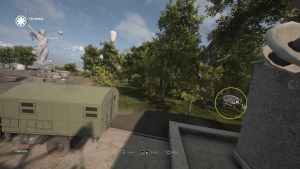
Image by Pro Game Guides

Image by Pro Game Guides
Screenshot by Pro Game Guides
Screenshot by Pro Game Guides
Screenshot by Pro Game Guides
Screenshot by Pro Game Guides
Screenshot by Pro Game Guides
Screenshot by Pro Game Guides
Screenshot by Pro Game Guides
Screenshot by Pro Game Guides

Screenshot by Pro Game Guides
Screenshot by Pro Game Guides
Screenshot by Pro Game Guides
Screenshot by Pro Game Guides

Screenshot by Pro Game Guides
