Are you a diamond in the uncut ?
After resolving the germ problem and collecting the Scarab paint in ' The Wild Tangle ’s Swarm ' pursuance , it ’s time to finally search the Cave of Wonders . Here ’s how to work through all the puzzle .
How to complete ‘Diamond in the Rough’ quest in Disney Dreamlight Valley
The first whole step of this quest is simple ; all you have to do is keep up the Scarab to the large sand pile in The Wastes , where the Cave of Wonders will be opened up . Once the Scarab block propel , be certain to Interact with it to reveal the cave . Then it ’s clock time to lead deep down , leaving poor Gaston behind .
How to find a way to open the gate in Disney Dreamlight Valley
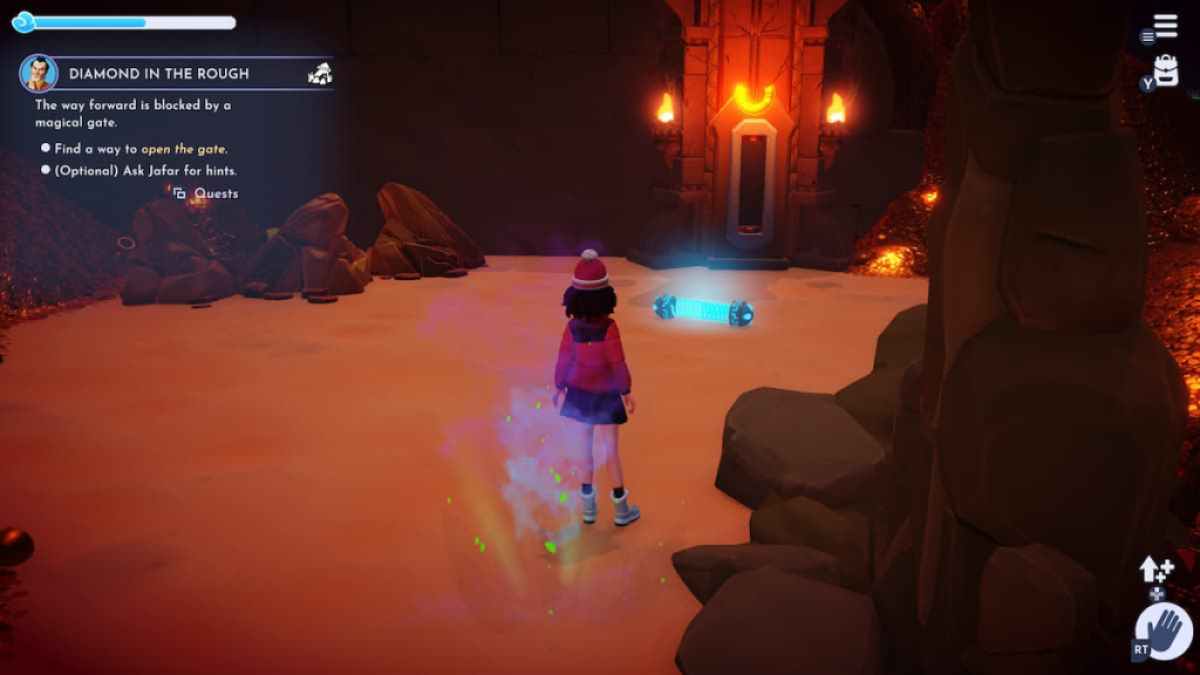
Now you will start a few dissimilar puzzles to forge your direction through the cave . The first one necessitate you to discover a path through the block gate .
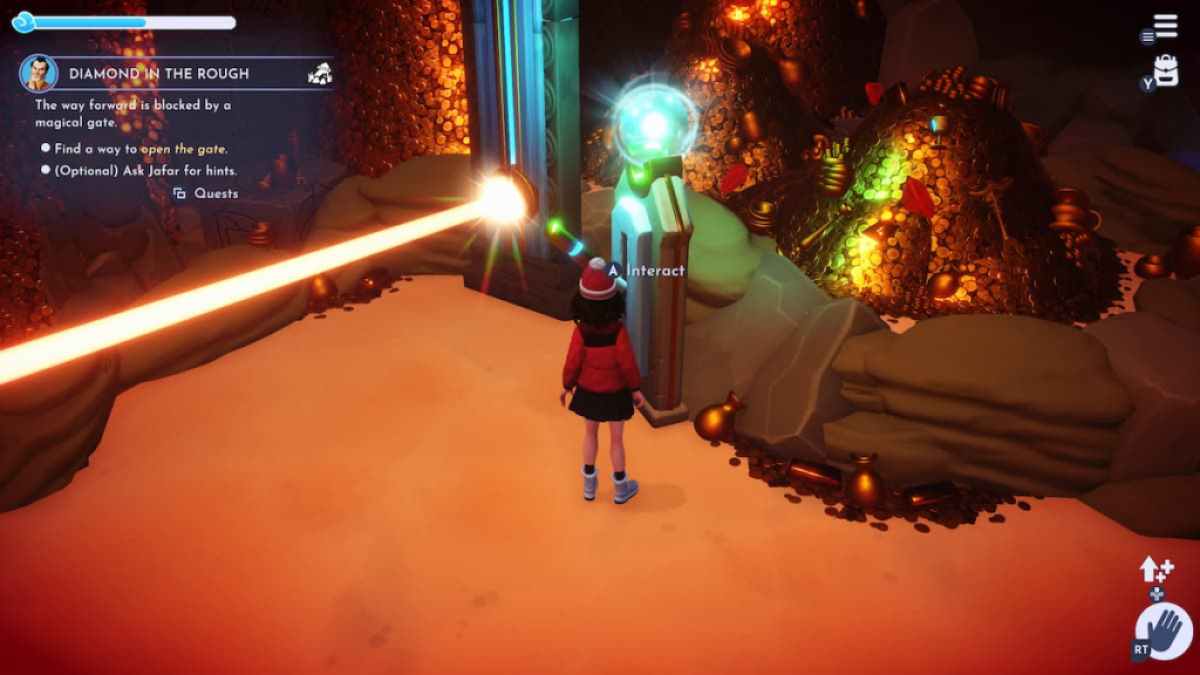
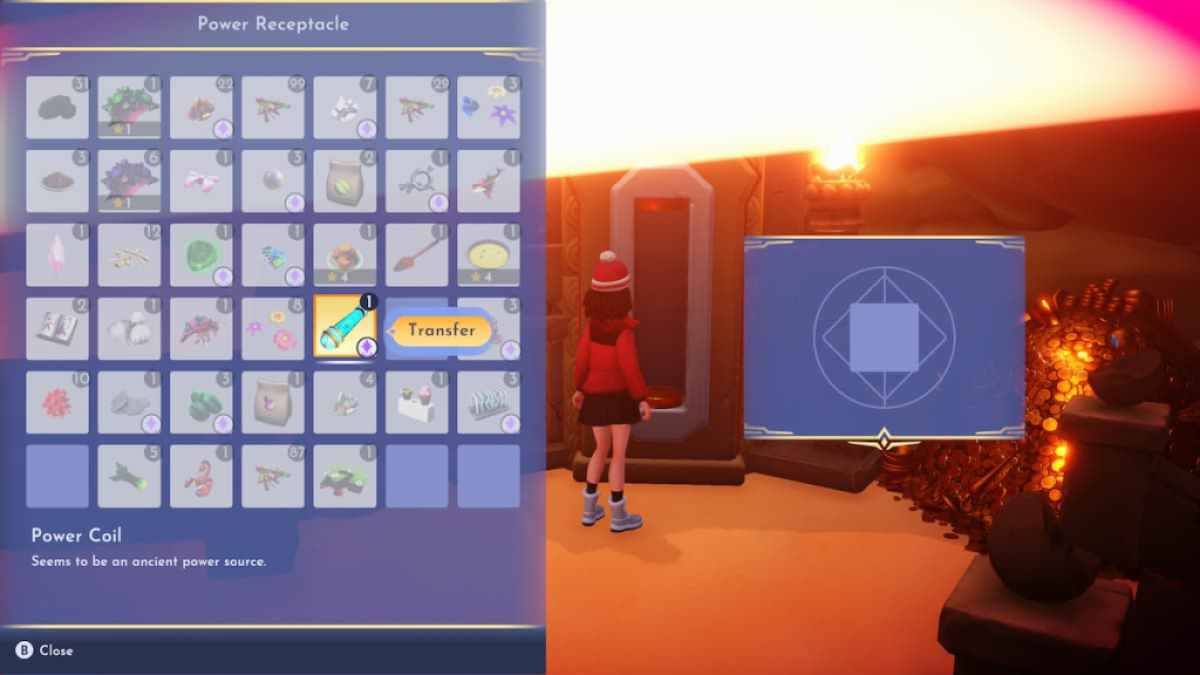
To open up the gate , venture off to the left from the Jafar comm and empty the shards out of the way as you do . You ’ll find a Power Core on the ground . piece it up and place it in the slot on the wall right before you . This will restore power to the lever of the logic gate .
Head back the way you came and pull the lever tumbler near the logic gate to depress the barrier and allow for you to continue on to the next puzzles .

Related : Disney Dreamlight Valley ‘ The Ancient Door ’ Quest Guide
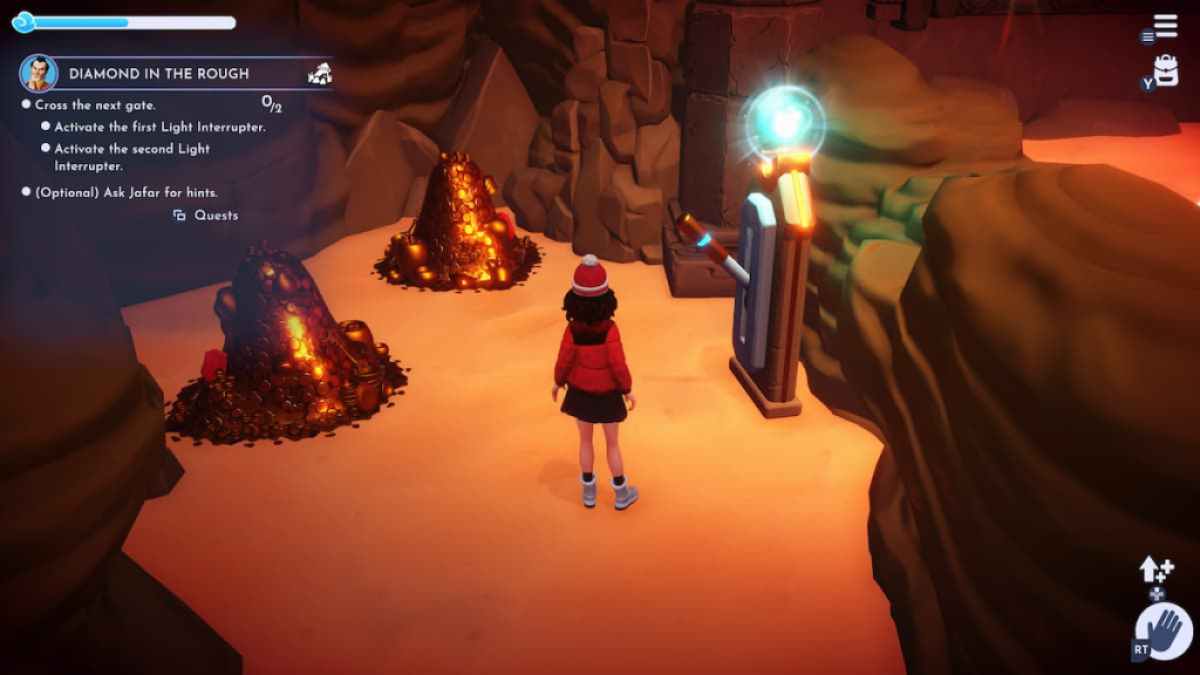
How to activate Light Interrupters in Disney Dreamlight Valley
Your next step will require two dissimilar mystifier to be solved to get you through the next logic gate . Two Light Interrupters need to be activated to do so .
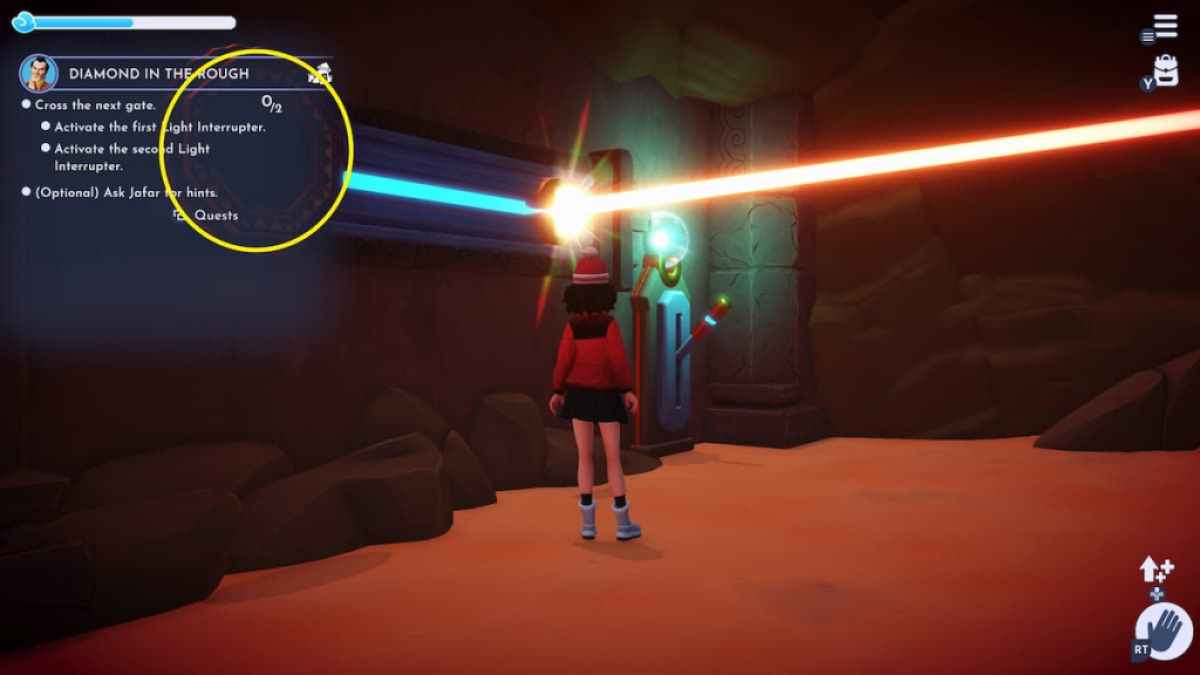
For the first Light Interrupter , take the path on the left to enter into another way .
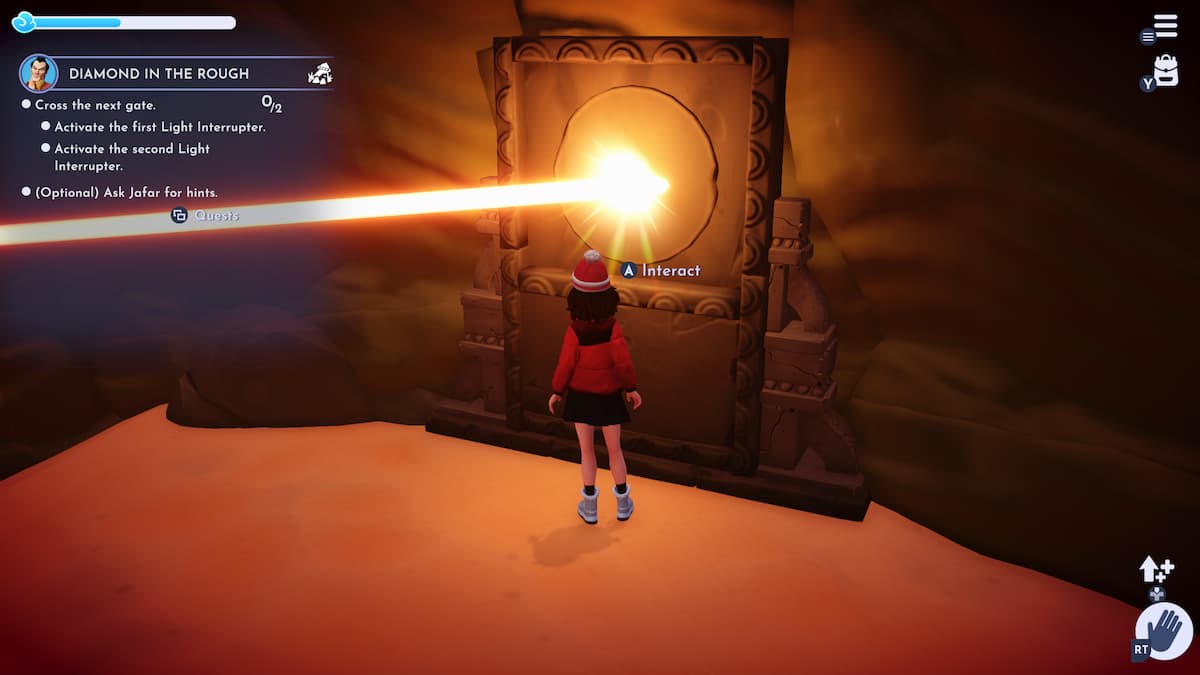
go along straight ahead , unclutter the shards to witness theAncient Mirroron the earth . You ’ll demand to grab this , head back into the hall you entered from , andplace it on the wallwhere the mirror is missing .
Screenshot by Pro Game Guides
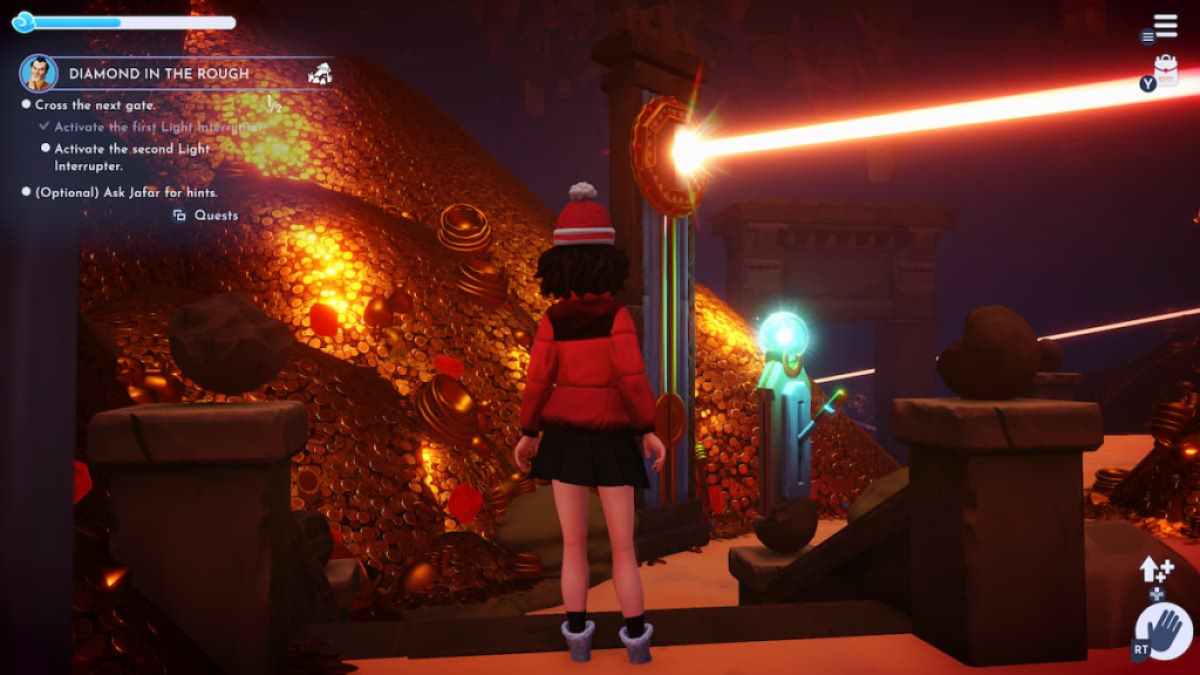
Next , continue toward the right past the patch where you set up the mirror and pull the lever on the bulwark so that the optical maser appears and scramble across to the next level ( you ’ll want the brightness to be reflecting off the mirror spot on the paries above the lever ) .
Related : Disney Dreamlight Valley ‘ The Sundial ’ Quest Guide
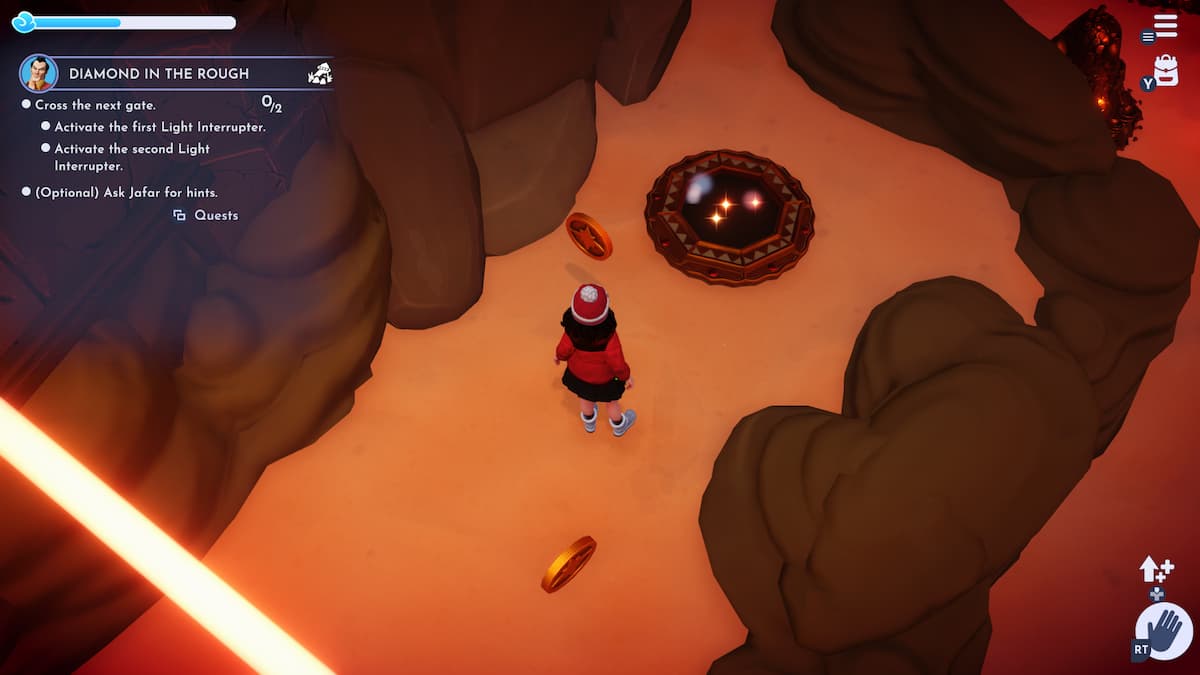
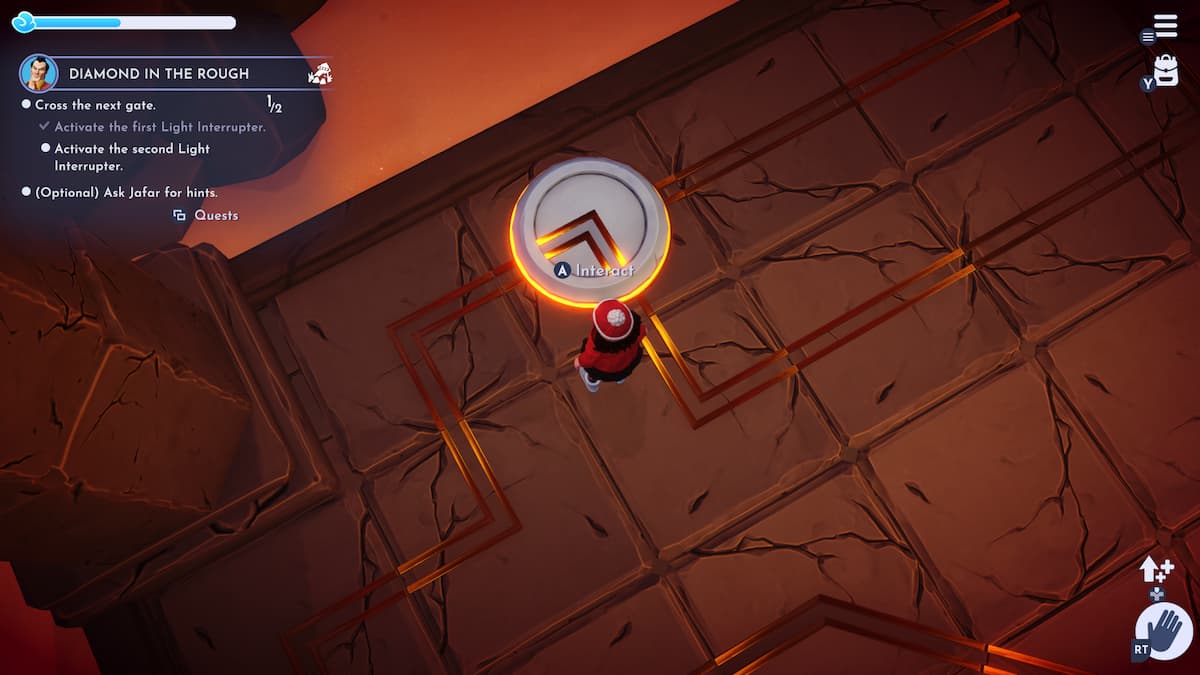
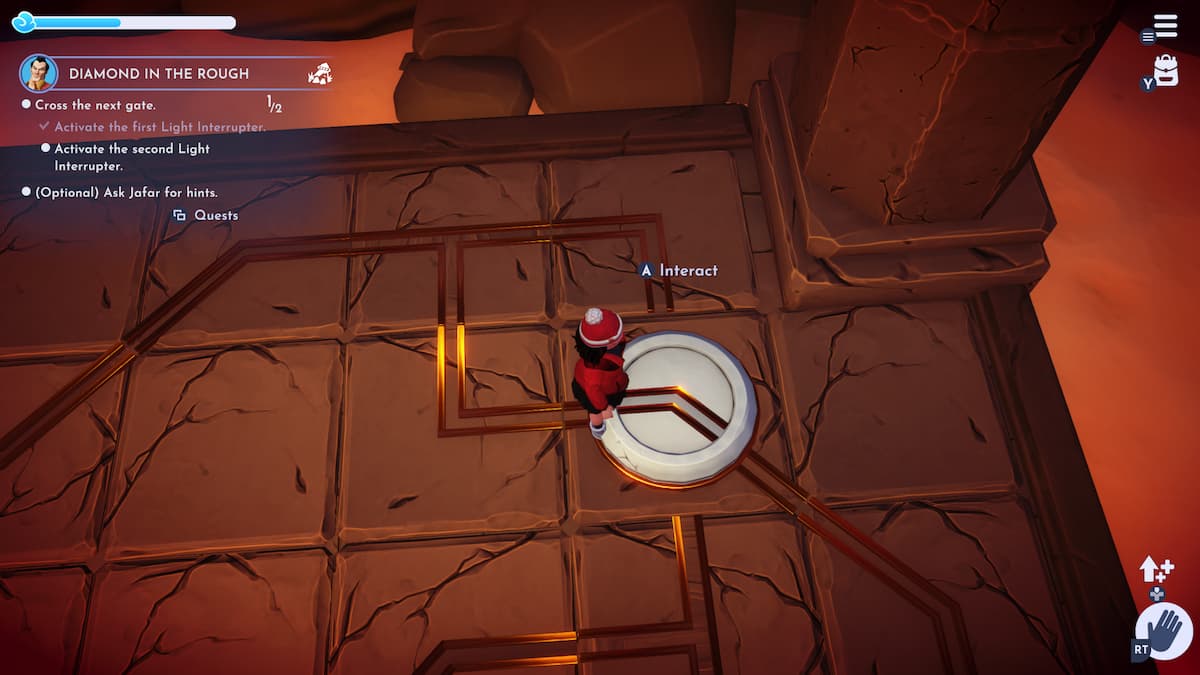
The next Light Interrupter puzzle is fairly sluttish , and you could find it by following the room access to the right side of the logic gate . This puzzle will ask you to power up the core in the heart and soul of the tiled floors . To do so , you ’ll necessitate to make a racetrack that draws power from the powered core on the wall to the center .
Screenshot by Pro Game Guides
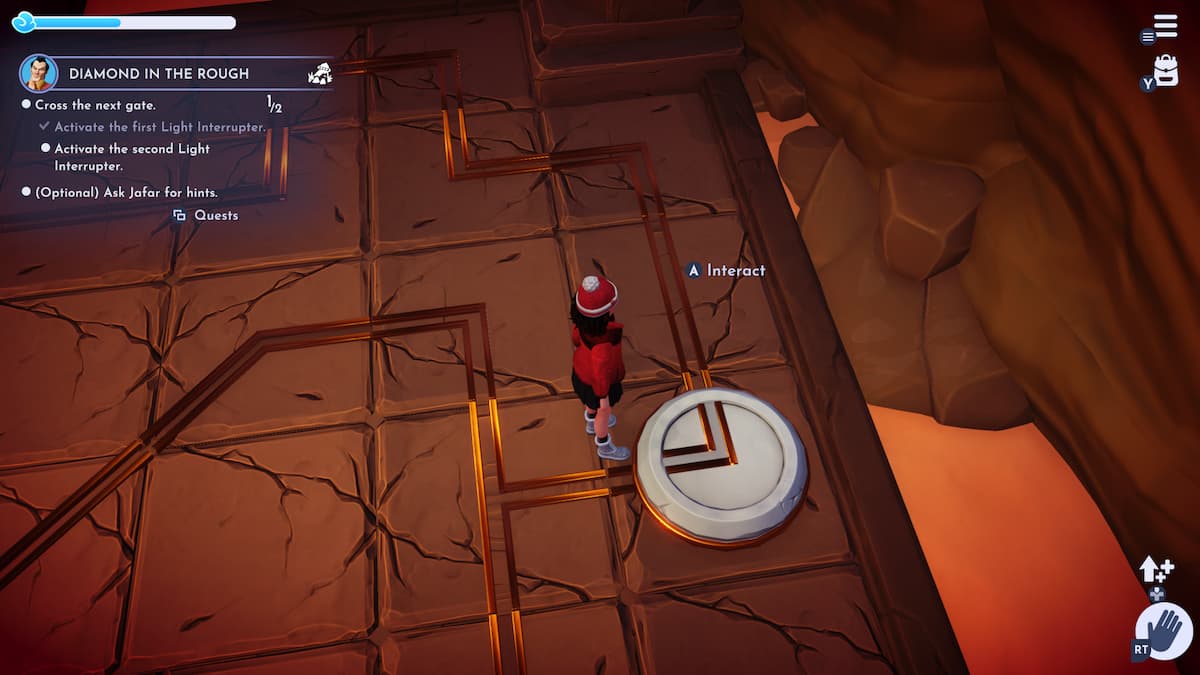
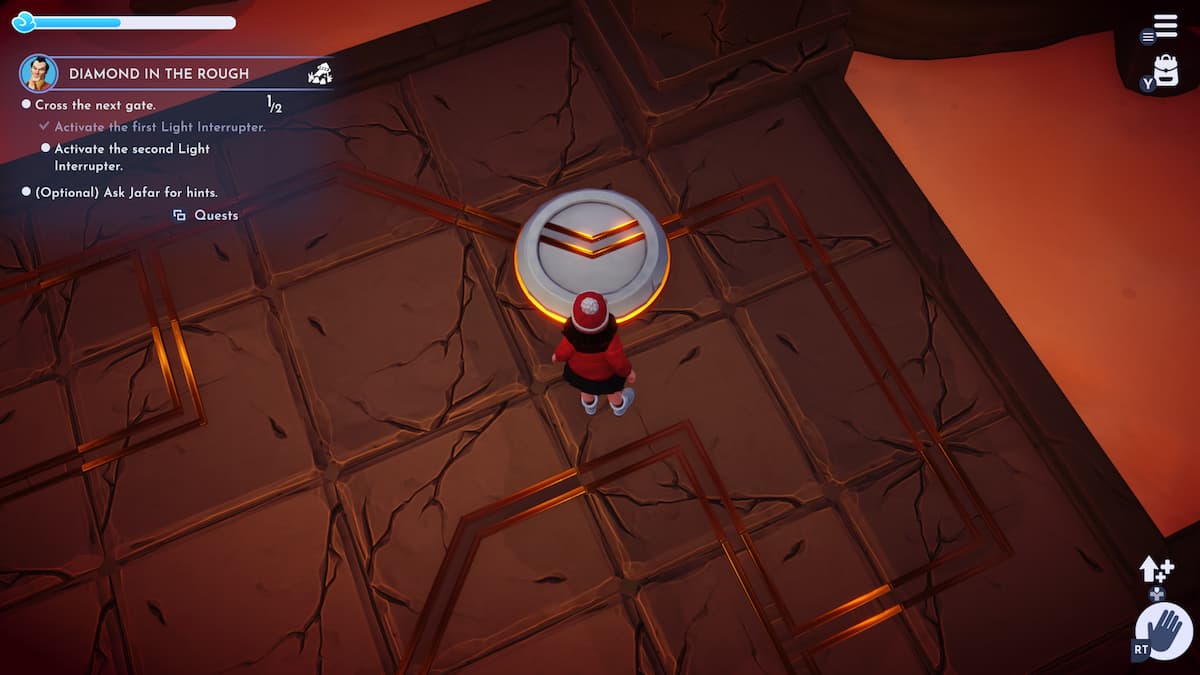
All you want to do is properlyrotate all the tiles on the boardso that they create a path . The lines should match up dead if you have them in the right muscae volitantes . However , you ’ll also require to make trusted that they lead to the powered core . Take a look at the pictures above to help you set all of them .
Once you have all those tile pose , point over to the powered core and rotate the last piece to draw mogul across the rest of the add-in and to the center . This will power up the center in the pith and allow you to grab it .
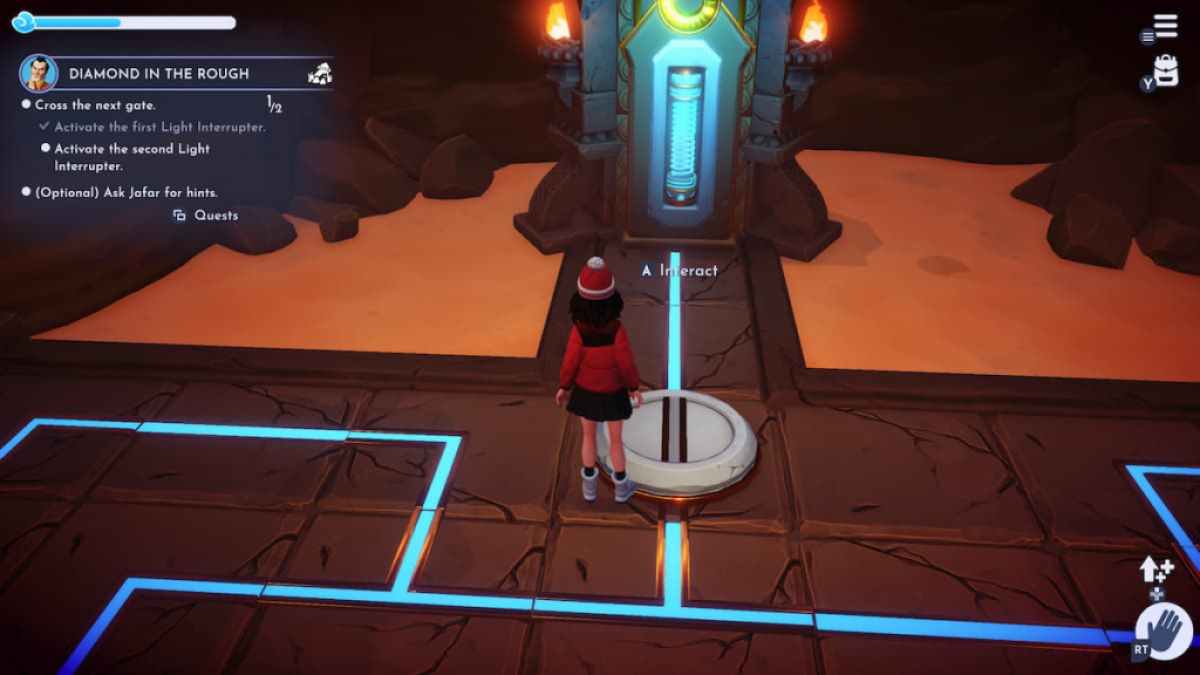
Now bring the core back to the logic gate and place it in the empty slot on theright side of the logic gate . This will activate the 2nd Light Interrupter and get down the logic gate for you to cross through .
Screenshot by Pro Game Guides
Now you ’re in the habitation stretching . Head through the logic gate and snap up the Jewel of Time from the statue and then you could utilize the shortcut to repay to Gaston and herald your success !
Looking for more Pro Game Guides Disney Dreamlight Valley content ? ascertain out our pathfinder onAll photo locations for Directive Danger in Disney Dreamlight ValleyorDisney Dreamlight Valley ‘ Ancient ’s Landing Fine Dining ’ Quest Guide !
Screenshot by Pro Game Guides
Screenshot by Pro Game Guides
Screenshot by Pro Game Guides
Screenshot by Pro Game Guides
Screenshot by Pro Game Guides
Screenshot by Pro Game Guides
Screenshot by Pro Game Guides
Screenshot by Pro Game Guides
Screenshot by Pro Game Guides
Screenshot by Pro Game Guides
