Have you tried Lumos ?
The main quests in Hogwarts Legacy are full of challenging puzzles that use a number of the magical spell at your disposition . One such quest is The Helm of Urtkot , where Sirona ’s acquaintance Lodgok ask you to meet them near The Collector ’s Cave in the outskirts of Hogsmeade . This mission unlock after you complete The Caretaker ’s Lunar Lament quest where you acquire theAlohomoraspell to unlock doors . Read on to line up out how you’re able to gather all chests , solve puzzles , and dispatch The Helm of Urtkot pursuit in Hogwarts Legacy .
How to complete The Helm of Urtkot Quest in Hogwarts Legacy
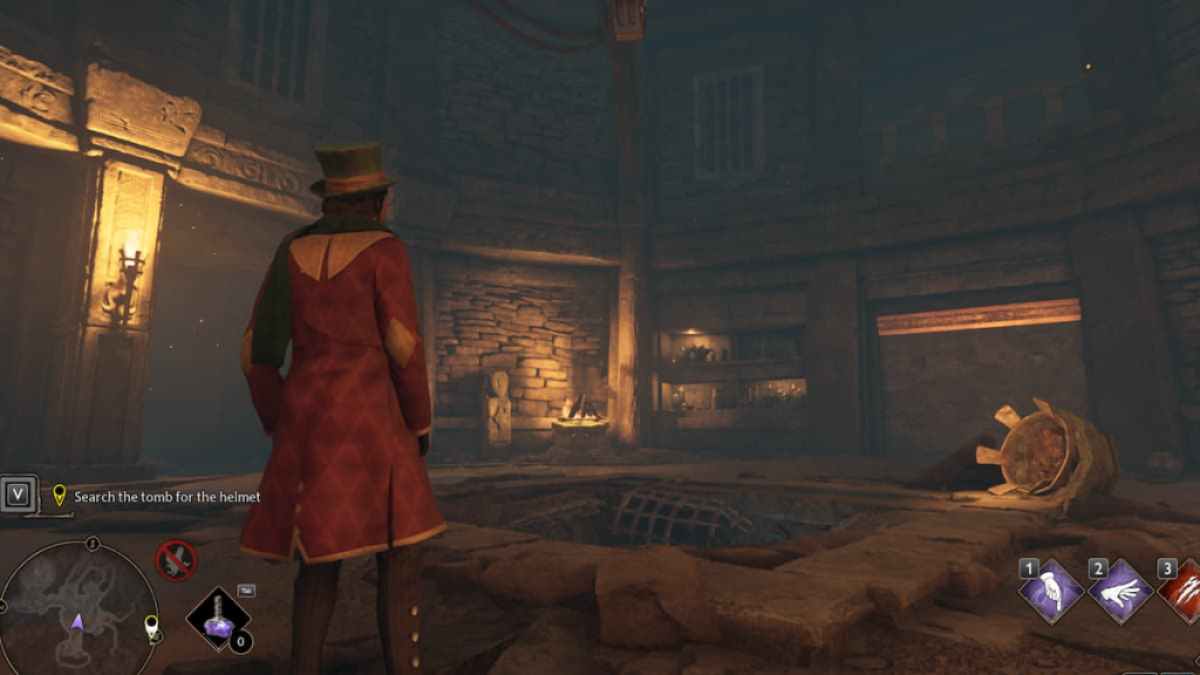
The Helm of Urtkot is a charge where you are tasked with retrieving a valuable hob Helmet for Lodgok . After fulfil him near Hogsmeade , he will escort you to The Collector ’s Cave dungeon to run out the mission . Before proceeding , make indisputable to have theLumosandDepulsiospells equipped , as they are all-important for solve the Moth Door puzzle you will find within the dungeon .
Moth Door Puzzle #1
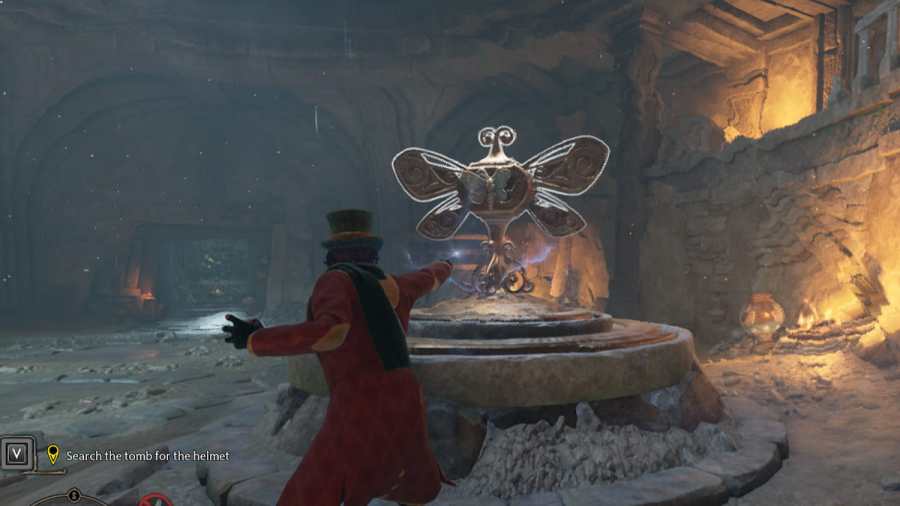
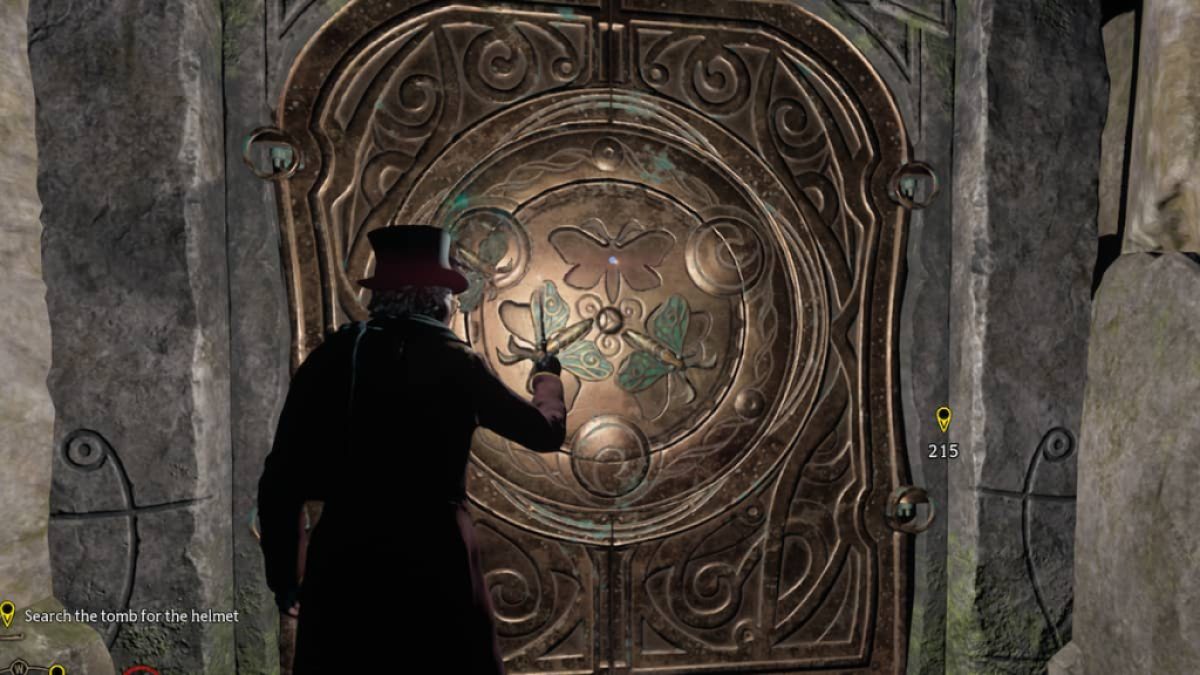
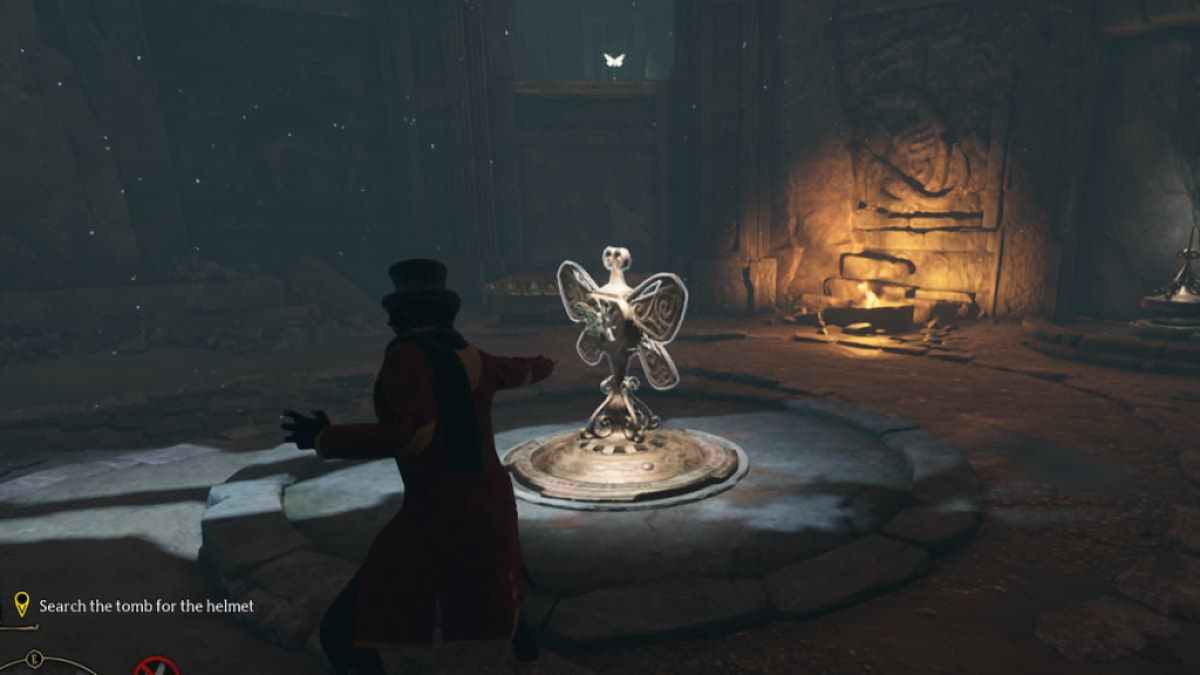
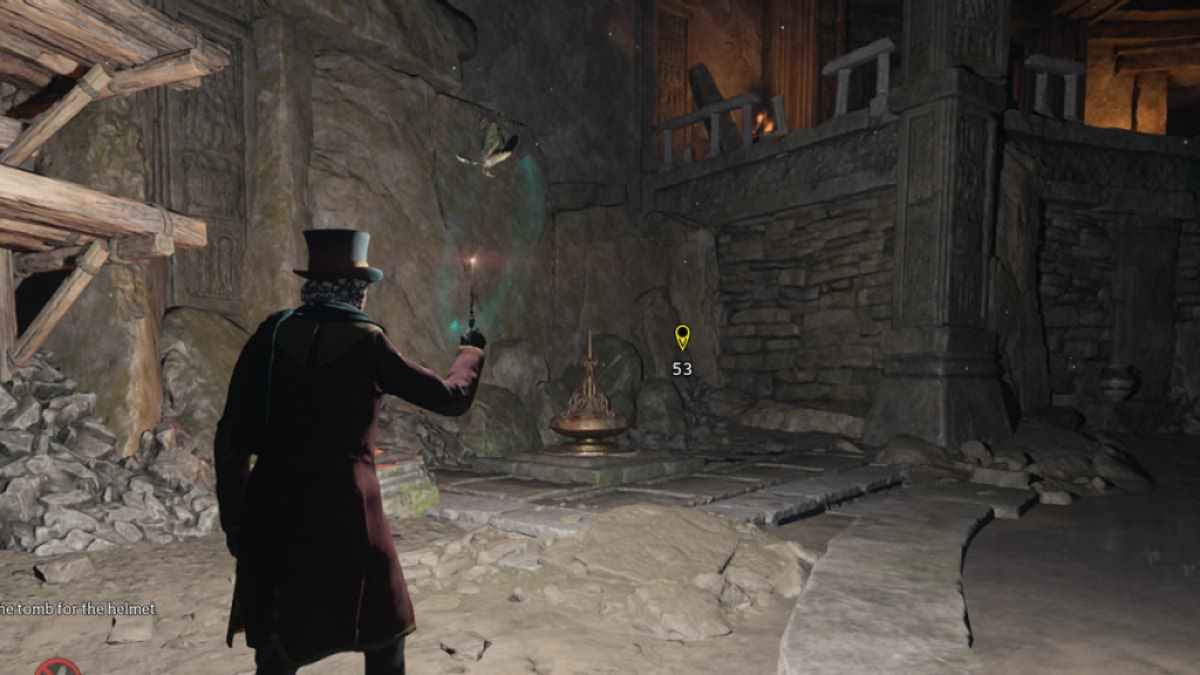
As you enter , you will face the firstMoth Doorpuzzle . The threshold appear to have one moth missing from its slot . Head toward the right of the door , and you will find out the moth on a pedestal . Use theLumosspell to attract the moth , and then guide it towards the door . Once near the room access , shake off your spell to attach the moth to the door and unlock it .
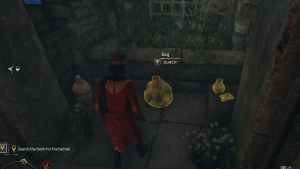
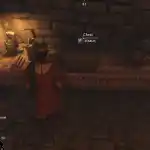
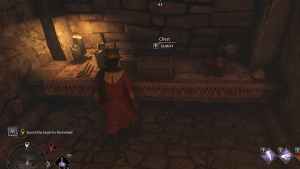
On the other side of the doorway will be a small manse with two narrow corridor on each side . Inside these corridors will be a Chest and a Bag of shekels . verify to take in them before actuate on toward quest mark .
Moth Door Puzzle #2
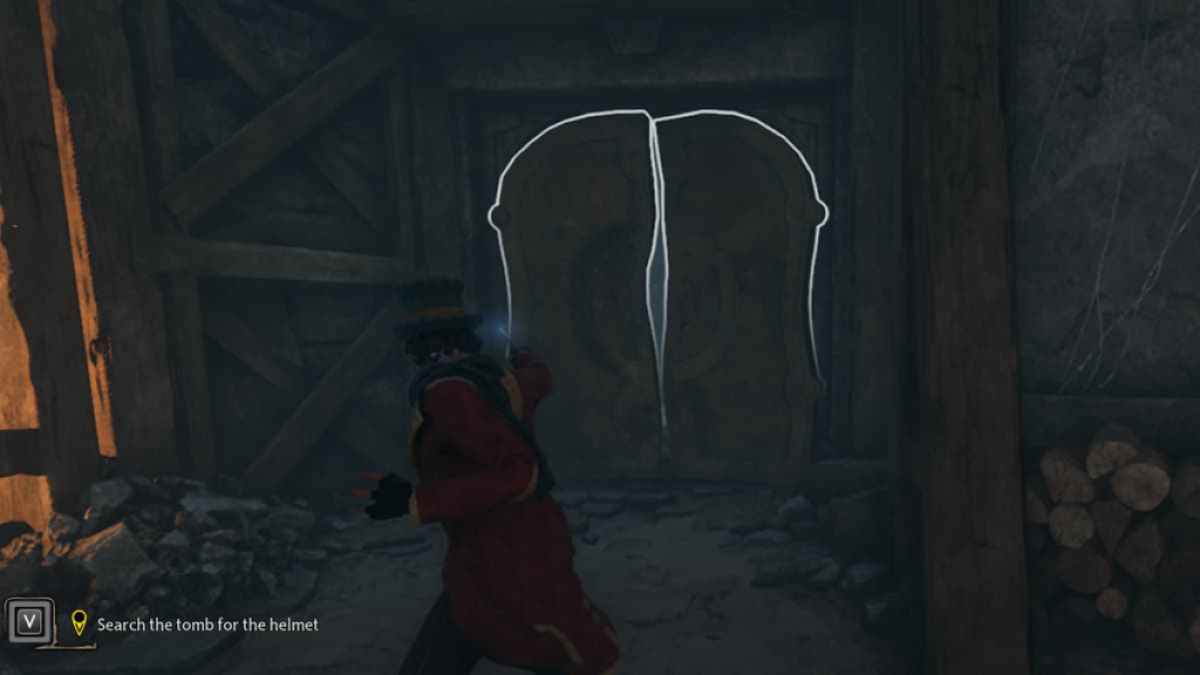
The second Moth Door teaser will demand you to feel three moths . Two moths can be easily found by the walls of the main hall . To find the third moth , you need to break the cracked door by usingDepulsospell . Once you feel the moth on the pedestal inside , guide it toward the door using Lumos to unlock it .
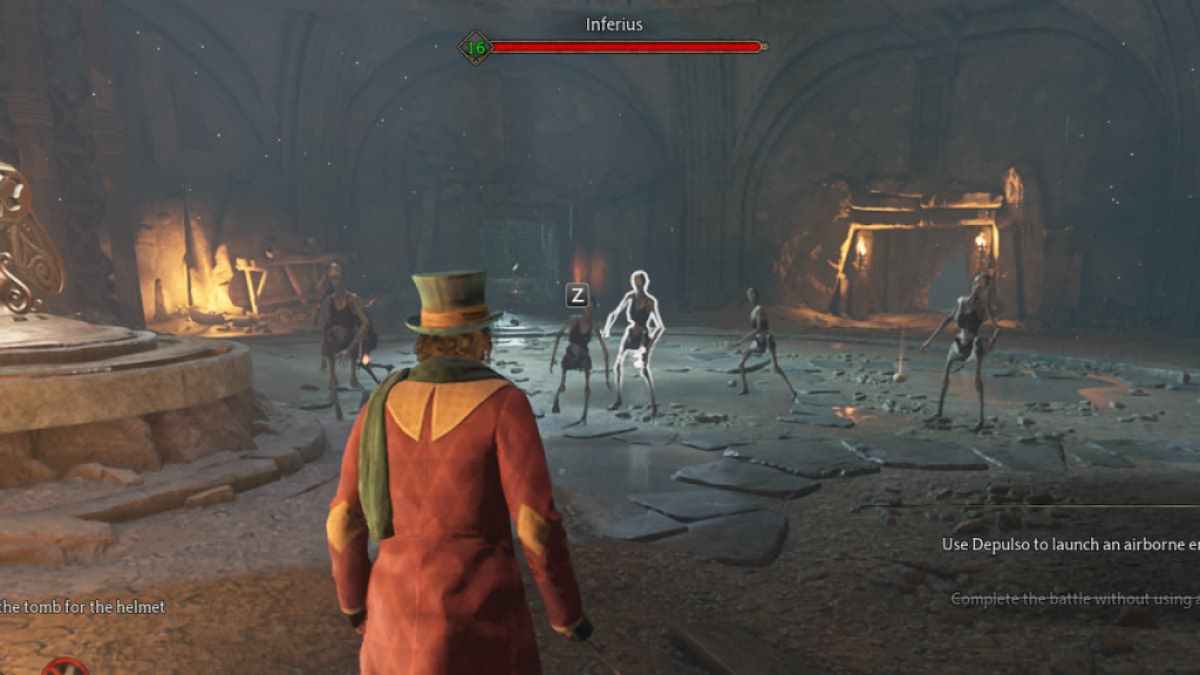
After the 2d Moth Door puzzle , you will enter a large hall with pillars . Here , you will encounter one moving ridge ofInferius . These monsters are vulnerable tofiredamage . Therefore , we suggest equipping at least two fire - based spells in your outfit , likeIncendioorConfringo , if you require to make easy workplace of them . You will also come up two chest of drawers in this location .
Related : How to get the spell for Avada Kedavra ( Killing Curse ) in Hogwarts Legacy
Moth Door Puzzle #3
go on toward the main quest mark , you will encounter the third Moth Door Puzzle . Here , two moth can be easily get at , except one which is located in an exalted spot . The trick here is to draw one moth by usingLumosto the mechanism in the middle of the elbow room . Once the gimmick is activated , use theDepulsospell to spin it . Doing so will do a block to move up up , let you to gather up the moth from its mellow perch .
Once you start the door , go through it and head depart . You will find yourself in a room with a heavy object hang above . Strike theropethis object is attached to with a canonic tour cast ; it will dangle down creating a hugeholein the floor . fell down through this hole , and move toward the quest marking to the final Moth Door teaser .
Moth Door Puzzle #4
Once you put down down the hole , you will enrol another big manor hall with the final Moth Door puzzler . However , be wary of theInferius , as you will need to battletwowaves of these goliath when you come in this hall . Once they are defeated , you could focus on the puzzle at hand .
You will find two moth in the modest domain of this hall . Guide one of these moths to the rotating mechanism in the way . Then guide on the other moth to the base located in the lower field , to the left side of the Moth Door . After doing so , bear on the arise platform and hit the rotate mechanics withDepulso . You will remark that when you hurl Depulso on the rotating mechanism , the moth pedestal on the humble level also rises up . Once you reach the top , speedily get to the side of the lower pedestal and cast Lumos to pull the moth to you .
On the upper degree , you will incur the two other moths you expect . One moth can be found straight next to the room access , and another one on the other side of the rising platform . Guide all three of these moth to the door to unlock it .
Screenshot by Pro Game Guides
Retrieving the Helmet from Thieves
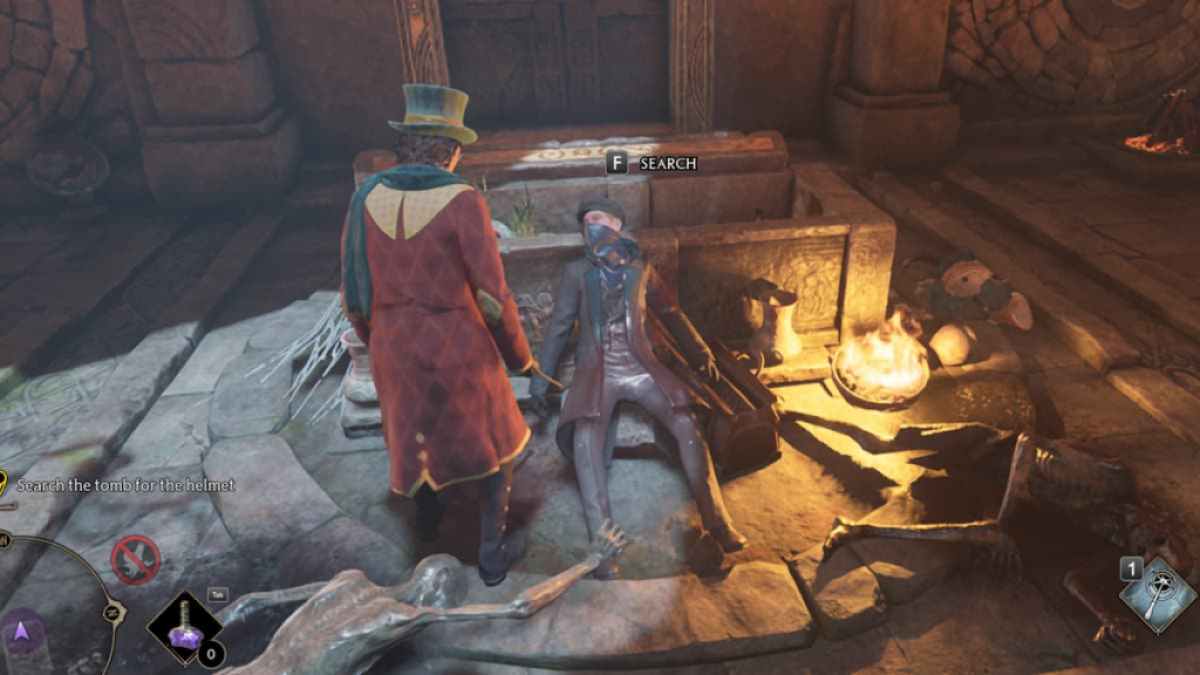
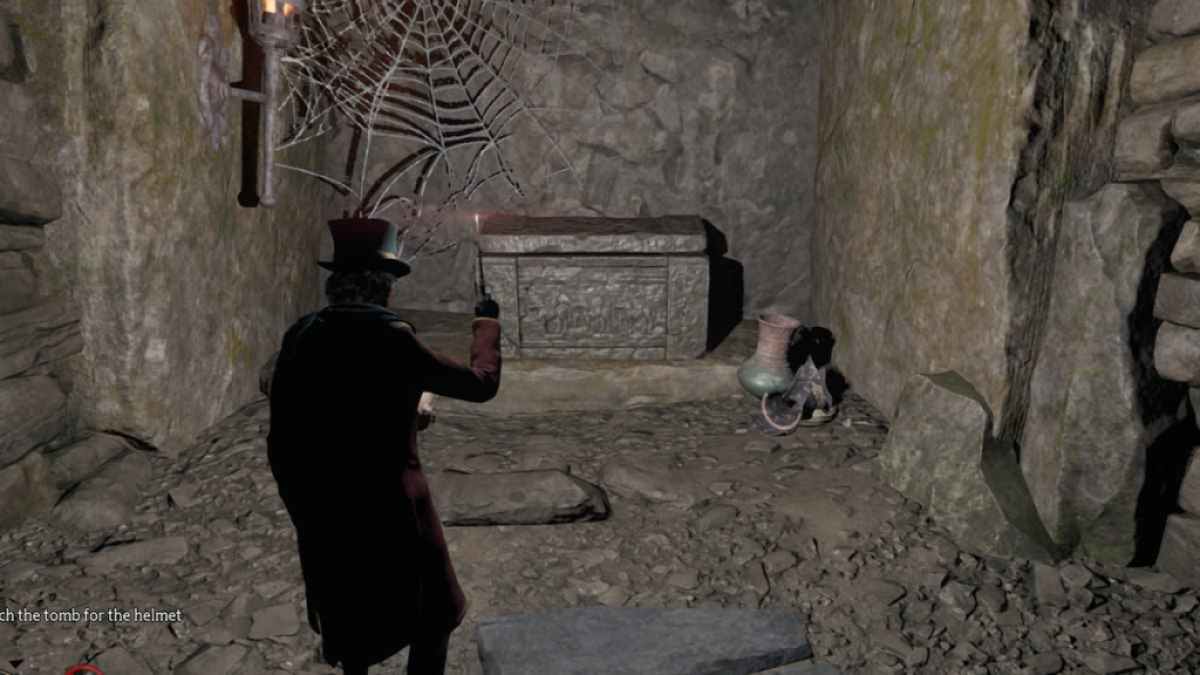
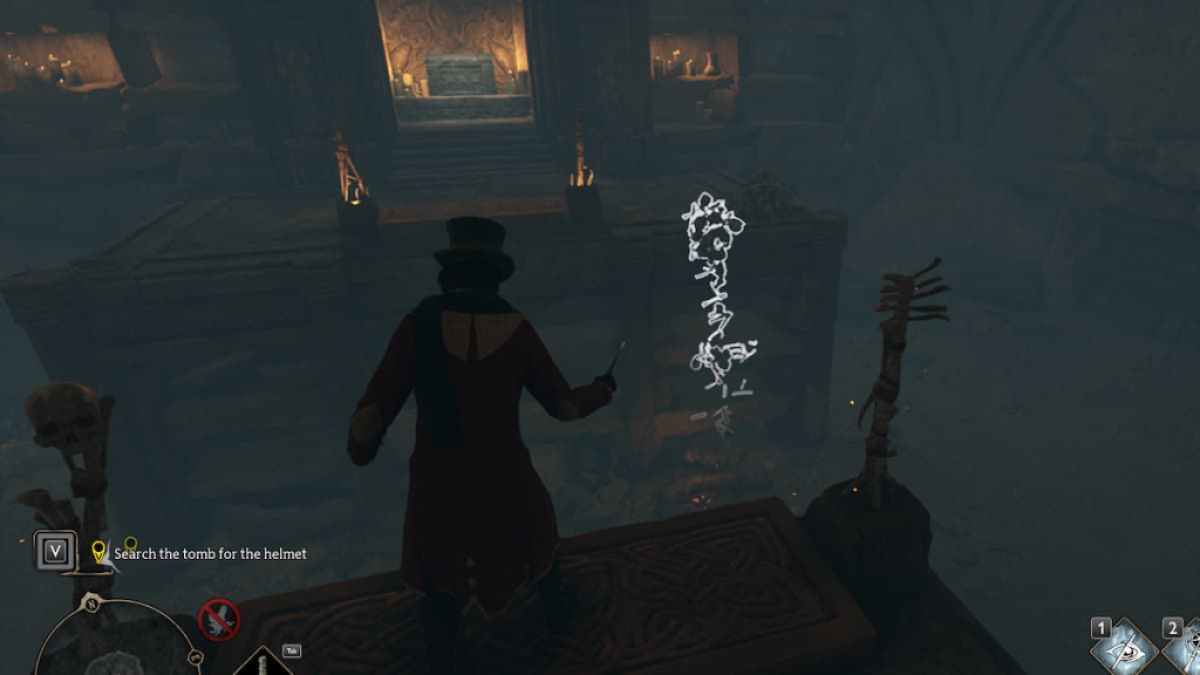
Upon work the final Moth Door puzzle and enrol the witch ’s tomb , you find out that theAshwindershave looted the grave and taken the Helmet Lodgok sent you for . After interact with the body in this room , you’re able to finally exit the dungeon .
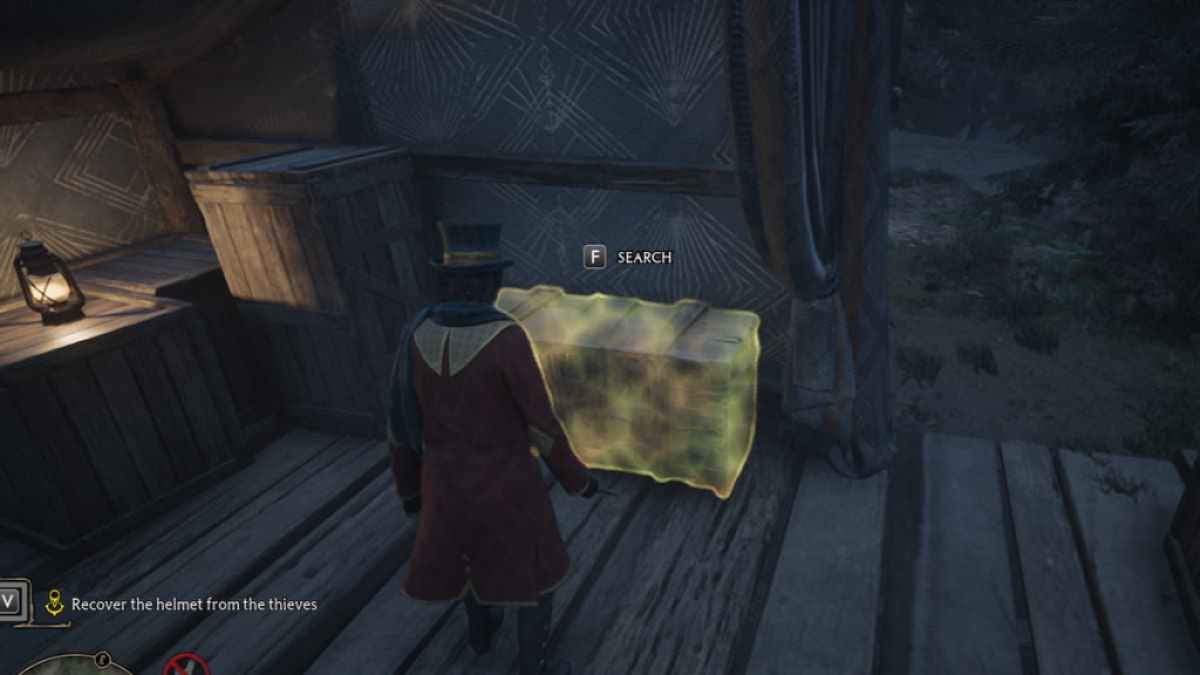
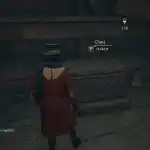
Outside , you will meet Lodgok , who tasks you with regain the Helmet from the Ashwinders . Once you reach the locating marked on your mathematical function , you will see a group of thief being attacked by a Troll . vote out all the enemy , then loot the Chests inside the camps . Once you determine the Helmet , Ashwinder Assassinswill show up . overcome them , and steer back to Lodgok to complete the mission .
Related : How to increase gear slots in Hogwarts Legacy
Screenshot by Pro Game Guides
How to collect all chests in The Helm of Urtkot (Collectors Cave) in Hogwarts Legacy
The following is how you may find all the pectus in The Helm of Urtkot quest in Hogwarts Legacy :
Chest #1
The first Chest can be found in the room you go in after opening thefirstMoth Door . figure the smallcorridoron yourleft - handsideto find it . Make certain to head to the corridor on the opposite side to collect a Bag of dirty money as well .
Chest #2
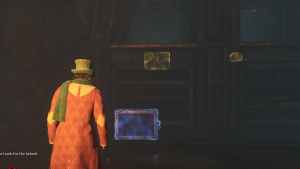
The second Chest is found in the room beyond the 2d Moth Door puzzler where your first encounter with the Inferius take property . On theleftside of the room is a resurrect platform you could climb up on where you could find theChest . Opposite to where you rule the Chest , you will acknowledge some rocks . dispatch them using Depulso to break a Bag of pelf .
Chest #3 - Skeleton Bridge Puzzle
Chest #4, #5, #6
A total ofthreeChests can be found in the room with the large object hang above it . One is found in theshelvesin the elbow room , and two more are establish beyond the snap doorway . Use Depulso to enter the cracked threshold , and then useAccioto rip the wooden platform and utilise it to climb up to the Chests .
Chest #7, #8
Near the final Moth Door puzzle , you will find a path on therightside of the rise platform . Here , you will find one Chest out of doors , and another chest of drawers inside a way at the end of the path .
Chest #9
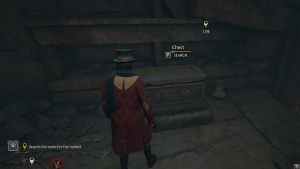
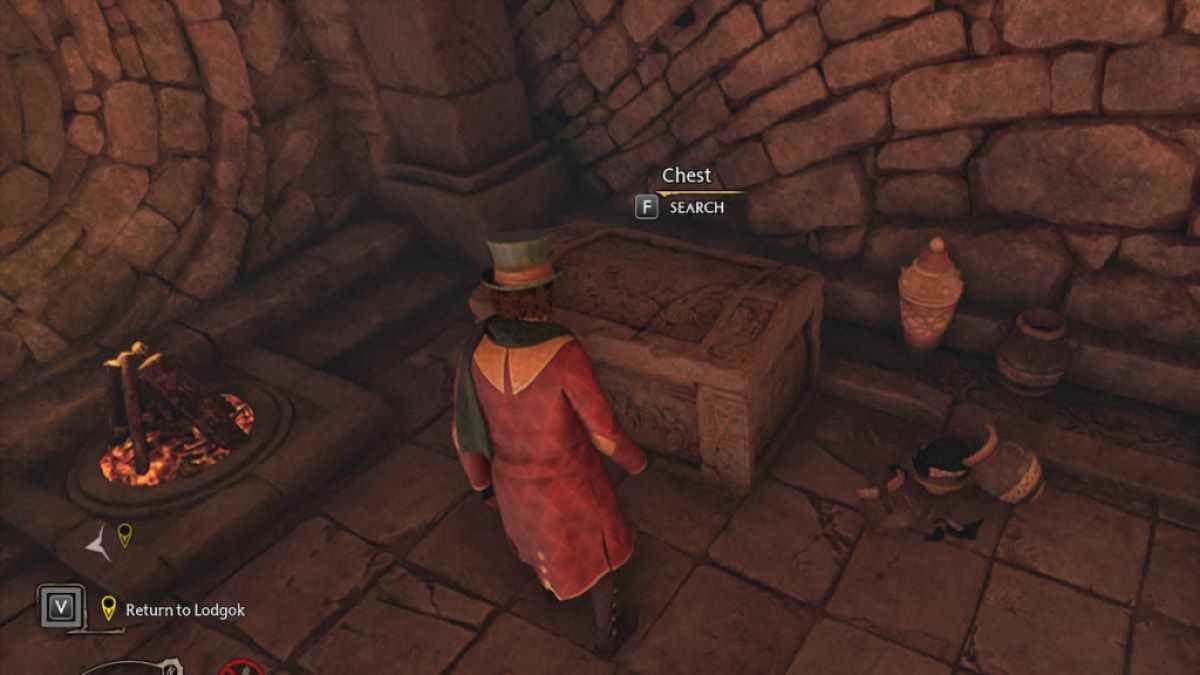
The final Chest is establish in thewitch ’s tomb , posit on the right - hand side of the room .
Looking for more guides on puzzles in Hogwarts Legacy ? delay outHogwarts Legacy Bell Puzzle – How To Solve , right here on Pro Game Guides .
Screenshot by Pro Game Guides
Screenshot by Pro Game Guides
Screenshot by Pro Game Guides
Screenshot by Pro Game Guides
Screenshot by Pro Game Guides
Screenshot by Pro Game Guides
Screenshot by Pro Game Guides
Screenshot by Pro Game Guides
Screenshot by Pro Game Guides
Screenshot by Pro Game Guides
Screenshot by Pro Game Guides
Screenshot by Pro Game Guides
Screenshot by Pro Game Guides
Screenshot by Pro Game Guides

Screenshot by Pro Game Guides
Screenshot by Pro Game Guides
