It ’s not as hard as it seems .
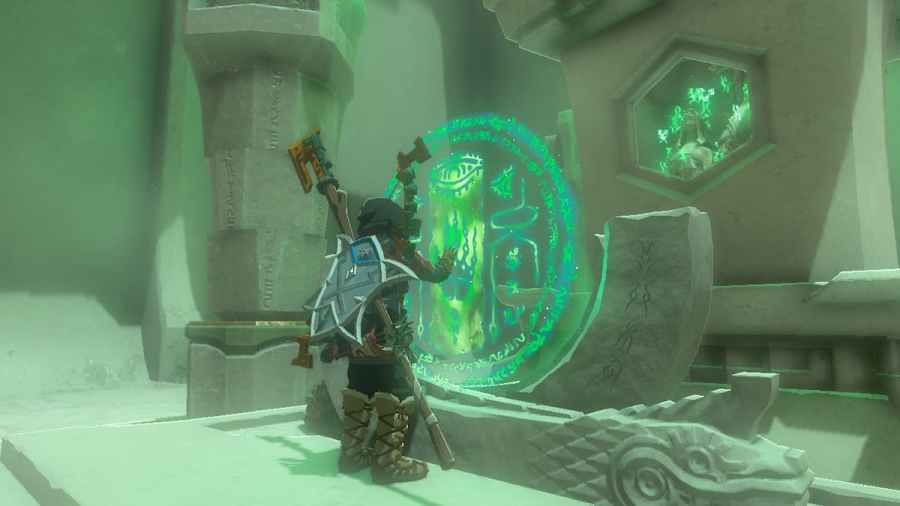
One of the first things you should do when you land on the control surface in The Legend of Zelda : Tears of the Kingdom is hunt for shrines . Not only can you gain Lights of Blessing for complete them , but even entering a shrine acts as a handy teleport waypoint . Gasas Shrine , or Well - Timed Cuts , is not as complicated as it seems to be to complete and can be done in the very early part of the game . Here ’s how to do it .
Where to find Gasas Shrine in Zelda Tears of the Kingdom
Gasas Shrine can be found at the southerly end ofTanagar Canyon , south of the Rayne Highlands . The accurate coordinates are-4151 , 0099 , 0040 . There are no puzzles you ’ll postulate to solve to enter the Shrine .
How to cross the first gap in Gasas Shrine in Zelda Tears of the Kingdom
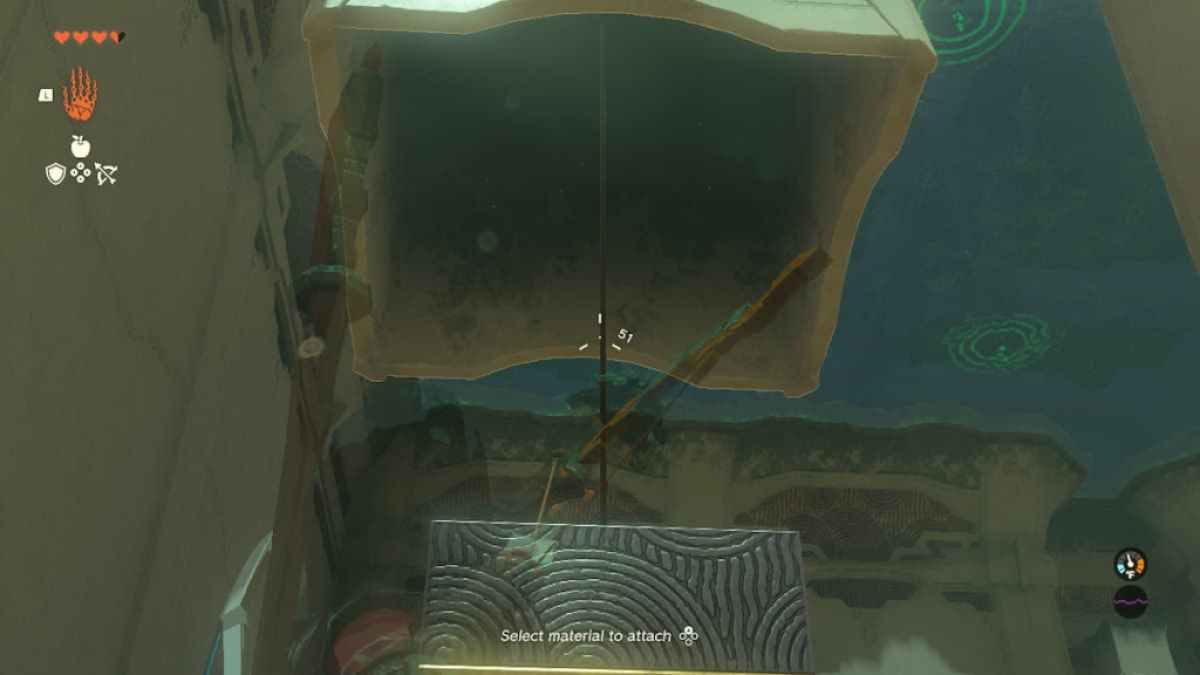
When you enter the shrine , you ’ll see a prominent block hanging over a gap that you ’ll need to cross . I found that the easiest way to cut the rophy above the block was to dismiss an arrow at it . The Block will fall down , make a path for you to hop across the gap .
Related : How to discharge Jiuklum Shrine ( Built for Rails ) in Zelda Tears of the Kingdom ( TOTK )
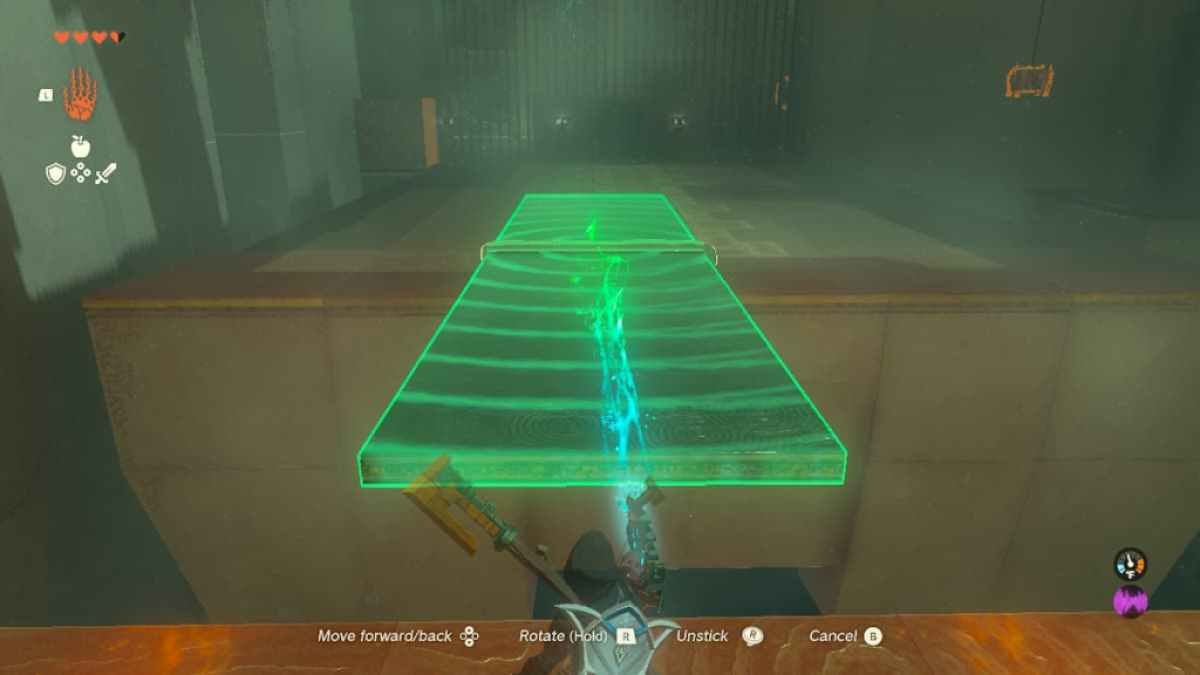
How to cross the second gap in Gasas Shrine in Zelda Tears of the Kingdom
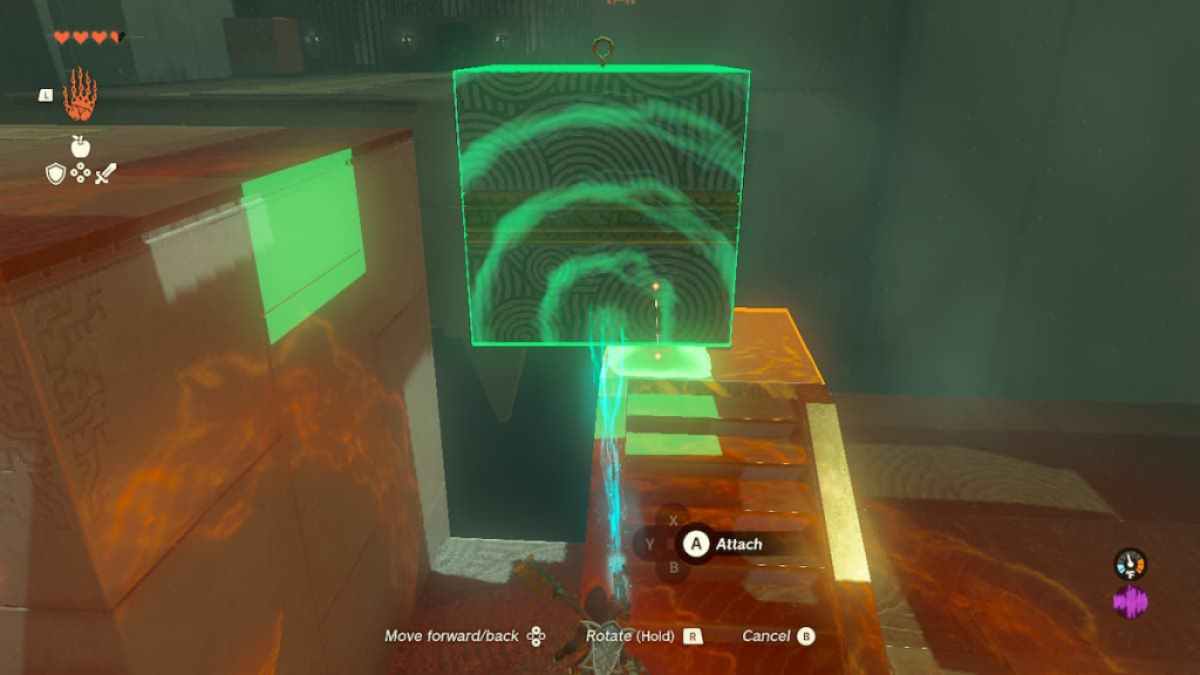
The second schism level gap you need to queer was a bit trickier for me . I finally found that I could use Ultrahand on the block I loosed over the first interruption and sequester it to the 2d pulley block I found at the top of the stairway , leaving a svelte overlap over the gap . I then walked into the col and used the Ascend power on the bit of block I give hanging over the gap to rise to the top of the pile and jump across .
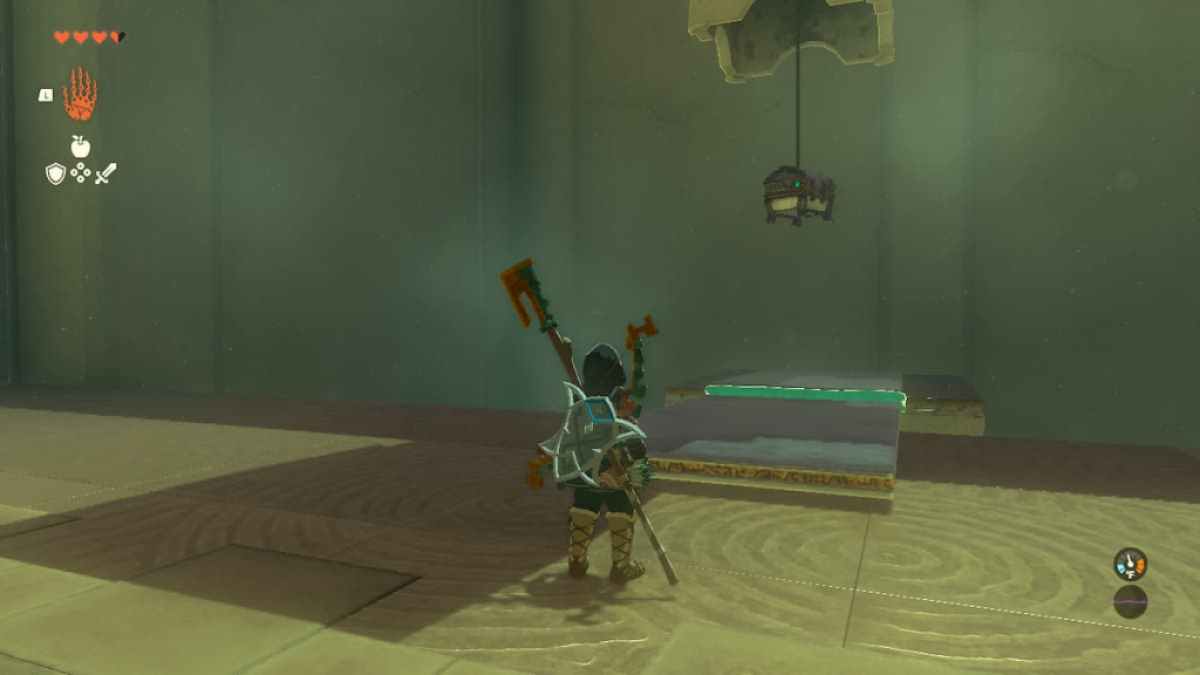
How to get the optional chest in Gasas Shrine in Zelda Tears of the Kingdom
Gasas shrine leaves two alloy collection plate in easy reach for you to make a bridge across the third gap . After crossing , I used Ultrahand to invest the bridge underneath the chest of drawers hang by a rope on the veracious hired hand side .
All it take to get the chest was to fire another arrow at the rope it was confiscate to , then spread out it after it fell on my makeshift bridge . The chest held aLarge Zonai Chargeinside .
pertain : How to clear Yansamin Shrine ( Proving ground : Low Gravity ) in Zelda Tears of the Kingdom ( TOTK )
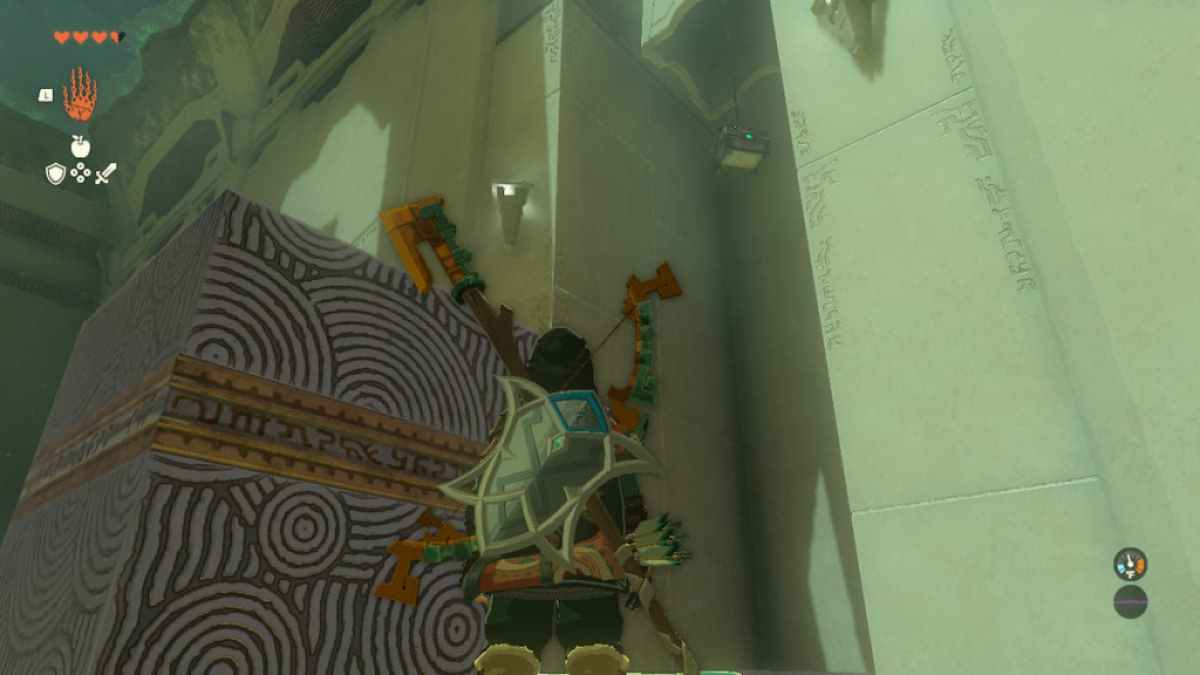
How to get the small key in Gasas Shrine in Zelda Tears of the Kingdom
You ’ll note that you ’ll need to find a small samara to proceed to the close of the shrine . The small key is inside a pectus on the left had side of the room access , just across from the optional bureau .
To get this chest , I qualify my bridge slightly , using Ultrahand to confiscate the nearby large block to the end of the bridge circuit , acting as a equalizer . I then placed the bridge deck under the little primal breast with the block close toward me . Once in stead , it was a wide-eyed matter of using an arrow to cut the rope and call for the key .
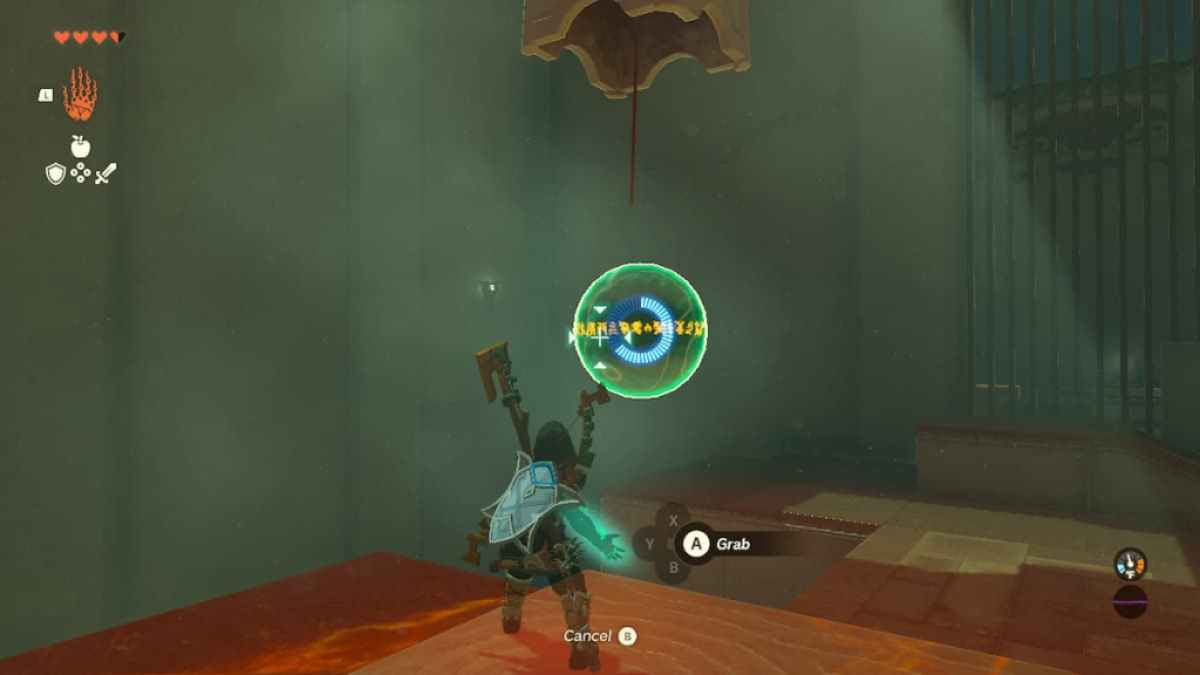
How to keep the ball from falling in Gasas Shrine in Zelda Tears of the Kingdom
The last portion of this Shrine challenge you to move a ball flow over the abyss over to a socket on the other side of the room . While you could expend Ultrahand to swing the musket ball and dismiss an arrow at just the right here and now to have it swing toward the socket , I prefer to apply the rewind power to work the problem .
Cast rewind on the chunk first , then fire an arrow at the strand to cut it . The ball will hang in topographic point . Next , use Ultrahand on the bollock before the rewind effect time out to grab the Lucille Ball and move it into the socket .
All that ’s left is to claim your Light of blessing . We at PGG highly recommend that you use those onStamina over Hearts , at first , even if you do get yourself in precarious fight scenarios frequently .
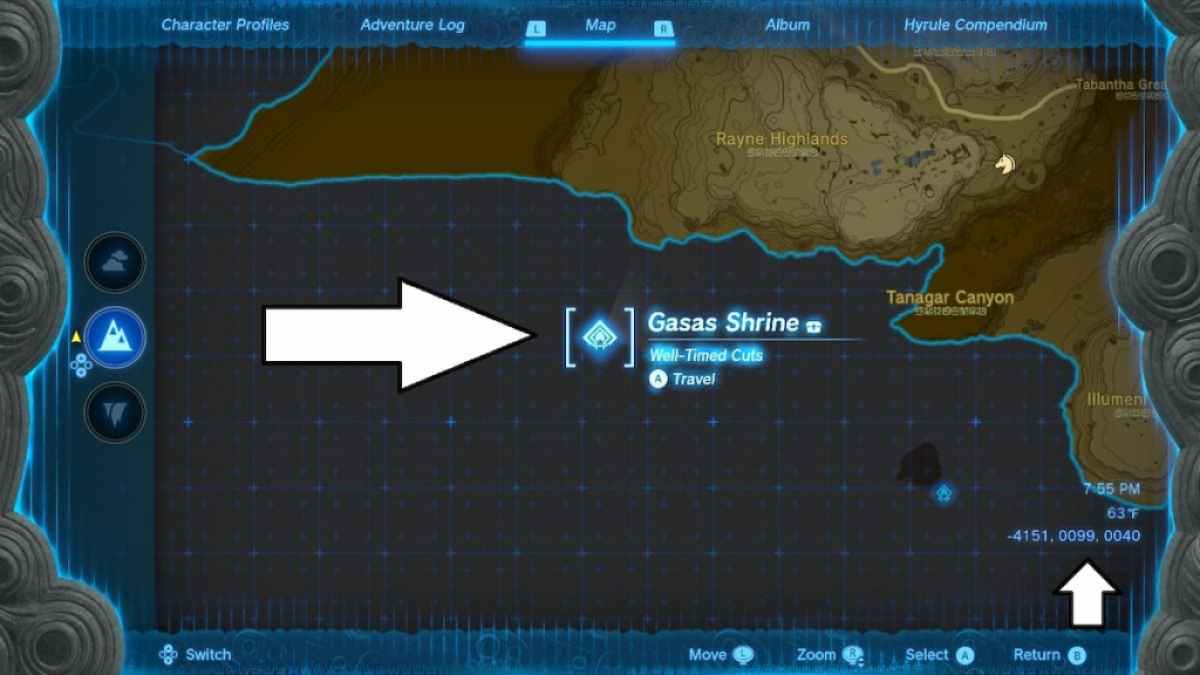
Image by Pro Game Guides
look for more help with shrine in The Legend of Zelda : rip of the Kingdom ? control outHow to clear Kiuyoyou Shrine ( Fire and Ice ) in Zelda Tears of the Kingdom ( TOTK)here at Pro Game Guides .
Screenshot by Pro Game Guides
Screenshot by Pro Game Guides
Screenshot by Pro Game Guides
Screenshot by Pro Game Guides
Screenshot by Pro Game Guides
Screenshot by Pro Game Guides
