This one can be really puzzling but achievable .
After completing the initial set of Herodiana ’s trials in Hogwarts Legacy , you ’ll have access to two extra puzzle rooms . Here ’s how to solve Depulso Puzzle Room 2 in Hogwarts Legacy .
Hogwarts Legacy Depulso Puzzle Room 2 Complete Walkthrough
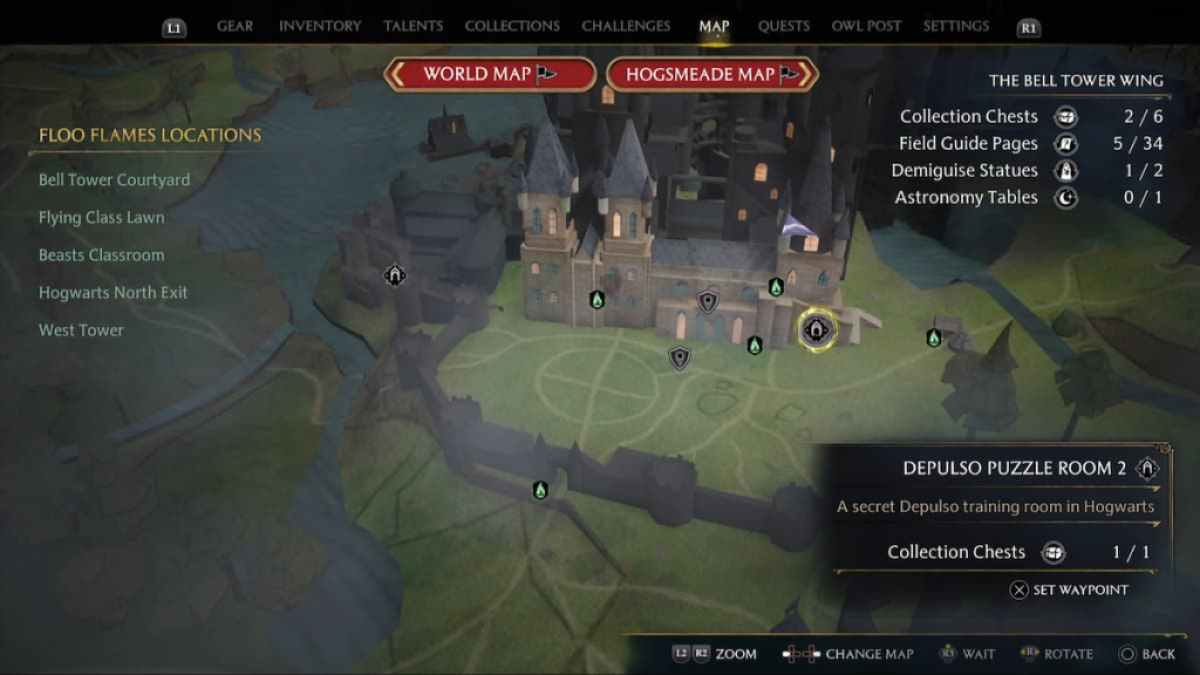
Where to find Depulso Puzzle Room 2 in Hogwarts Legacy
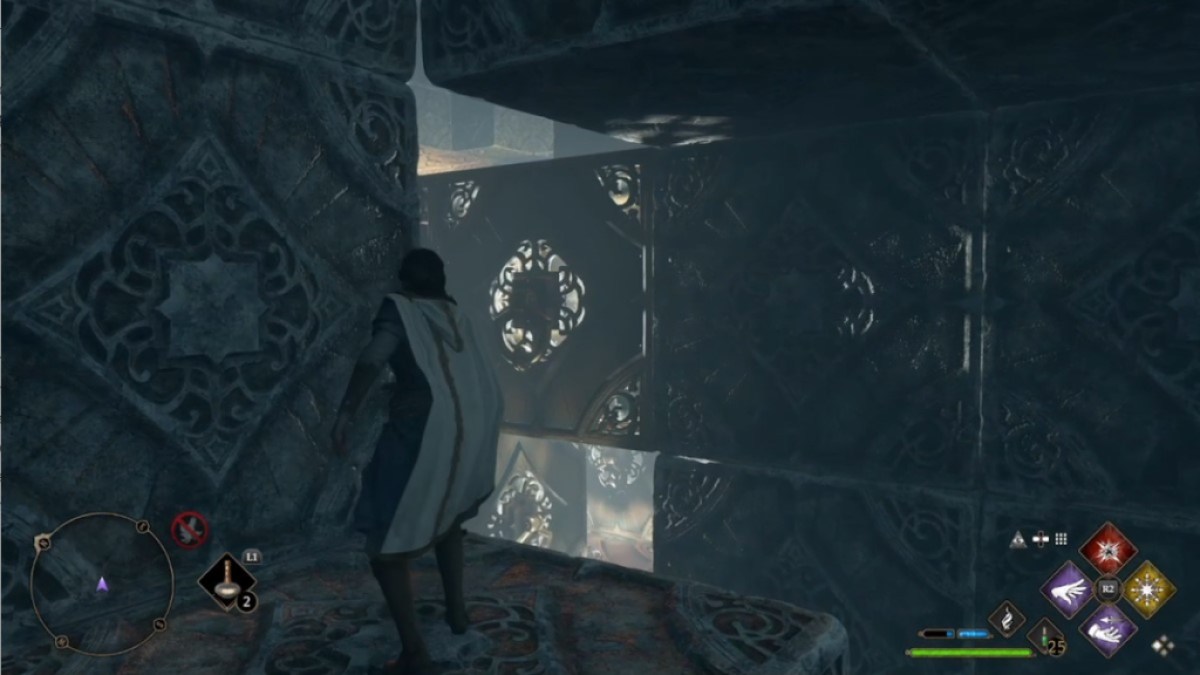
While it may seem like the best way of life to get to this puzzle room is via the West Tower Floo Flame spot , your best bet is starting at theTransfiguration classroomin the Astronomy Wing segment . When you teleport there , wrick around and go through the first doorway on your left wing . You ’ll directly see another small threshold on your left that has a grade one whorl . UseAlohomorato spread it , then proceed down the passageway and turn left into an Egyptian - root on corridor . Depulso Puzzle Room Two will be at the end of this corridor on your right hand .
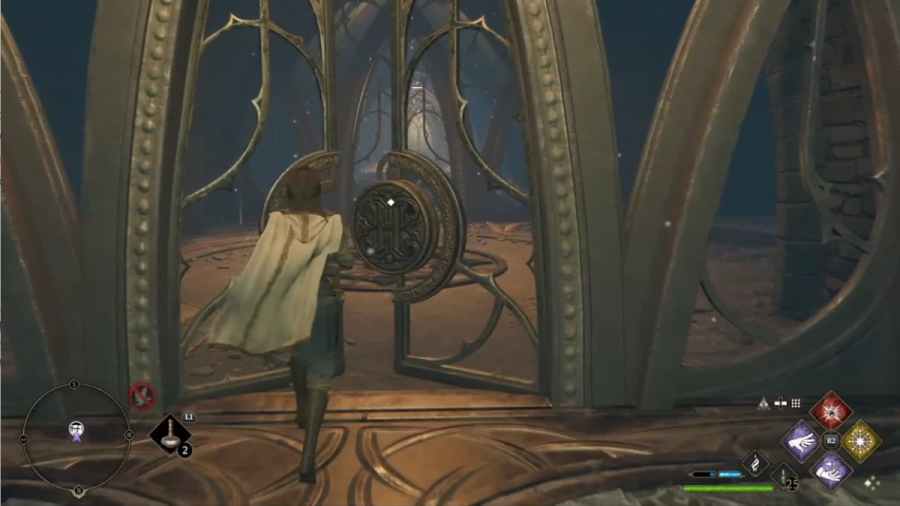
To spread out Depulso Puzzle Room Two , utilise Depulso on the golden knob , just like you did to open theHalls of Herodiana . Then , step in and proceed down the hallway to your first puzzle room .
Hogwarts Legacy’s Depulso Puzzle Room 2 solution
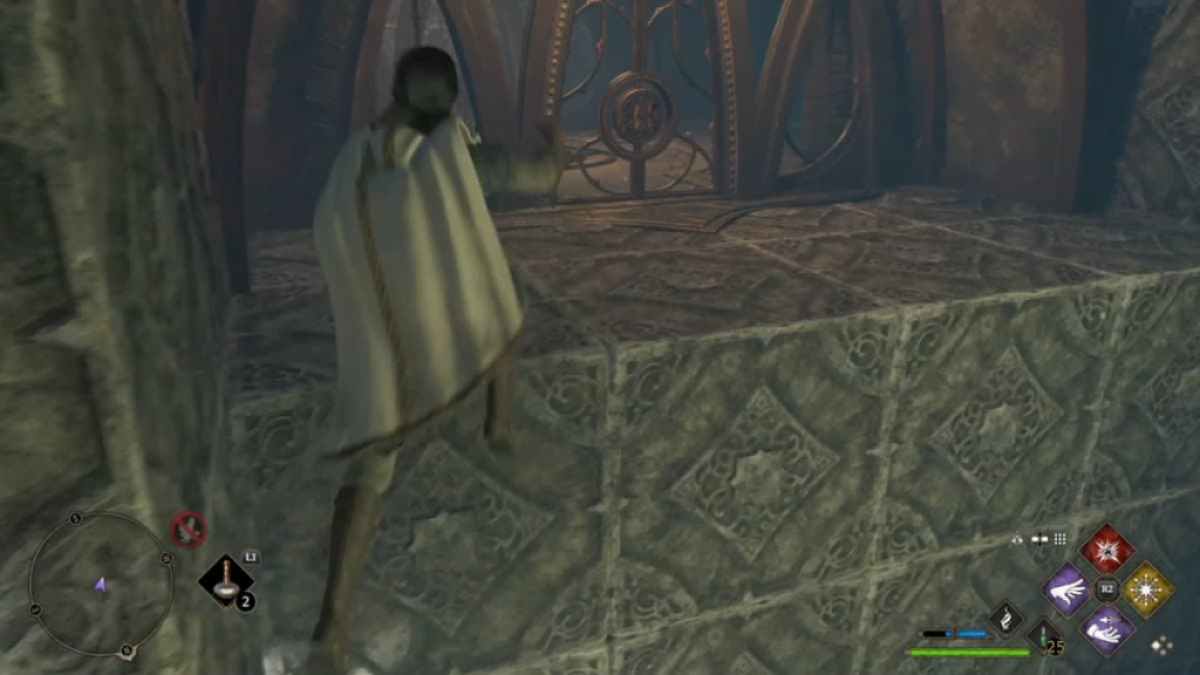
There are a couplet of important things to know about Depulso Puzzles . First , you will be using bothDepulsoandAcciofrequently , so I urge set both together on aspell wheelfor comfort station .
When you habituate Accio , be deliberate of where you are standing . Pulling a fortunate brick on top of yourself will result in your thespian eccentric being enthral to the starting time , and the puzzle will reset . you’re able to reset puzzler blocks without resetting your stead by using a basic smasher on the glow cube nestled in a golden point of view . Keep in creative thinker for this puzzle if golden cubes are rive or pushed together , they will become permanently linked , creating a new block entirely .
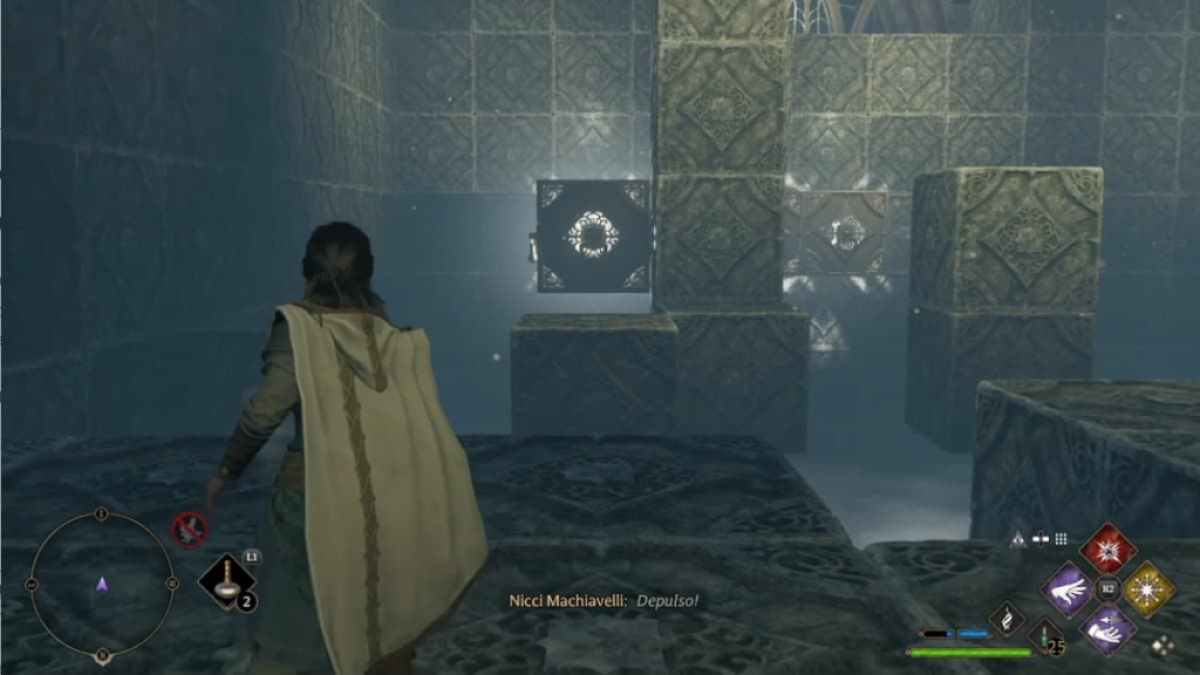
How to reach the first chest in Hogwarts Legacy’s Depulso Puzzle Room 2
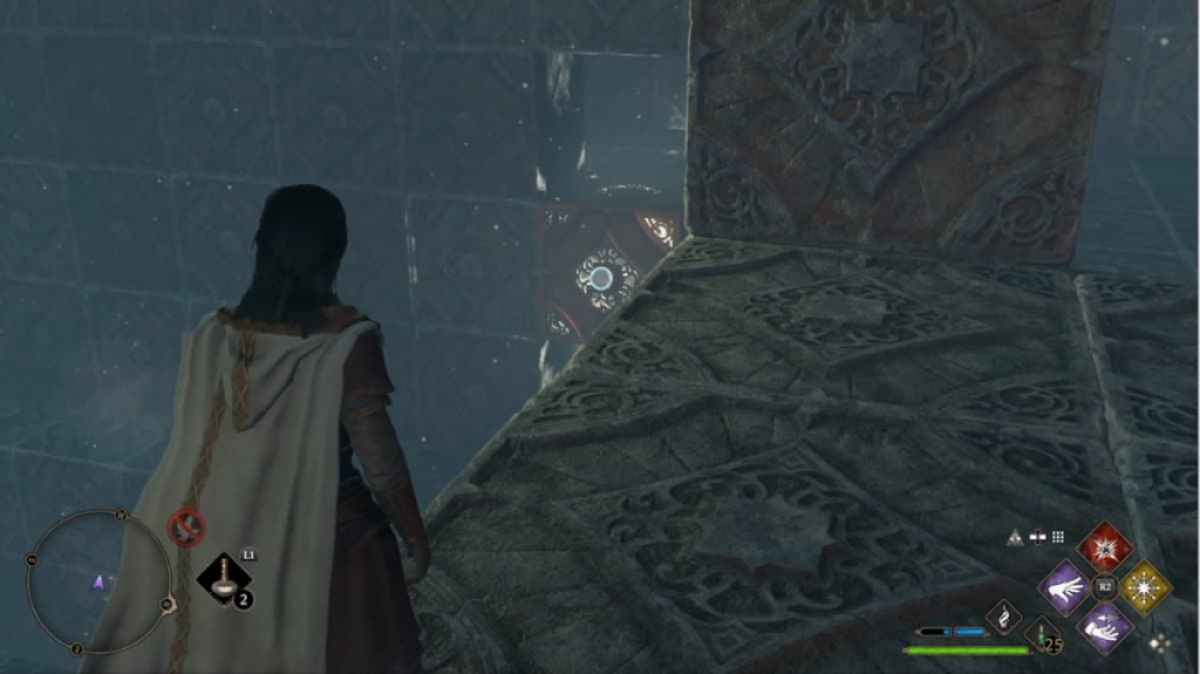
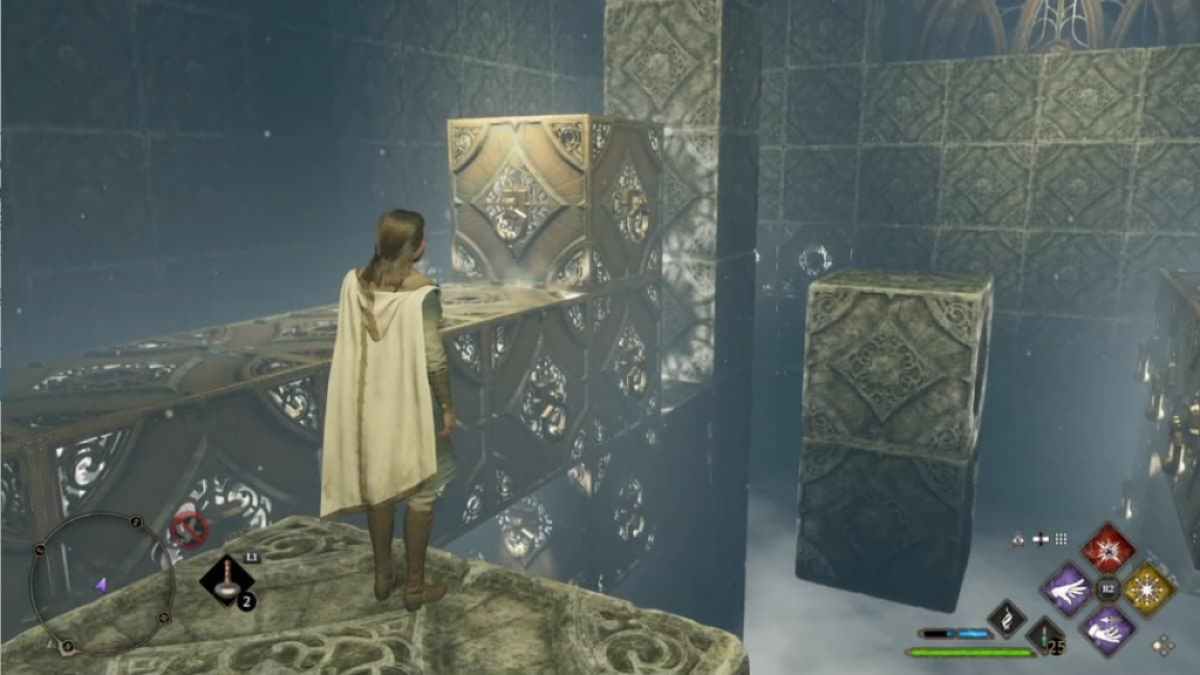
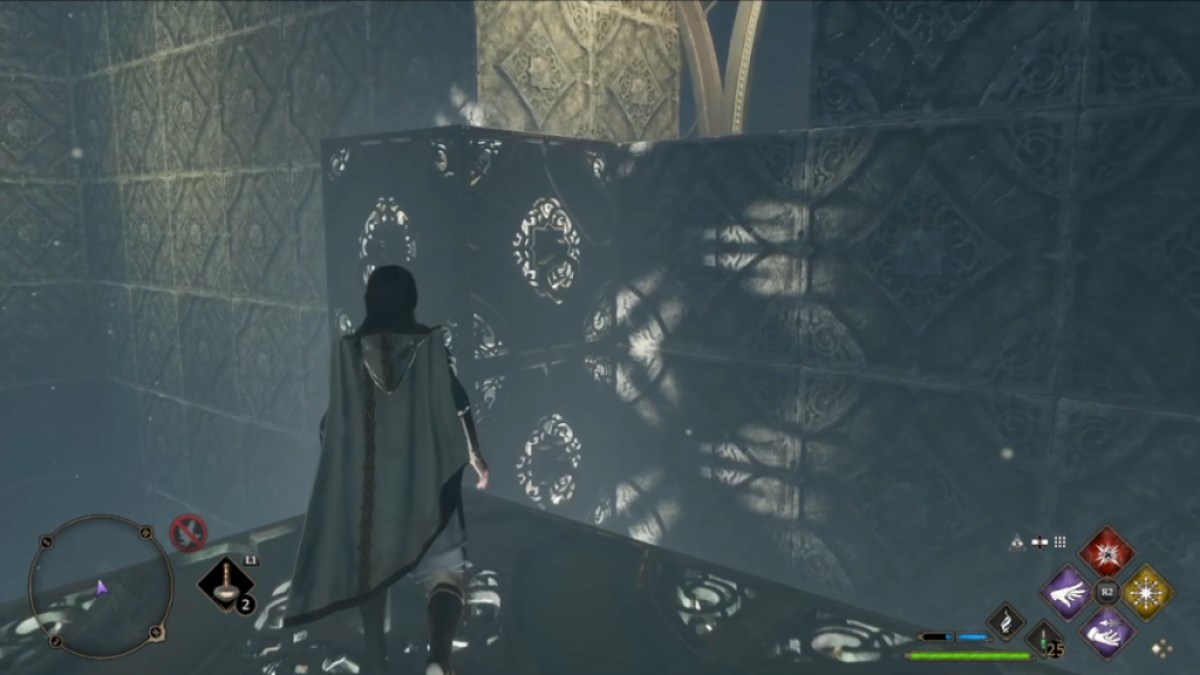
Depulso Puzzle Room Two has two distinct stage . In the first stage , your first object is to reach the chest cuddle in an alcove slightly above you on the left . To do so , overstretch the heavy fifty - regulate blocking on your right towards you , then over to the leftfield . Look around the litre - mold block to pull the thyroxine - shaped block behind it forward , combining them into a magnanimous platform . It should depend like the picture below .
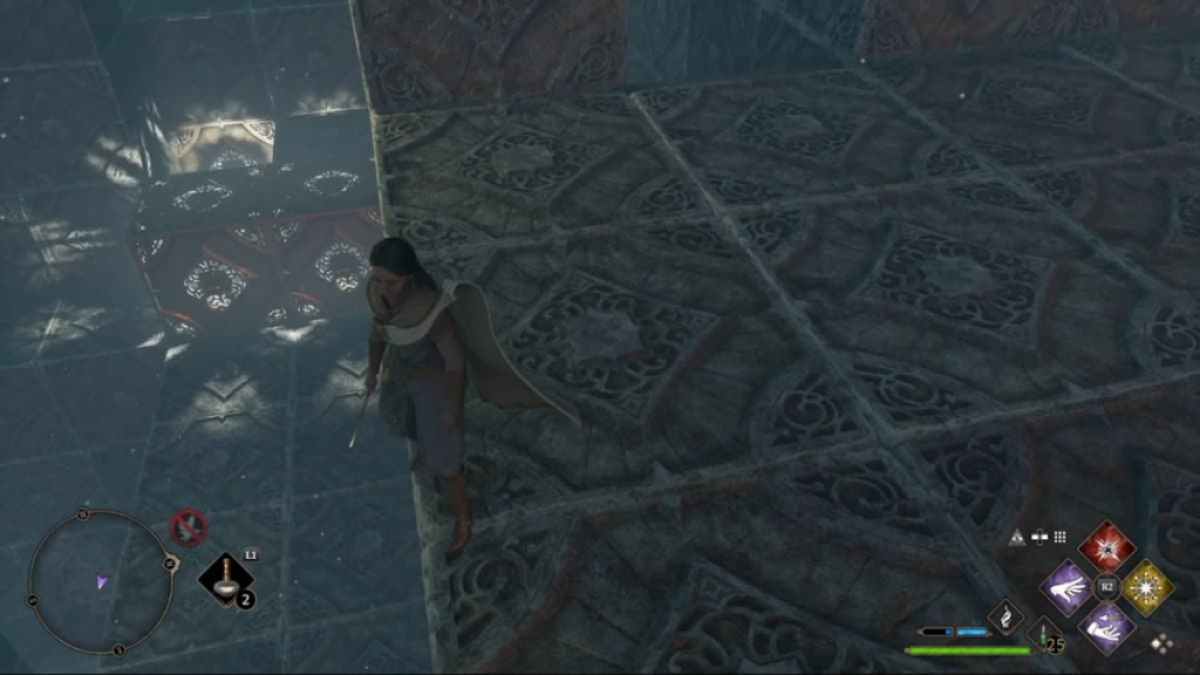
Jumpand climb onto the top of the program . You ’ll see the treasure in the bay just in front of you . The only thing to do here is jump-start from the recession of the platform across to the alcove . It is potential to miss , but you ’ll be able-bodied to climb back up if you do . It take us a few tries to make out the jump . As Molly Weasly says , " dependable do it at a bit of a runnel , if you ’re nervous . "
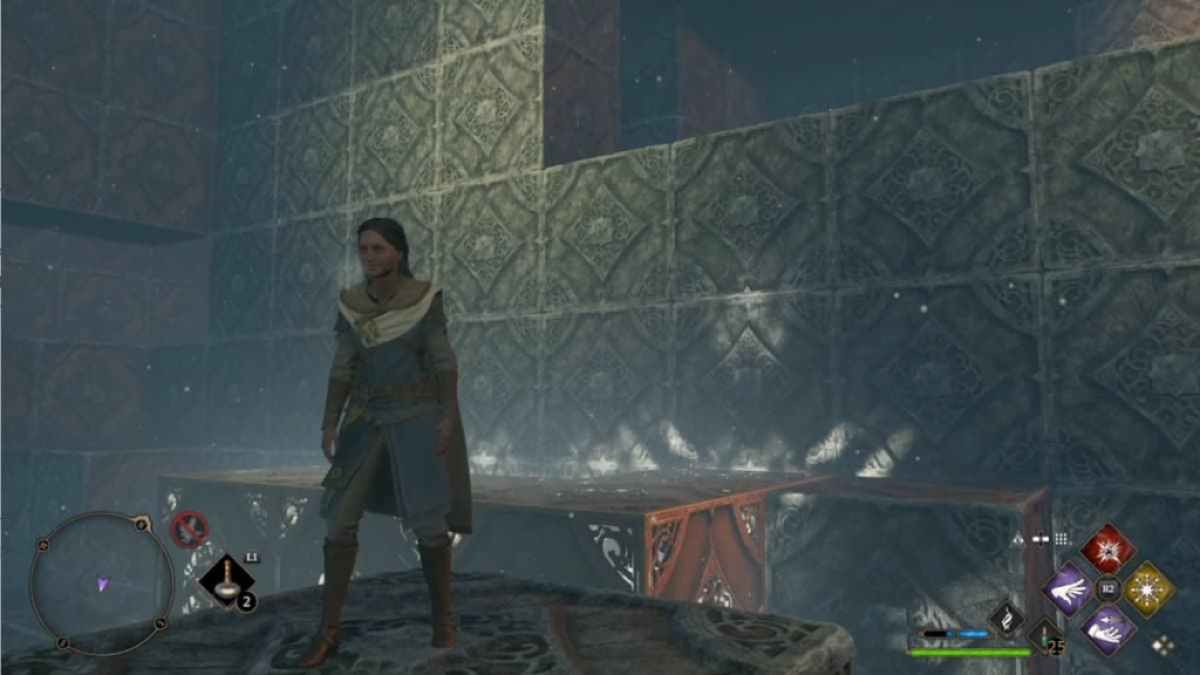
Once you ’ve reached the alcove , you ’ll see the room budge around . The exit door will reveal itself , and you ’ll see a stairway down a level . Open your treasure chest , then get quick to do a lot more block switch to exit the room .
How to exit the first room in Hogwarts Legacy’s Depulso Puzzle Room 2
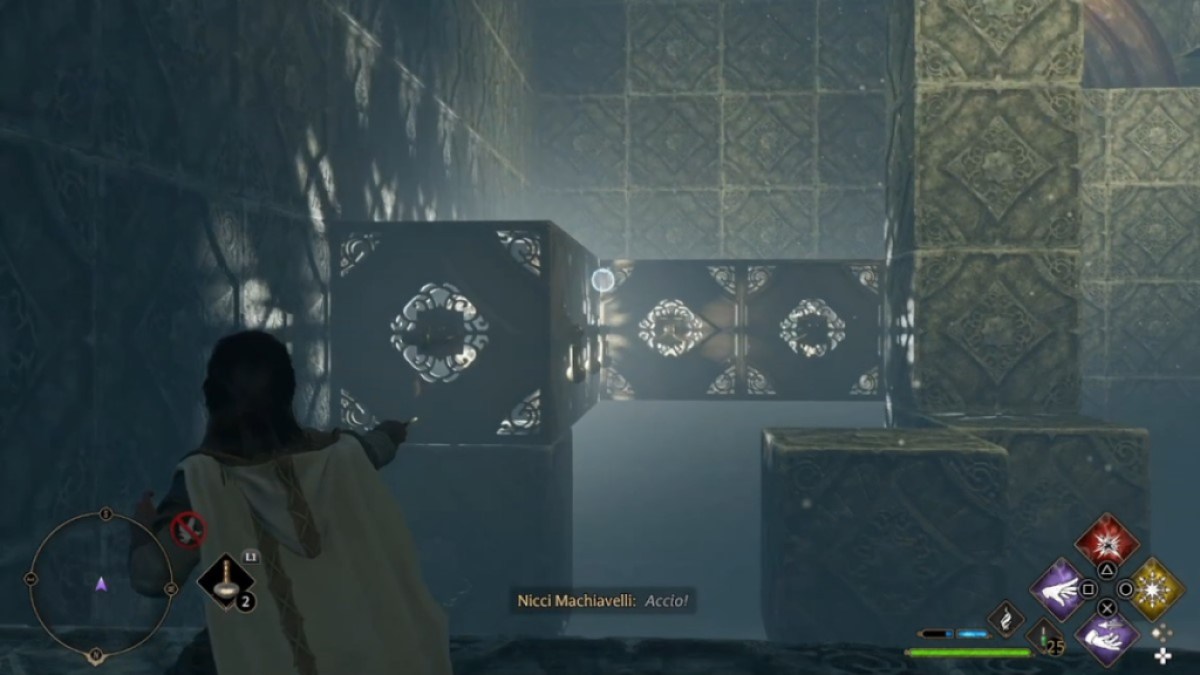
To start , look down towards where the stairway leads . From the alcove platform , use Accio to take out the single cylinder block pictured below across the way . It will combine with the T - mold block .
Next , calculate at the golden brick below and directly across from the platform . Pull that brick toward you , then crusade or pull up it to the right , then down into the turning point nearby where the single block you pulled came from . It should look like the image below .
At this decimal point , you could stick on the platform and drive carefully to pull and bring the two blocks pictured above together , or you could walk down the staircase and push the blocks into each other from the opposite side . Either way , once they are connected , you ’ll need to retrovert to the platform and pull out the machine-accessible block toward you , just underneath the weapons platform .
Screenshot by Pro Game Guides
Related : unspoiled ways to get Moonstone fast in Hogwarts Legacy
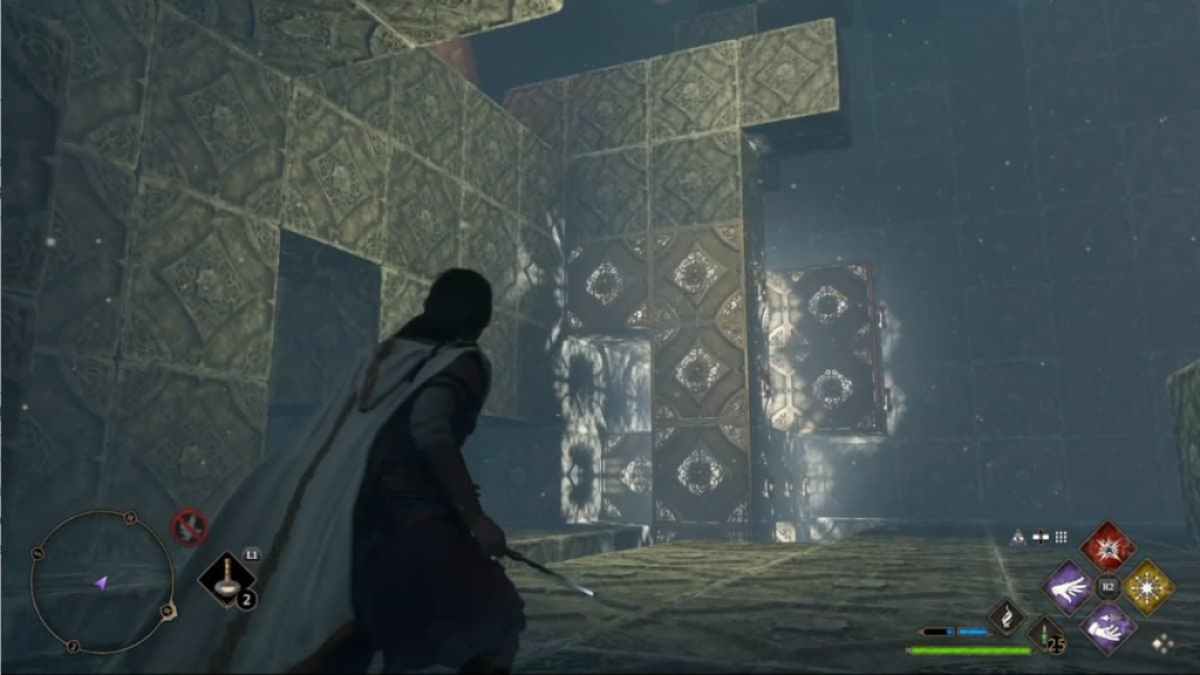
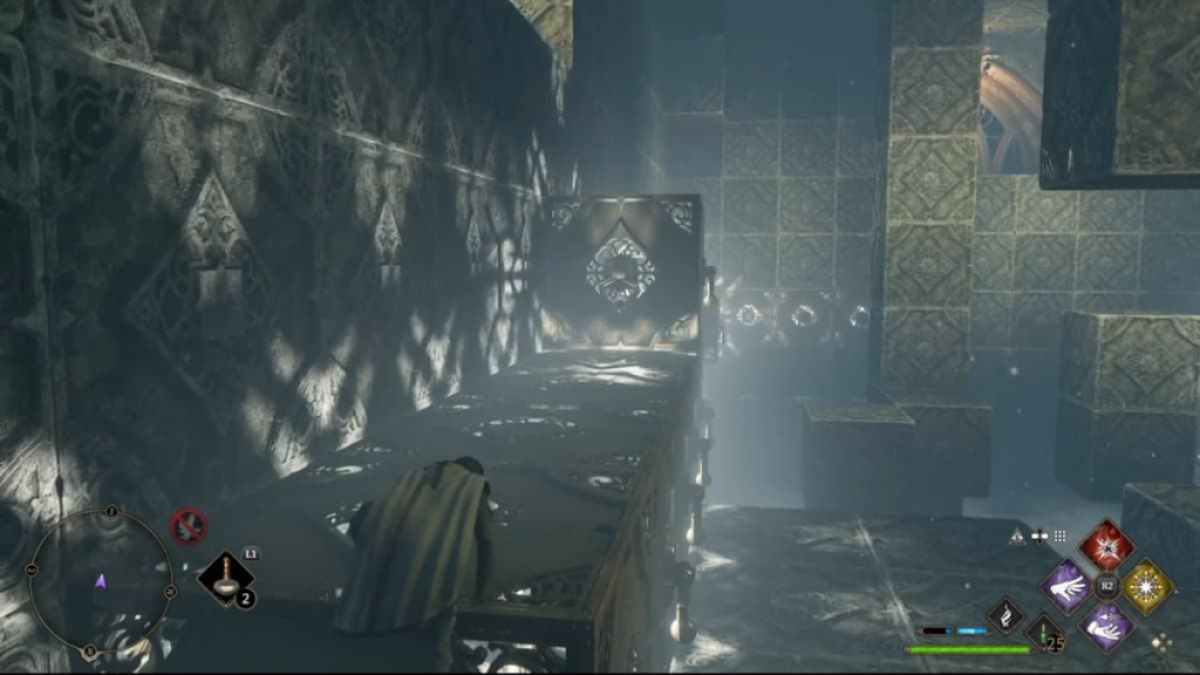
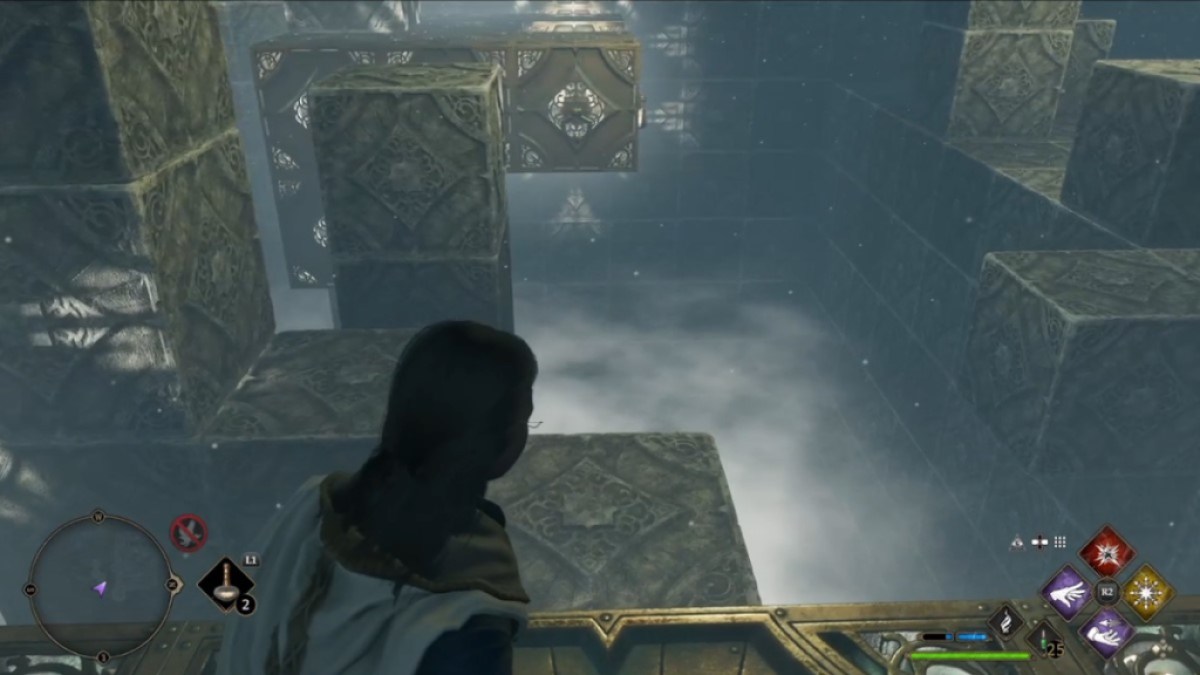
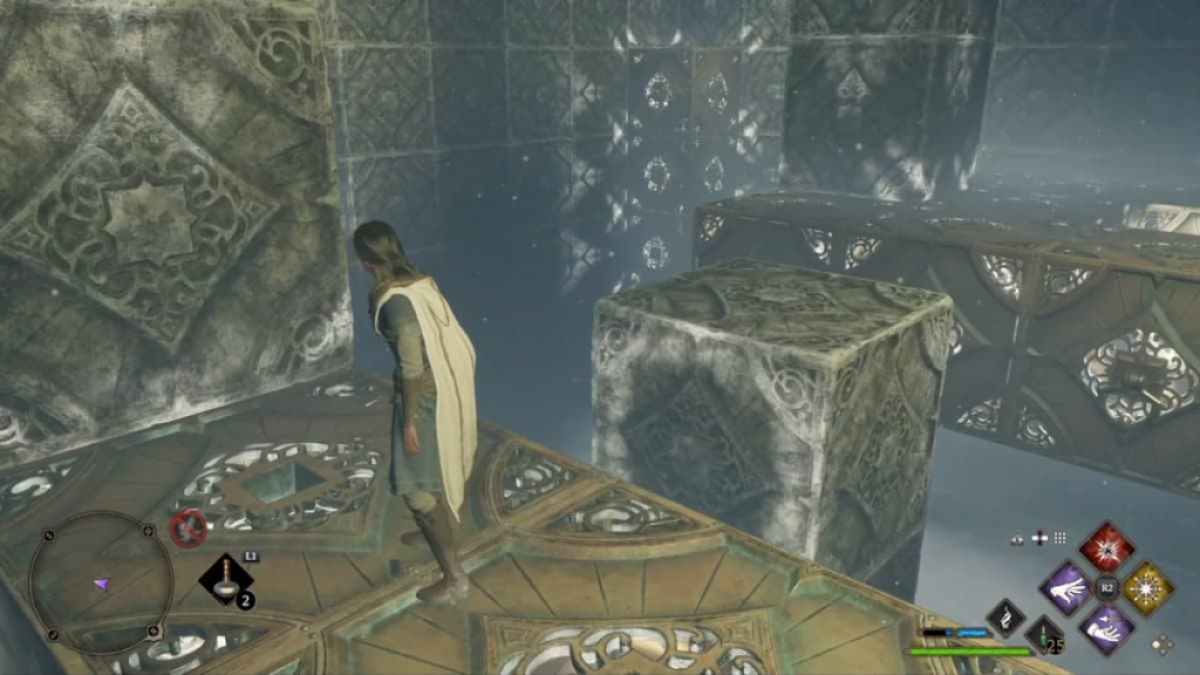
Jump down into the way , then pull the cubic decimeter - shaped block underneath the platform to the polar side of the room , near the going doorway . extract that closure again into the tall L - forge block in the corner around the exit . Then wait back to the T - shaped blockage in the corner near the platform . extract that block all the room around the four corner of the room until you have one large block . Push the grotesquely sized block back toward the corner between the entryway and the exit to the elbow room . It should front like the picture below .
Climb back up towards the entering , then go to the stairway close to the monster pulley . You ’ll call for to climb up on the stone mental block between the staircase and the lusus naturae block , then derail onto the top of the monster block , as show below .
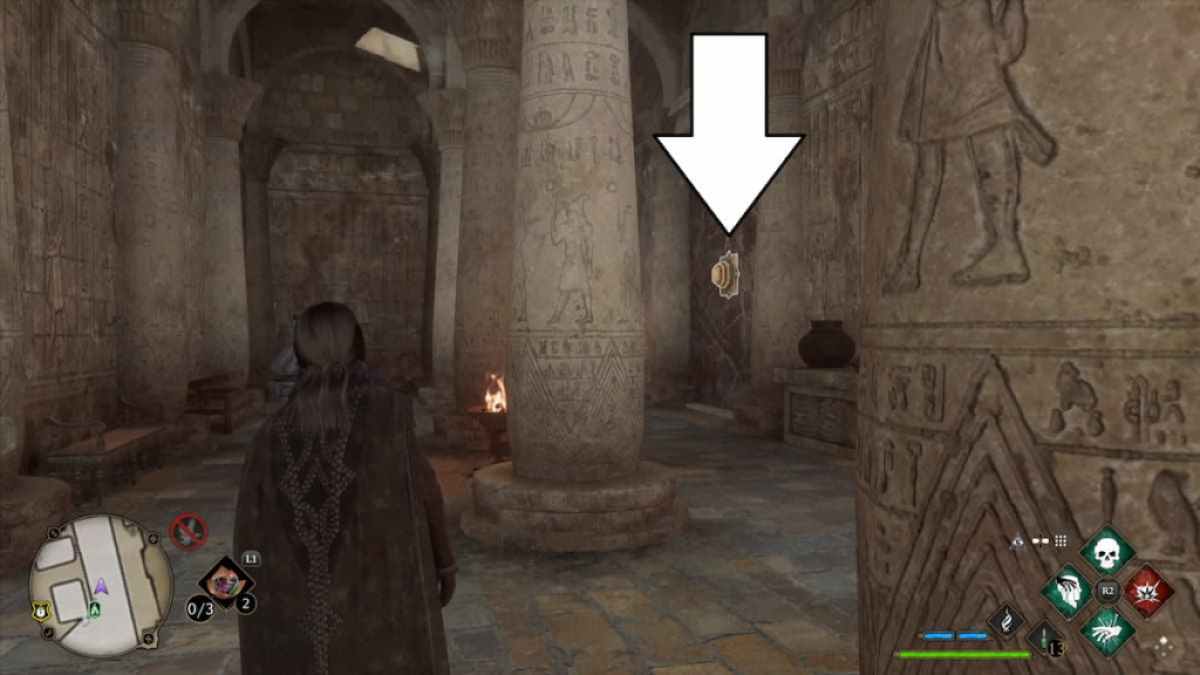
Image by Pro Game Guides
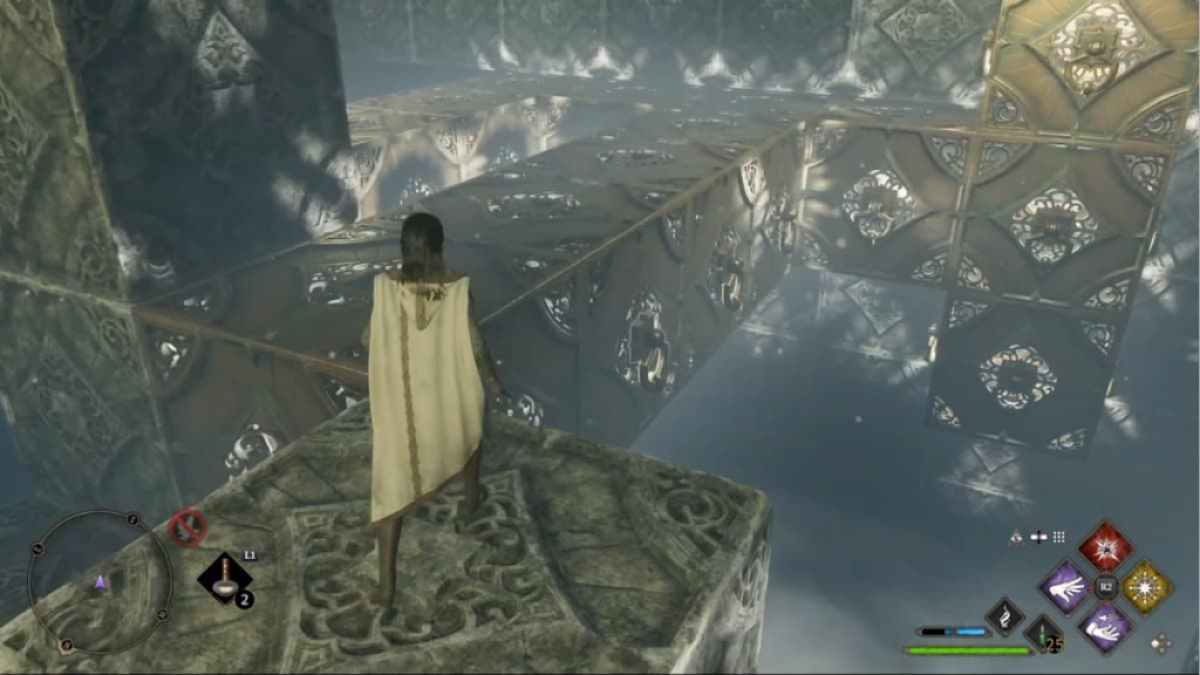
Once you ’ve made it on top of the engine block , stick out towards the edge of the auction block , then cast Depulso on the edge pictured below to move the occlusion and yourself towards the opposite wall .
From here , rise up the stone block in front of you . You ’ll then be making another leap of organized religion to the doorway in front of you . If you neglect , you ’ll just need to pull the lusus naturae block back toward the entrance and prove again .
Congrats ! You made it through the first room . Now , on to the 2d .
Screenshot by Pro Game Guides
How to reach the second chest in Hogwarts Legacy’s Depulso Puzzle Room 2
The second and terminal stage of Depulso Puzzle Room Two has two chests to lay claim , one on your right field and one on your left wing . The exit is directly in front of you . I aimed for the unexpended chest first . get by casting Depulso on the fortunate column block in front of you .
You ’ll then want to move the long , horizontal golden block to the right side of the elbow room , toward the entree , and then back over to the left side of the room again . It should be lined up so you may apply Accio to pull the horizontal block into the pillar pulley you push ahead . The ending result will reckon like so .
Pull the combined block one row to the right , then pull it forward toward the entrance . You will then be able-bodied to push the block along the left - paw bulwark . rip the combined brick back toward the entrance one last time . You should then be able to use it as a stairway to go up up to the chest on the left - hand side of the room .
Screenshot by Pro Game Guides
Related : How to Use Different Potions Simultaneously in Hogwarts Legacy
How to reach the third chest in Hogwarts Legacy’s Depulso Puzzle Room 2
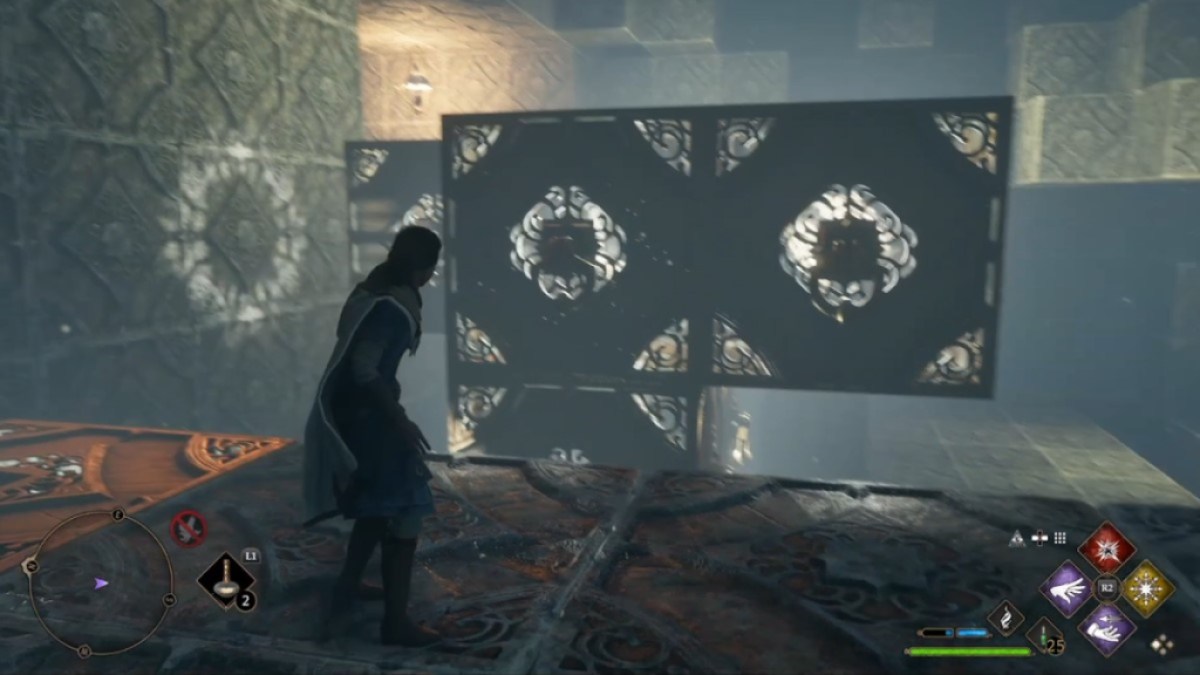
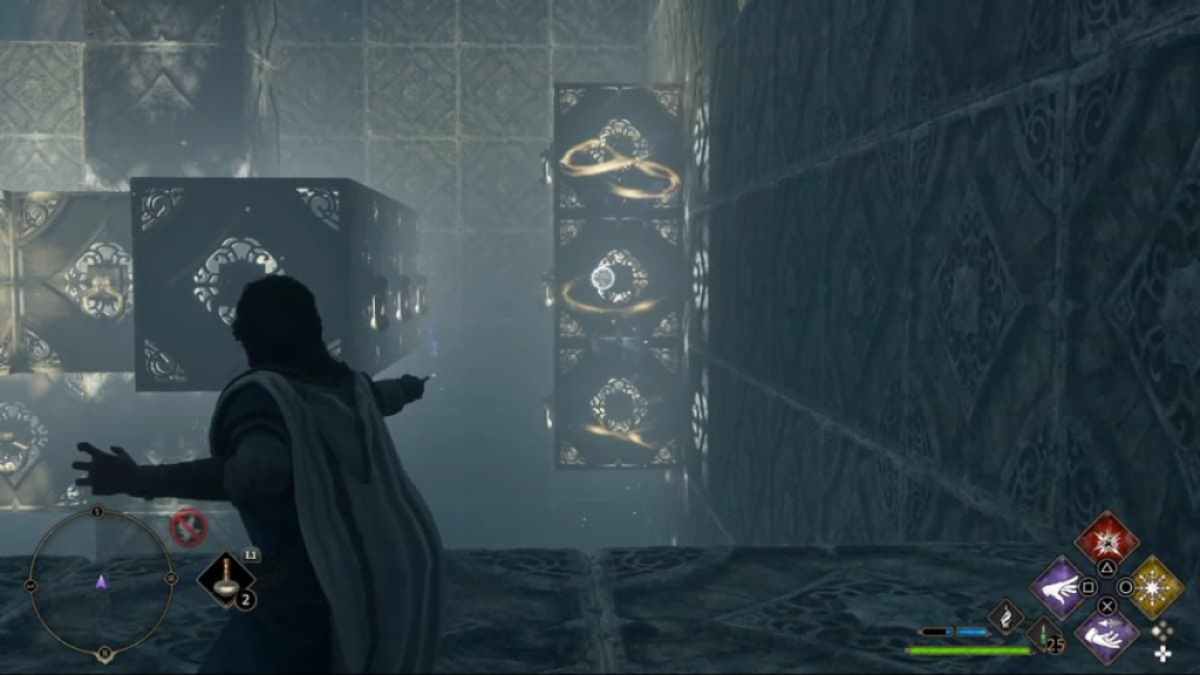
Go back to the ingress and reset the puzzle by using a canonic smash on the glow third power in the golden standstill . Push the pillar cube forward again , but this time , do n’t touch the horizontal square block . leap on top of it , then pull the H - shaped block wrapped around a column toward you . Jump onto that H - shaped cube , then pull the column square block toward the right side of the room .
While it may be tempting to try and make the jump from here , I try several clip and failed . Instead , what you’re able to do is labor the H lug back to the pillar toward the back of the room . Then , you ’ll want to move and look toward an liter - work occlusion snuggle in the back left corner of the room . Use Accio to pull it forth .
Next , you ’ll want to walk around and agitate the horizontal block toward the left wall , then push it forward to connect to the L - shaped block . This will create a shelf that you could jump onto . Go to about halfway between the entranceway and loss of the room . From here , you ’ll just be jump off across the block shown below to the hoarded wealth chest on the ripe - hired hand side .
Screenshot by Pro Game Guides
concern : All 10 Demiguise Statue Locations in Hogwarts in Hogwarts Legacy
How to exit the second room in Hogwarts Legacy’s Depulso Puzzle Room 2
You ’ll need to completely readjust the cubes and return to the entrance to make it to the going , so I recommend just jumping into the abysm to reset . From there , start like you did to reach the right - hand chest of drawers , pushing the pillar cube forward , the H - shaped block toward the entrance , and then pulling the pillar block past it to the right - manus rampart . This sentence , push the pillar third power one more fourth dimension to the corner between the departure and the right side chest .
Next , you ’ll desire to find the L - shaped block reset to the back left niche . Pull it forward , to the right , then back again to get it into position .
The next cylinder block you ’ll be working with is the horizontal block . Push it toward the right hand , deplume it toward the entrance , then back to the left . cautiously apply Accio to pull the horizontal block toward the release . It will be barricade by a stone pillar . You should then go up on the horizontal block to reach out this stone regular hexahedron in the center .
Screenshot by Pro Game Guides
From the Isidor Feinstein Stone square block , pull the H - shape block back toward the incoming , and pull up the pillar cube toward the expiration as well . It should be blocked in front of the way out by the L - forge stoppage . Hop over to the H - shaped block and apply Accio to draw the horizontal city block right one infinite , then forward toward to the room access . After all that , you ’ll have a exculpated track to leap and climb up to the exit .
Your reward for all of this bother is a Collection Chest containing a Conjuration spell . For us , it was a Telescope , which would make Amit happy to see us , at least . I ’ve got to say , though , it seems like I deserved something more than cosmetic furniture for my time .
Looking for more assistant inHogwarts Legacy ? learn outAll Moth to the Frame picture locating in Hogwarts Legacyhere at Pro Game Guides .
Screenshot by Pro Game Guides
Screenshot by Pro Game Guides

Screenshot by Pro Game Guides
Screenshot by Pro Game Guides

Screenshot by Pro Game Guides
Screenshot by Pro Game Guides
Screenshot by Pro Game Guides
Screenshot by Pro Game Guides
Screenshot by Pro Game Guides
Screenshot by Pro Game Guides
Screenshot by Pro Game Guides
Screenshot by Pro Game Guides
Screenshot by Pro Game Guides
Screenshot by Pro Game Guides
