Everyone loves a haunted ship .
Season of the Witch in Destiny 2 introduced a novel hebdomadal natural process , the Exotic Mission Rotator . For geezerhood , Guardians have been lamenting that there is n’t enough to do in the raider hired gun and content vaulting has only made this worse . The Exotic Mission Rotator brings back classic missions that can then be farmed . Here ’s how to dispatch the reintroduced Presage delegation .
Where to find the Presage Exotic mission
All of the Exotic commission are nowfound in the Legends section . Open theDirector , psyche toDestinations , and finallyLegendsto find this week ’s rotator . observe that to wager the Presage missionary post , Guardians must own the Beyond Light expansion .
What are the Presage Exotic Mission Rotator rewards?
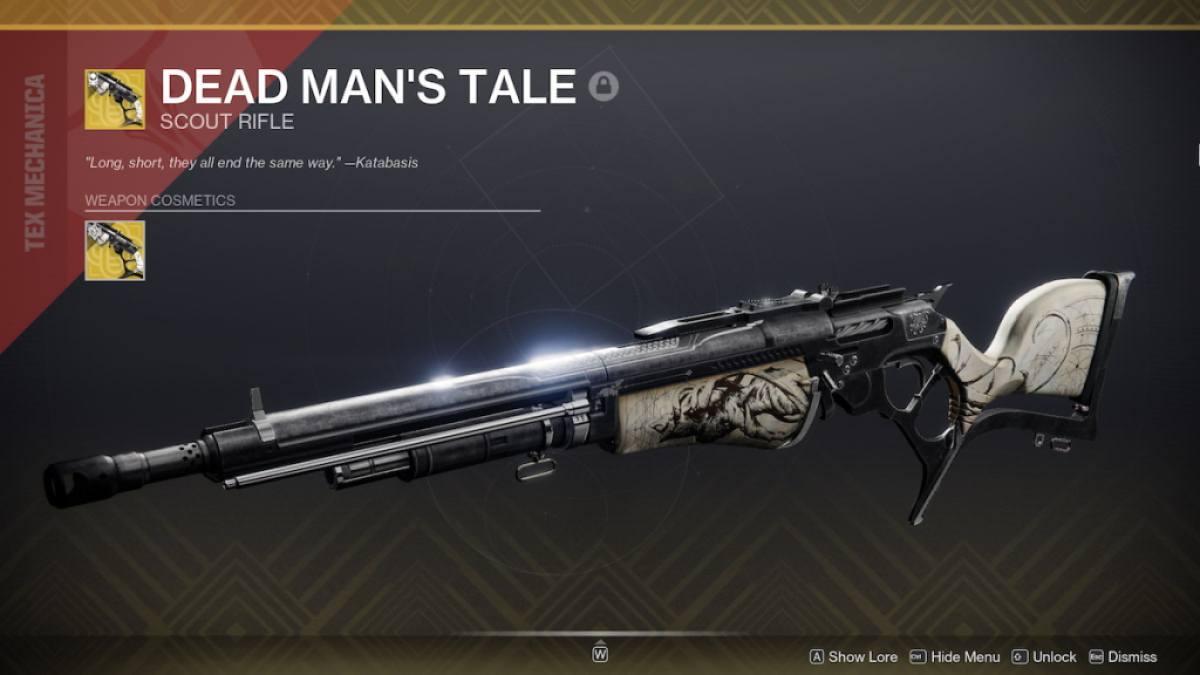
The cock-a-hoop draw to running the rotators is the chance to farm gear from previous season . When it comes to Presage , Guardians can nab equipment fromSeason of the Haunted . Note that this includesred margin weaponswhich are required for crafting . Additionally , Exotic weapon advantage are now craftable . This is huge as role player no longer have to wait for Xur to show up with a skillful axial rotation .
Weapons
Armor
Guardians can obtain theEidolon Pursuantarmor strictly for transmog purposes .
Presage Exotic Rotator Mission Modifiers
Normal (1800 Power)
Legend (1830 Power)
Related : How to get the Hope Eater allegory in Destiny 2
Presage Exotic Mission Rotator Walkthrough
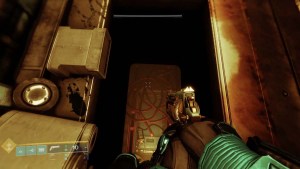
Glykon Entrance
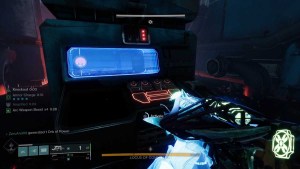
Once inwardly , make your direction through the ventilation system until you add up out into a elbow room host the other side of the door you first spotted . draw the lever to open it up for any fireteam members still waiting .
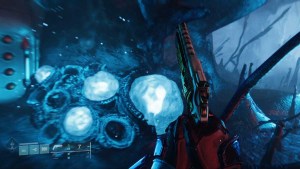
On the opposite side of the room , you ’ll open a doorway and see the mechanic of this deputation , the Egregore Spore . Shooting the spores while standing next to them will give you the Egregore Link buff which allows you to pass through the roadblock .
Glykon Passage
After dropping down into this elbow room , immediately turn around and head down the corridor . There will be some Screebs to dole out with before attain the lever tumbler at the final stage . Pull this lever to afford a threshold with Egregore Spores where you initially dropped in . Head back that way , shoot the spores , and jump across the gap to the opening .
Once across the gap , uphold on and be mindful of the Screebs . You ’ll eventually number out on the other side of the electrified roadblock . Jump to the hang platform instantly in front of you and then to the ledge across that . pip the blue power cell to spread out the hatch in the floor and drop down .
There will be more Screebs in here . Jump up to the second level and pull the lever which open a door on the diametric side of the way . Go through that door , stick out across the spread , and you ’ll find another lever tumbler . Pull it , jump back across the gap , and there will now be another exposed power cell .

With all that done , manoeuvre back out to the room with electrified barrier . see down to your right wing and there will be a threshold with a platform that flips down . Jump onto the weapons platform and head through the doorway .
Trash Compactor
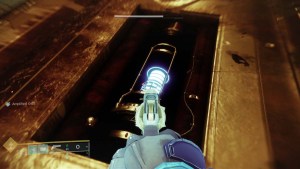
overstretch the usable lever tumbler and the floor will open up . However , as with any quad post trash compactor , the walls will begin shut in and Screebs decide to shoot the breeze again . Shoot start the floor gore to find three power cells . Once you ’ve shot all three of them , there will be an open venire in the base that you may throw into .
First Encounter
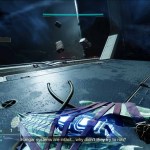
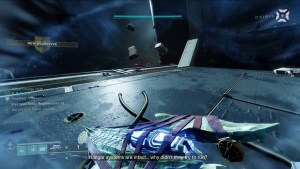
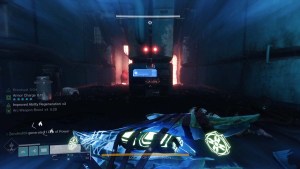
This fight is incredibly square . Kill all of the Scorn and the two Darkmind Abominations without dying . These are burly boys , so keep your distance and pepper them with Heavy arm until they succumb .
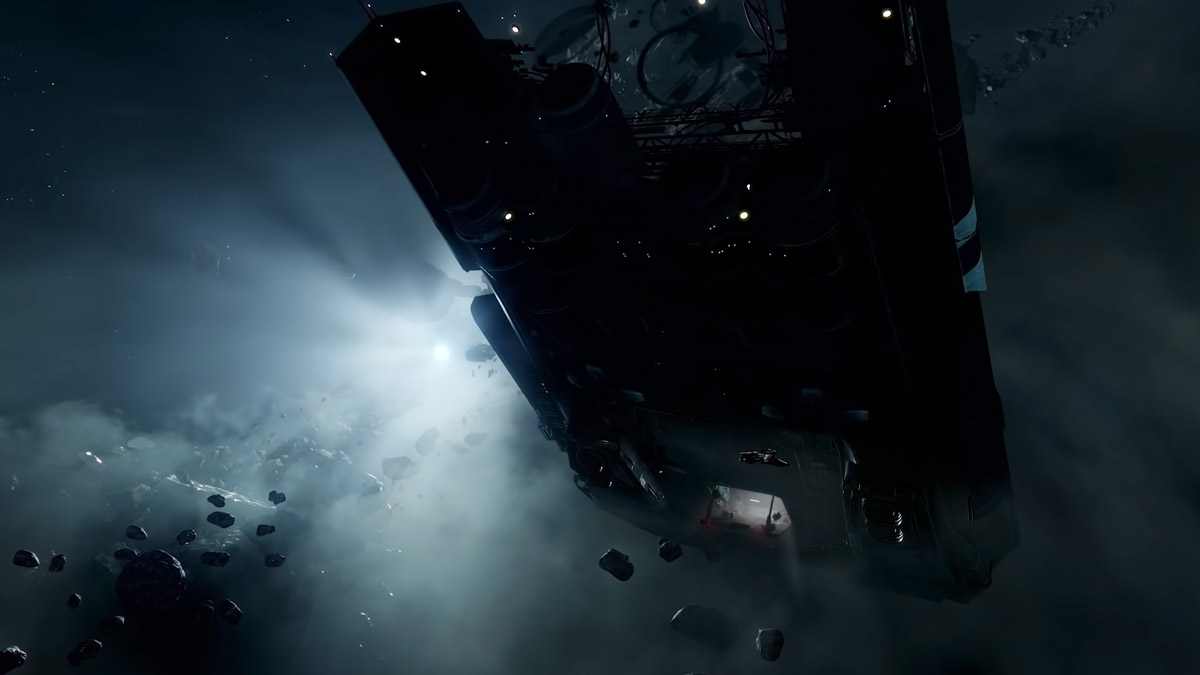
With that taken care of , look off into the enormousness of blank and ponder your place in the creation . When you ’re done having an existential crisis , go out through the unfastened hangar bay door and turn decently . hop-skip into the adjacent airdock , up onto the Cabal ship , and across to the opposite corner of the elbow room . You ’ll see a lit blowhole / opening that take you to the next incision .
Related : Best Legendary Scout Rifles in Destiny 2
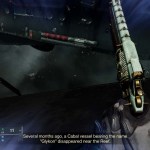
Screenshot by Pro Game Guides
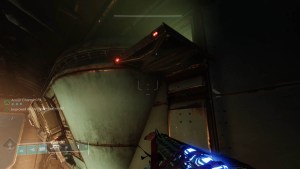
Second Glykon Passage
Upon dropping down , look to the left and you ’ll distinguish a lever that opens a door with Egregore Spores . Grab the buff and head to the door on the polar side of the elbow room . More Screebs will pop up but once you ’re past them , you ’ll see another lever tumbler . Pull that to expose a power cadre on the polar side of the room . frivol away that to inactivate the electric barrier above you .
start up to find another lever . extract that , turn around , and follow the corridor to yet another lever tumbler . This will open up the door and give up you to drop down into the original elbow room . Grab the spore buff to proceed to the next unbolted room .
This room is all about levers and power cells . Clear out the Scorn and pull the lever at the back of the room . Go forward , throw down off the ledge , and turn around to reveal an opened door with a turret inside . put down the gun turret and the powerfulness electric cell deep down . With that done , another door on the other side of the way will open , give away more spores . take hold of the buff and head through the roadblock to drop into the open floor plate .
Screenshot via Destiny 2 YouTube
dally slow and smart here as Screebs love to hide behind these control board . Take your time and shoot the panels so you ’re not surprised by one . When you first drop down , there will be spores behind the panel to your right wing . Grab the buff and head through the blowhole to pop out into the room you were in before head up down to the vents .
A newfangled room access will now be undecided . Grab the buff and head through the new door to find another Scorn welcoming party . depend for a lever at the back of the room that opens a panel with a ability cell inside . Shoot the cell to open another dialog box on the opposite side of the room that contains more spores .
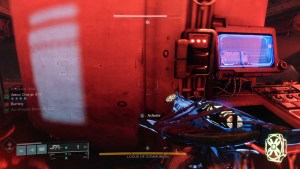
Obtain the buff and hoof it it to the next room . There is some platforming to be done while you contend with several Corrupted Raiders . knead your way to the back of the way where you ’ll find a lever tumbler . Pulling that opens a way next to you with a turret that must be dispatched .
Screenshot by Pro Game Guides
Go back toward where you startle in the room and you ’ll see a freshly debunk world power cell . Blast it , go on on , grab the buff , and keep going . You ’ll come across a point where you could set a Rally Banner . Right next to that is a lever that you could pull to let your fireteam cut all the nonsense you just went through .
Locus of Communion Boss Fight
When you drop into the initial elbow room for the boss fight , you ’ll be greet by the Locus of Communion and his brother . Shoot their stupefied Scorn brass and they ’ll bugger off for a bit . With them out of the way , activate the three switch in the room . Two will be on either side and the last is in the furnace room . Note that furnaces are hot and you ’ll take burning damage until you activate the switch .
With all three activated , go back into that initial room and drop off down the newly expose " basement . " Since basements broadly speaking contain spooky thing , the Locus of Communion and his strong-armer are down here . Upon micro-cook a third of the hirer ' health , the basement will change by reversal red as the temperature skyrockets . Get out by heading up . Repeat this pattern to kill the honcho for good .
Presage Reward Room
With the boss kill , a door will open on the top floor of the boss room . Head on through to determine a gruesome video display . Interact with the suspended Guardian to claim your advantage .
For more Destiny 2 treat , chink outHow to get Necrochasm in Destiny 2on Pro Game Guides !
Screenshot by Pro Game Guides
Screenshot by Pro Game Guides
Screenshot by Pro Game Guides
Screenshot by Pro Game Guides
Screenshot by Pro Game Guides
Screenshot by Pro Game Guides
Screenshot by Pro Game Guides
Screenshot by Pro Game Guides
Screenshot by Pro Game Guides

Screenshot by Pro Game Guides
Screenshot by Pro Game Guides
Screenshot by Pro Game Guides
Screenshot by Pro Game Guides
