There you go !
In Starfield , players have a draw to search originate with dissimilar major planet , meeting Modern NPCs , and completing a clustering of missions . Porrima III is one of the planet in the Porrima star organization where you will find an copiousness of resources , wildlife , and plant . Likewise , you ask to know how to complete a 100 % sketch of this major planet by discovering all the resources , flora , fauna , and planetary trait . Here ’s how you could get 100 % Survey Data on Porrima III in Starfield .
How to 100% Survey Planet Porrima III - Starfield
Starfield has a fine scanning mechanic that allows players to scan through the various major planet and control for resources , flora , fauna , water , and other important element . This avail save a lot of prison term as players can obtain what they are look for without bring down or scour every other major planet .
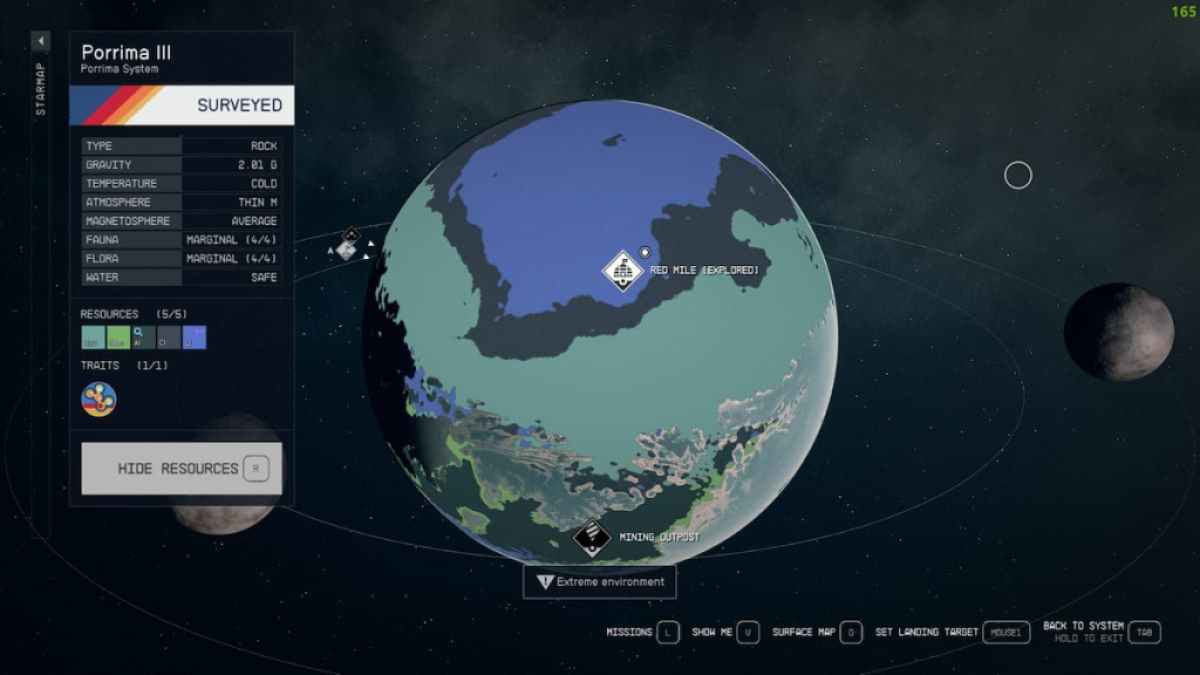
To full appraise a planet , players need to find all theresources , flora , beast , andplanetarytraits . After complete a 100 % survey of planet Porrima III , the above image is what you should see .
How to reach Porrima III in Starfield
Before surveying , you need to know how to reach Porrima III in the Porrima system of rules . thespian will have to grav jump two times fromNew AtlantisinJemisonto reach the Porrima star system of rules . The space betweenAlpha Centauri andPorrimais 39.9 LY . Here is the route you should follow to reach the planet speedily :
After landing , player demand to check these biome for the flora , beast , and erratic trait turn up on satellite Porrima III to complete a 100 % view . To select a biome while orbiting a major planet , flick on the dissimilar land multitude structure that are visible .
Related : Where to find Titanium in Starfield

All fauna on Porrima III in Starfield
The follow animals ( fauna ) can be found on major planet Porrima III in the Porrima star system :
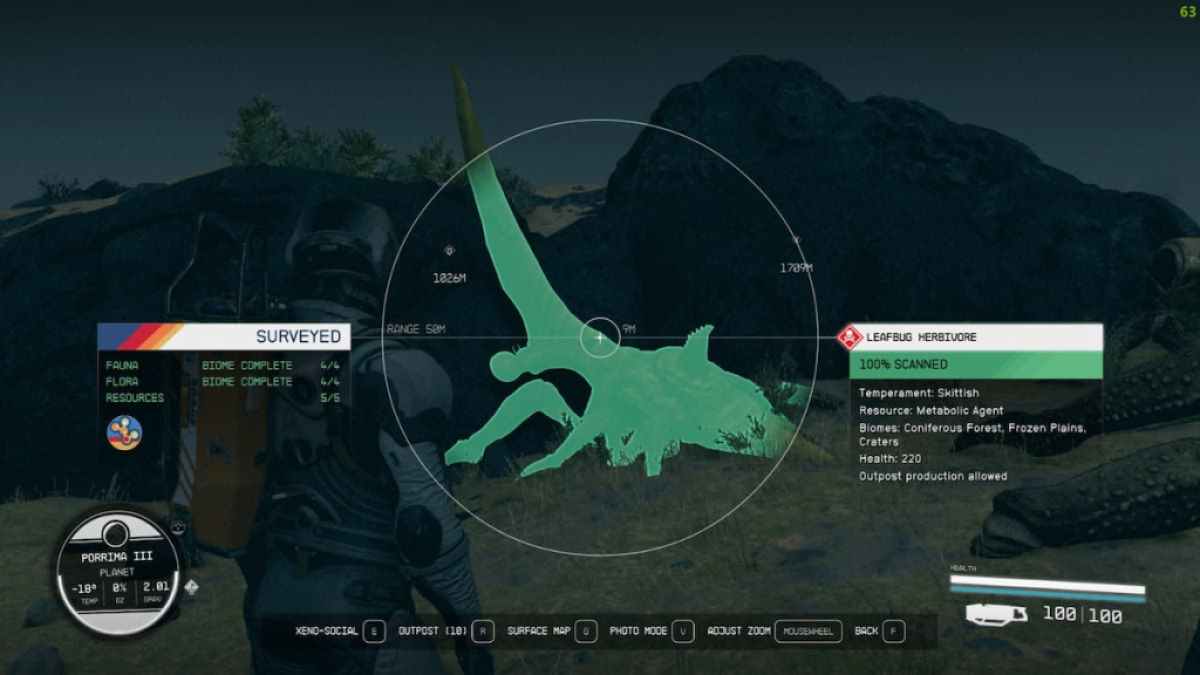
Leafbug Herbivore
The Leafbug Herbivore provide Metabolic Agents and can be found in the Coniferous Forest , Frozen Plains , and Craters on major planet Porrima III .
Herding Beetlecrab Filterer
This creature render enhancive resources and can be obtain in the Coniferous Forest , Frozen Plains , and Craters on satellite Porrima III .
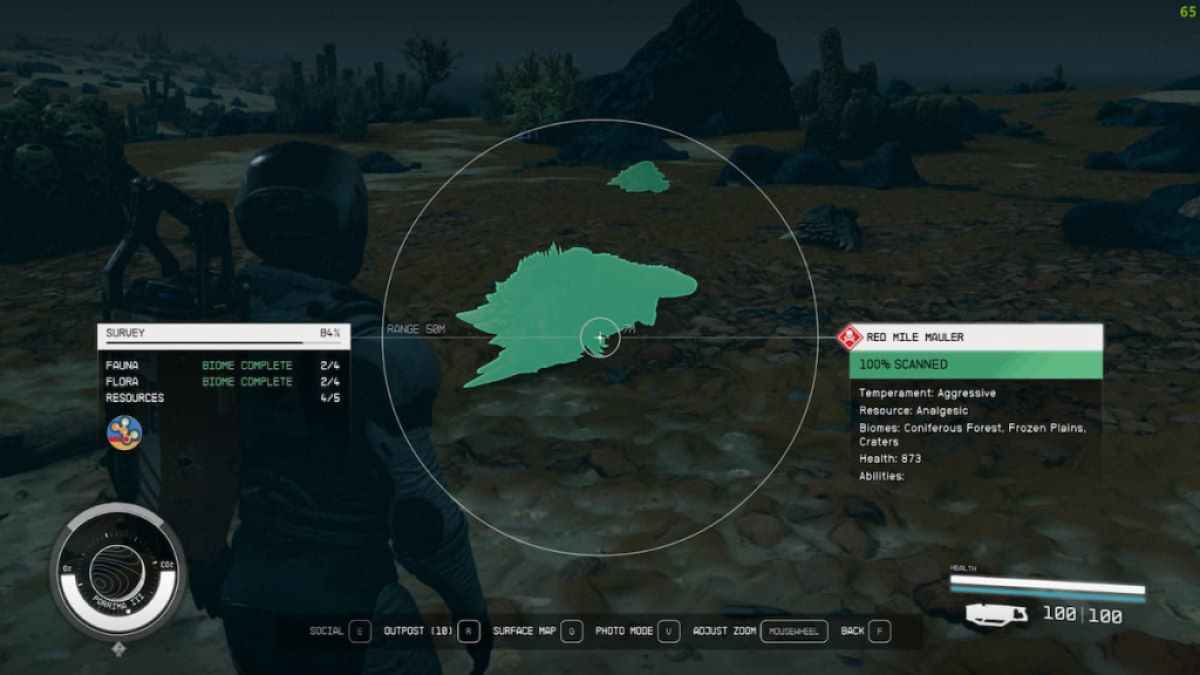
Red Mile Mauler
The Red Mile Mauler gives Analgesic as a imagination and can be see in the Coniferous Forest , Frozen Plains , and Craters on planet Porrima III .
Spaceroach Filterer
The Spaceroach Filterer provides a resource called Sealant and can be found in the Coniferous Forest , Frozen Plains , and crater on planet Porrima III .
Related : How to get 100 % study Data on Serpentis II in Starfield
All flora on Porrima III in Starfield
All tree diagram ( flora ) that can be found on Porrima III are as be :
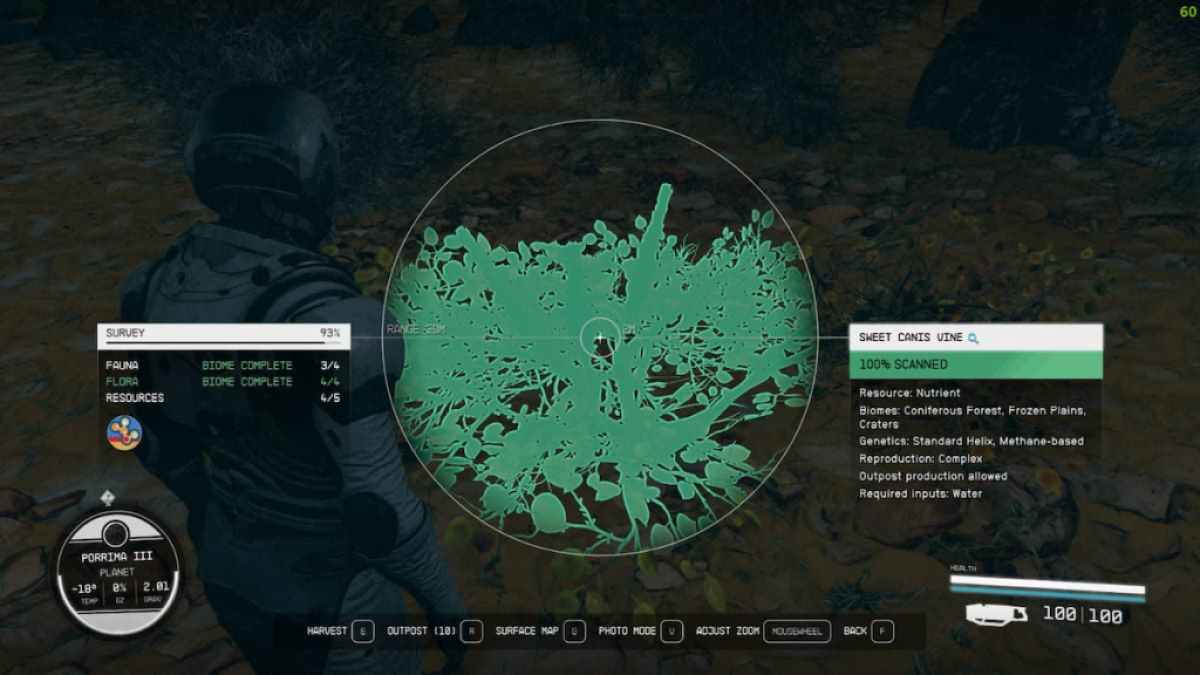
Sweet Canis Vine
The Sweet Canis Vine give Nutrients and can be found in the Coniferous Forest , Frozen Plains , and volcanic crater on planet Porrima III .
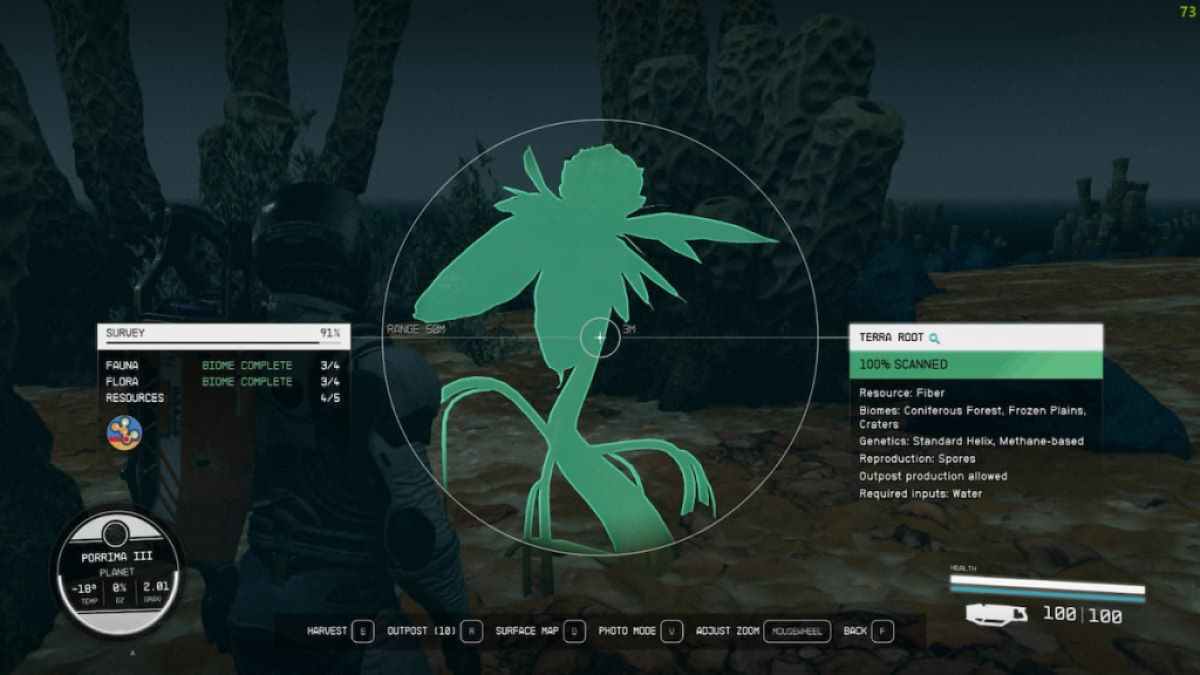
Terra Root
This plant life return Fiber as a resource and can be establish in the Coniferous Forest , Frozen Plains , and Crater on planet Porrima III .
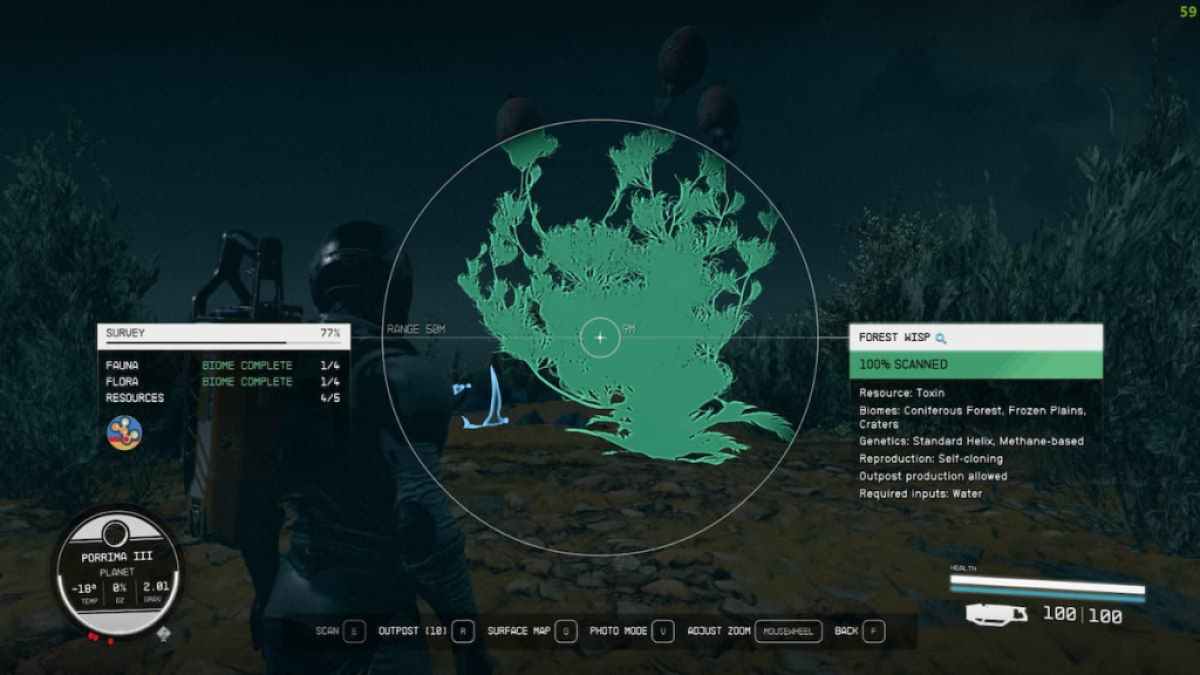
Forest Wisp
The Forest Wisp gives Toxins and can be find in the Coniferous Forest , Frozen Plains , and volcanic crater on major planet Porrima III .
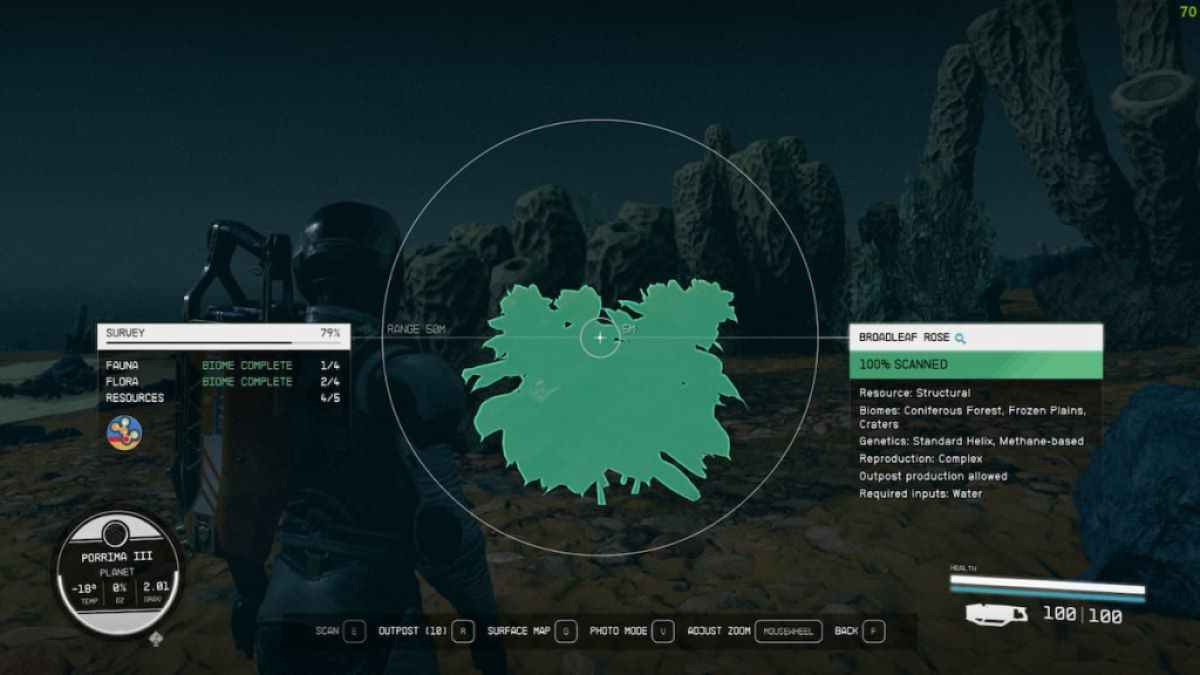
Broadleaf Rose
This plant providesStructuralresources and can be found in the Coniferous Forest , Frozen Plains , and Craters on planet Porrima III .
All resources on Porrima III in Starfield
On scan Porrima III , role player will find the following resources on the planet :
All planetary traits on Porrima III in Starfield
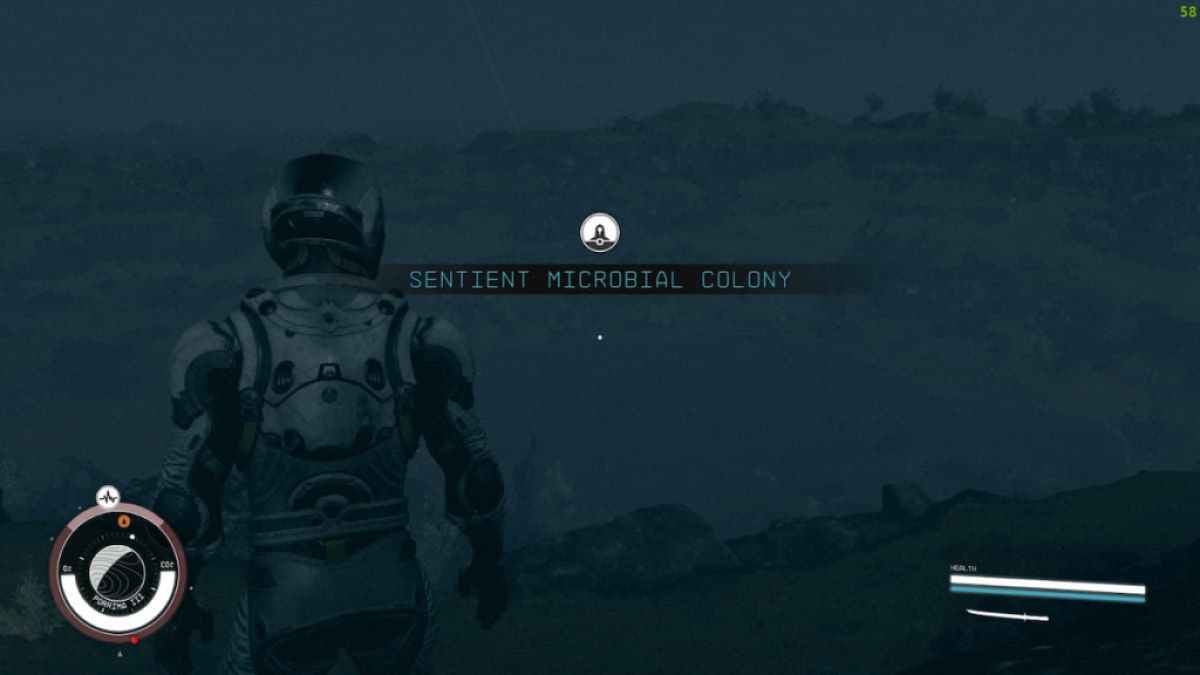
To complete a 100 % sight , you also need to encompass the planetary traits . spread your scanner and rotate around the map to see unexplored planetary trait locations . Porrima III in the Porrima sensation organization has only one world-wide trait which is mention below :
Sentient Microbial Colony
To detect more on Starfield , check outHow to get 100 % study Data on Tau Ceti II in StarfieldandHow to get 100 % Survey Data on Charybdis III in Starfieldon Pro Game Guides .
Screenshot by Pro Game Guides
Screenshot by Pro Game Guides

Screenshot by Pro Game Guides
Screenshot by Pro Game Guides

Screenshot by Pro Game Guides
Screenshot by Pro Game Guides
Screenshot by Pro Game Guides
Screenshot by Pro Game Guides
Screenshot by Pro Game Guides
Screenshot by Pro Game Guides
