While everyone else is trying to get a diamond pickax , you ’ll already have your Nether Portal ready !
The traditional way of building a Nether Portal involve diamond , mining obsidian , and often a lot of time . In this guide , I ’ll teach you a quick , unlawful method acting for building a Nether Portal without using any ball field .
Making a Nether Portal in Minecraft Using Only Water and Lava
Tobuild a Nether Portalusing this method , you ’ll only call for two bucketful , a nearby lava consortium , and a beginning of water . It ’s a four - step method that ’ll get you to the Nether as tight as aspeedrunner .
Step One: Prepare your resources
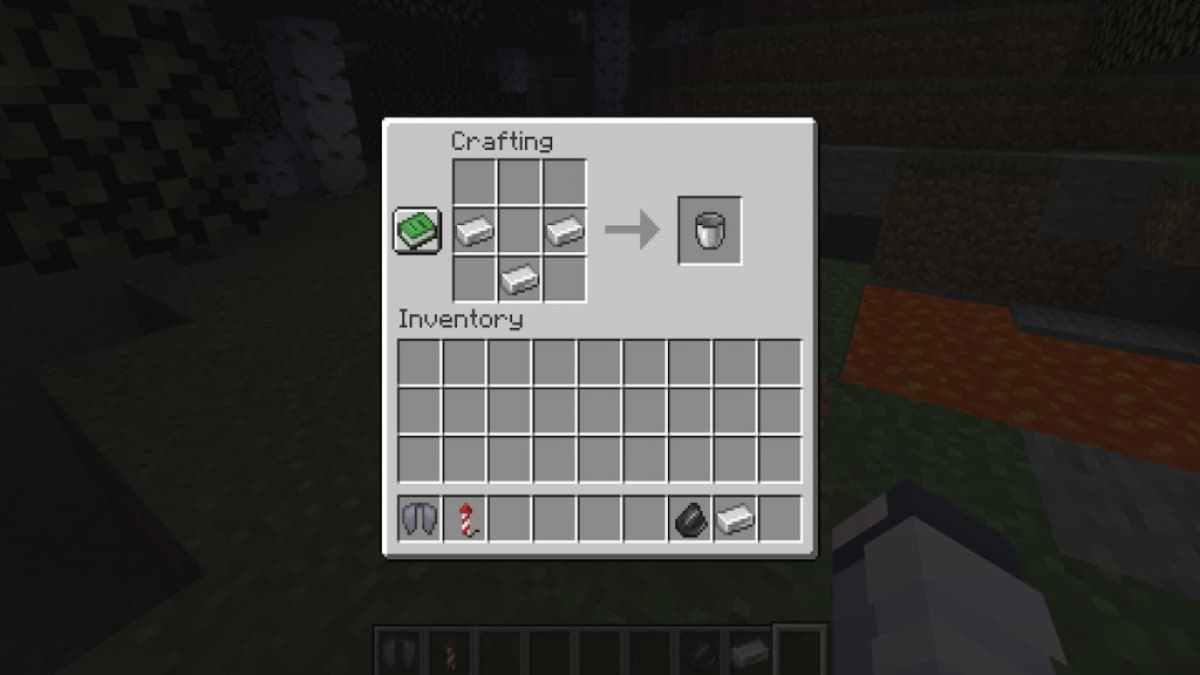
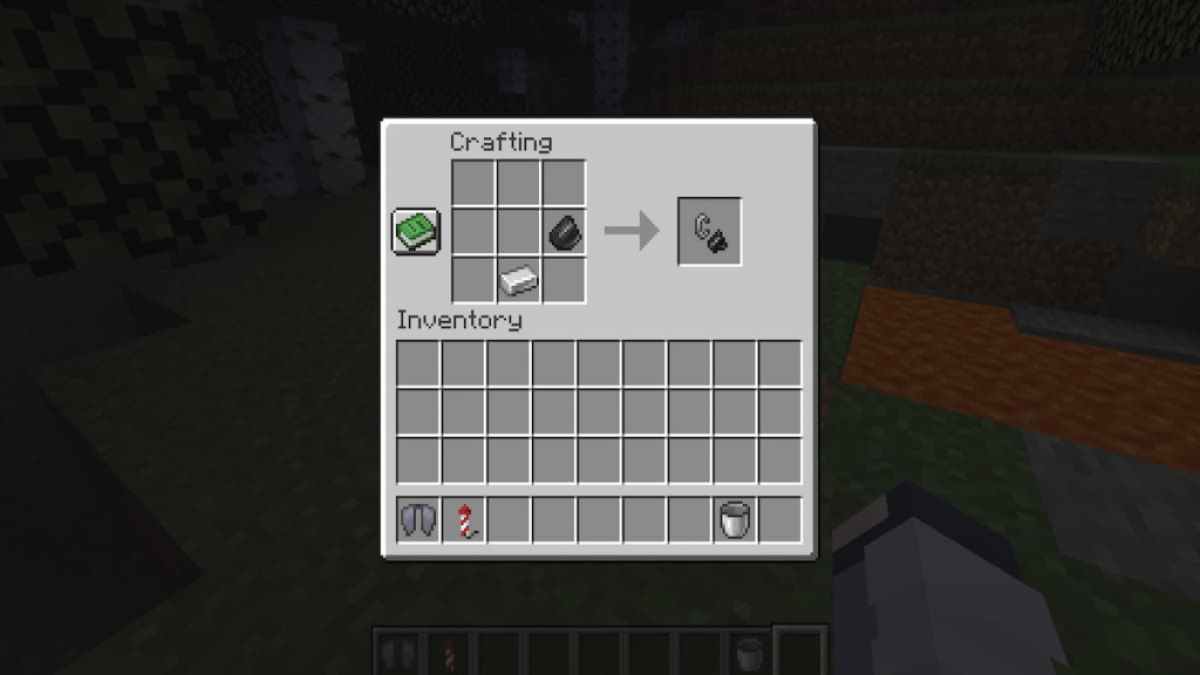
To start off this method acting , you ’ll need to craft buckets . You could make do with only one , but that has a in high spirits chance of the lava spreading too far before you may place the water on it . I recommend two bucket to minimize the imagination used while keep open you as safe as potential . They can be crafted using three iron ingot each .
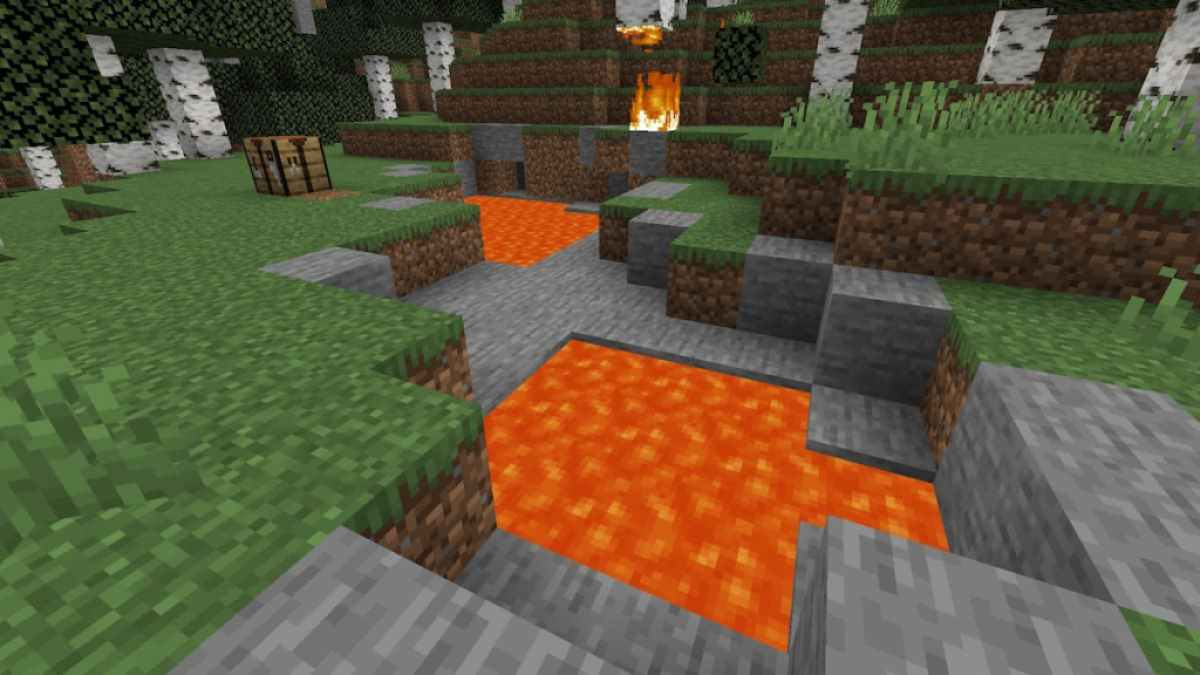
Next , you ’ll want to find a lava pool . It ’s best to determine one with at least 15 lava source blocks to see to it that you ’ll have enough .
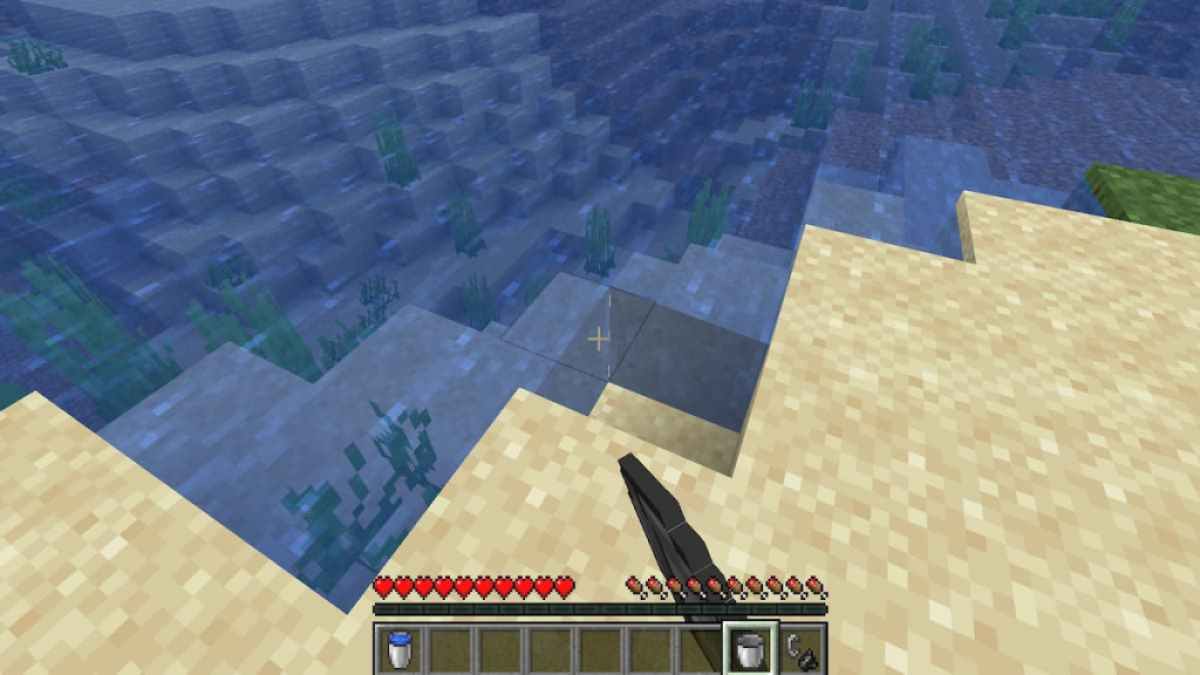
Lastly , you ’ll want to occupy one of your bucketful with body of water . You ’ll be able to reprocess this single bucket of water as you ramp up the Nether Portal .
relate : All Minecraft Nether Biomes
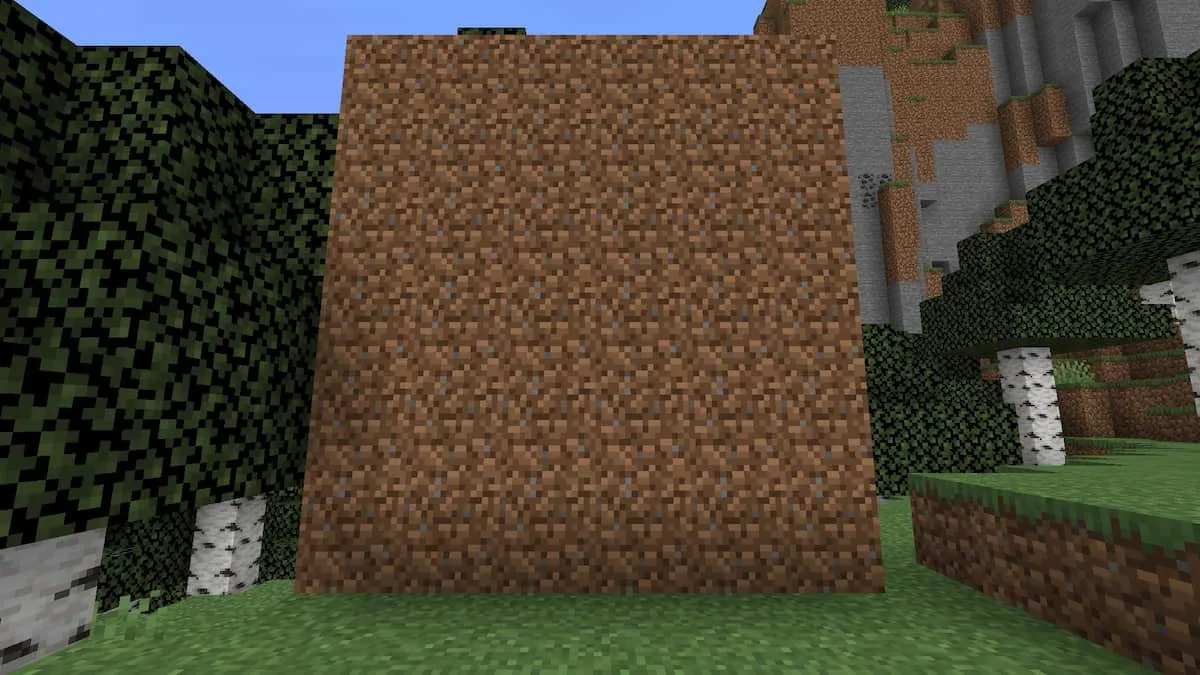
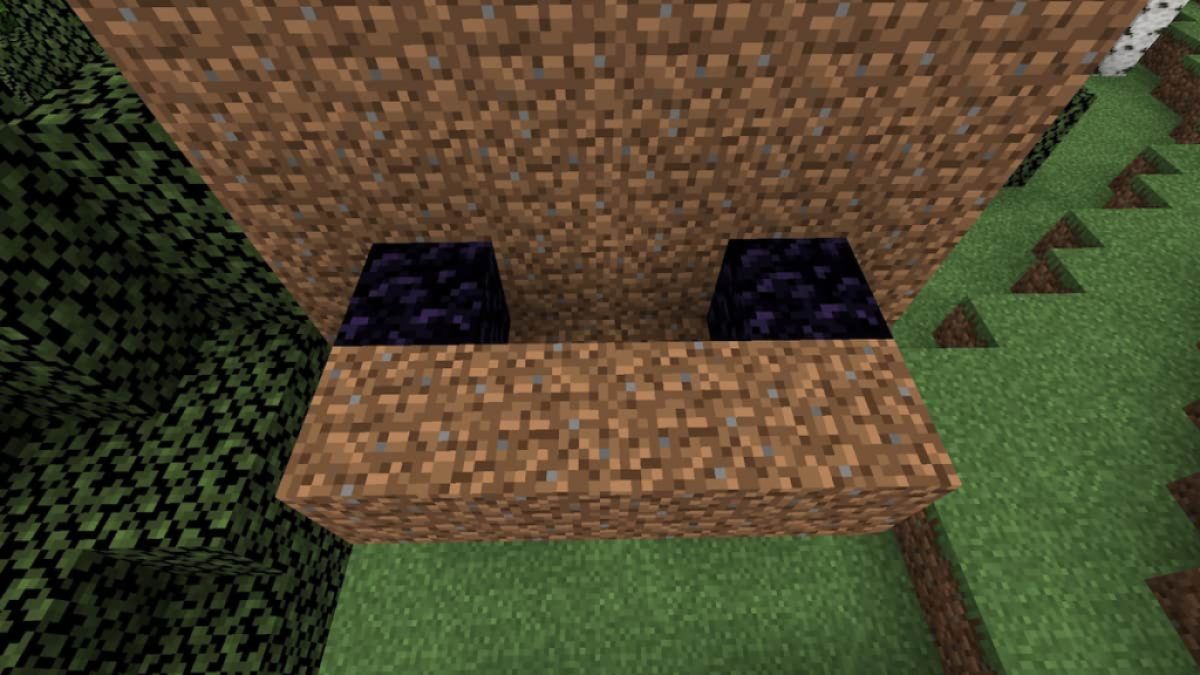
Step Two: Build a dirt wall
To make things comfortable on you , you ’ll want to build a dirt wall one block behind where you want your portal to be . This wall will aid you place the lava and water precisely where they need to be . Make certain to do this about 15 blocks away from the lava pool to prevent any water system from turning into obsidian . I made mine six city block long and six block marvelous .
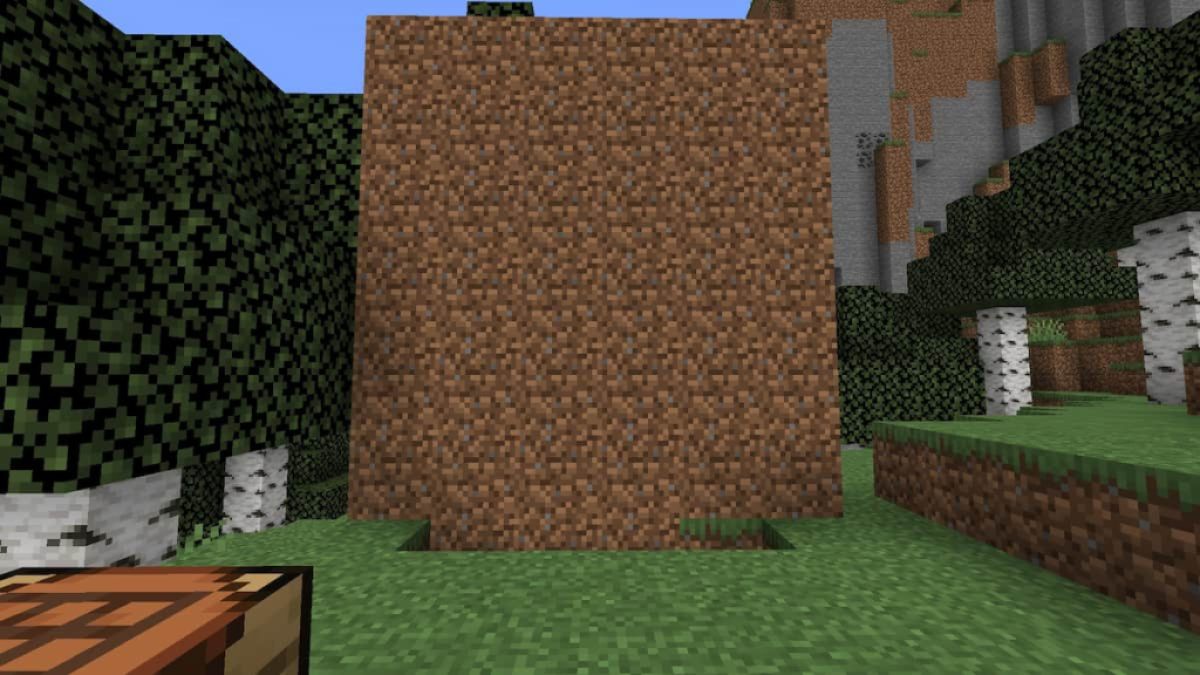
If you ’d care for your hepatic portal vein to be level with the ground , toil out the first layer of dirt flat in front of the portal .
Step Three: Build the portal
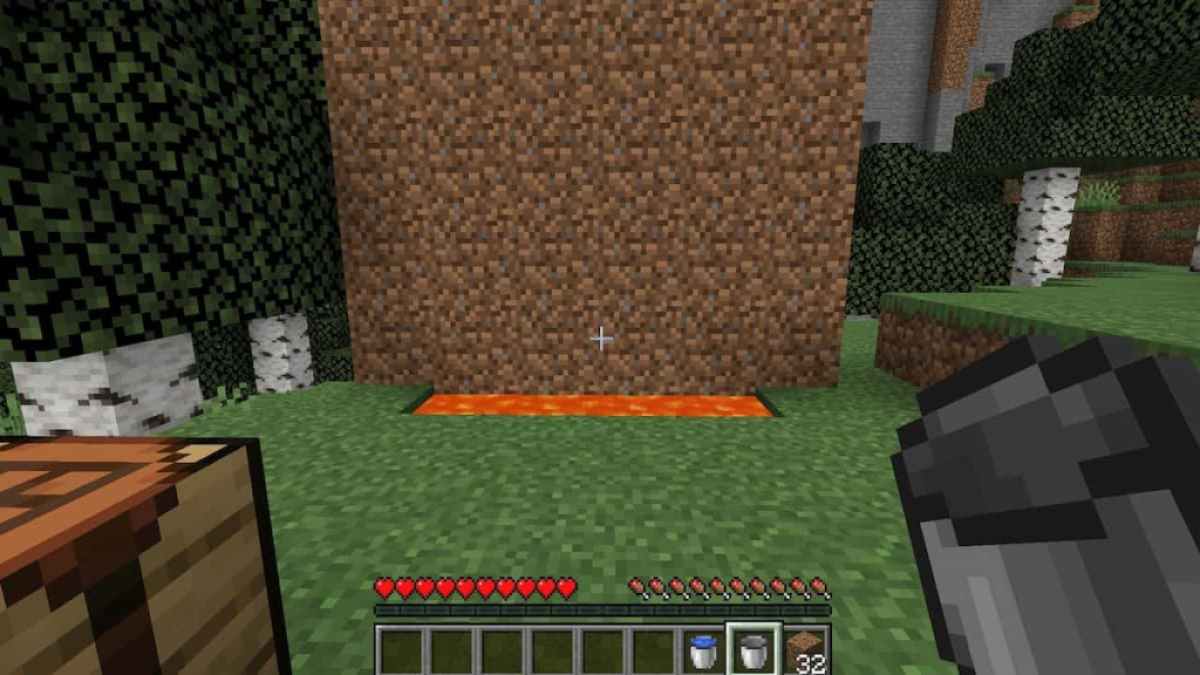
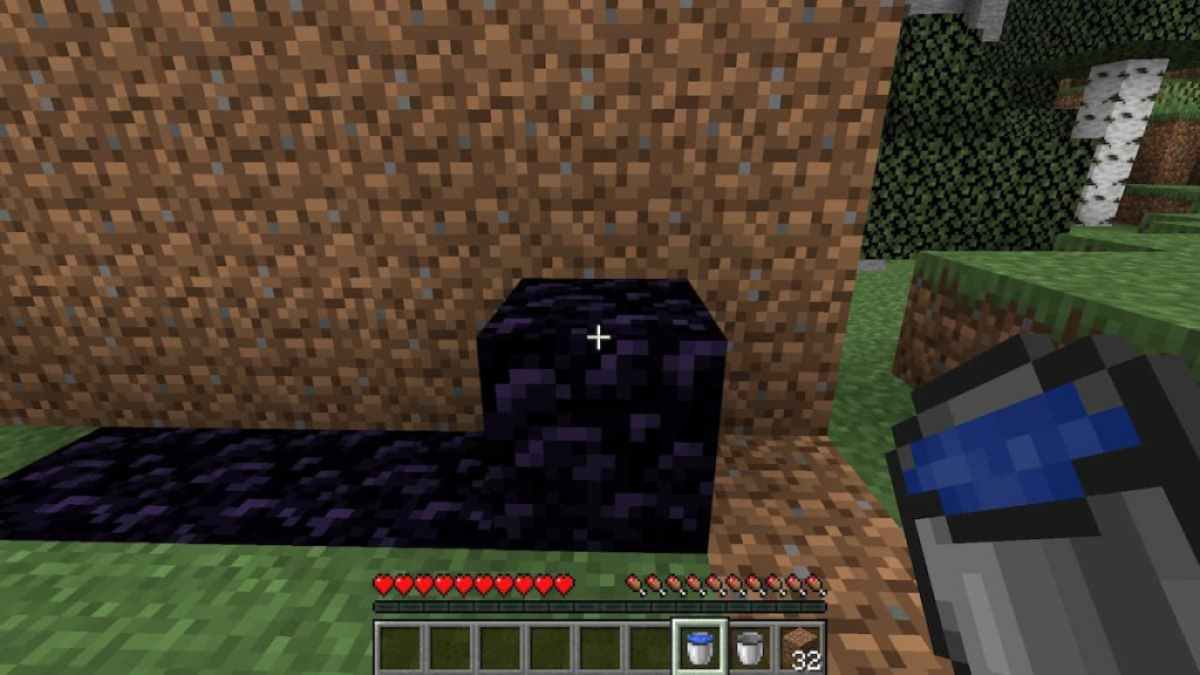
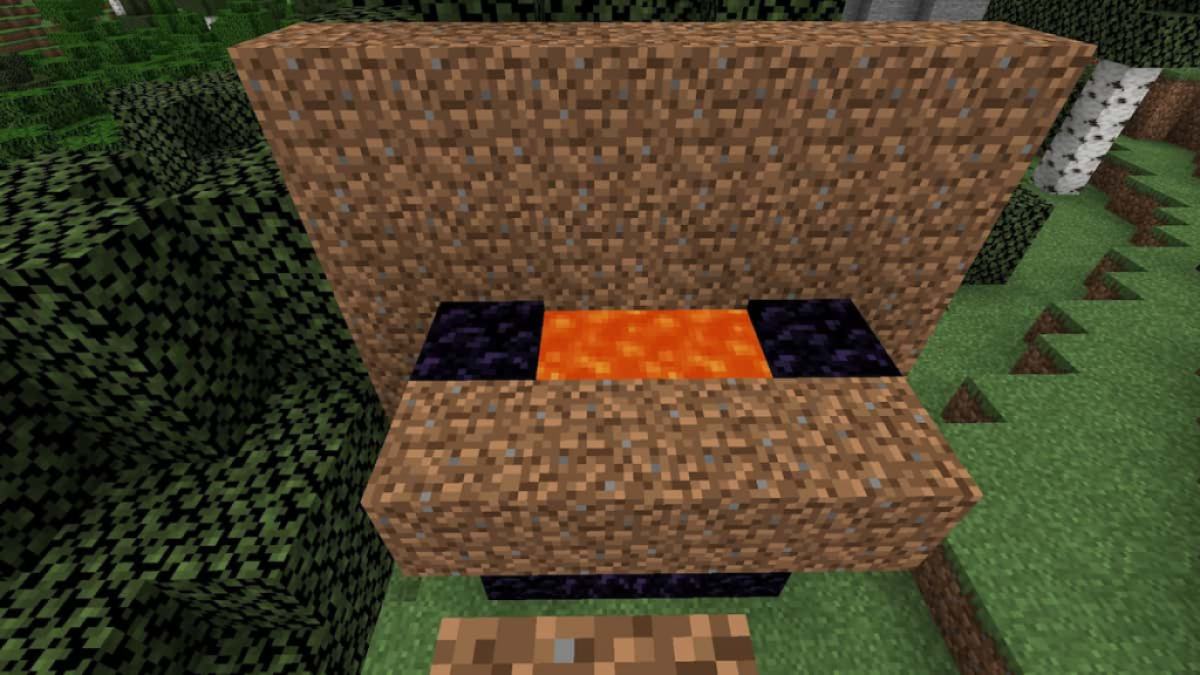
I embark on my portal site from the bottom , as that was easiest for me . To speed thing up , I fill up the empty space in front of the portal site with lava .
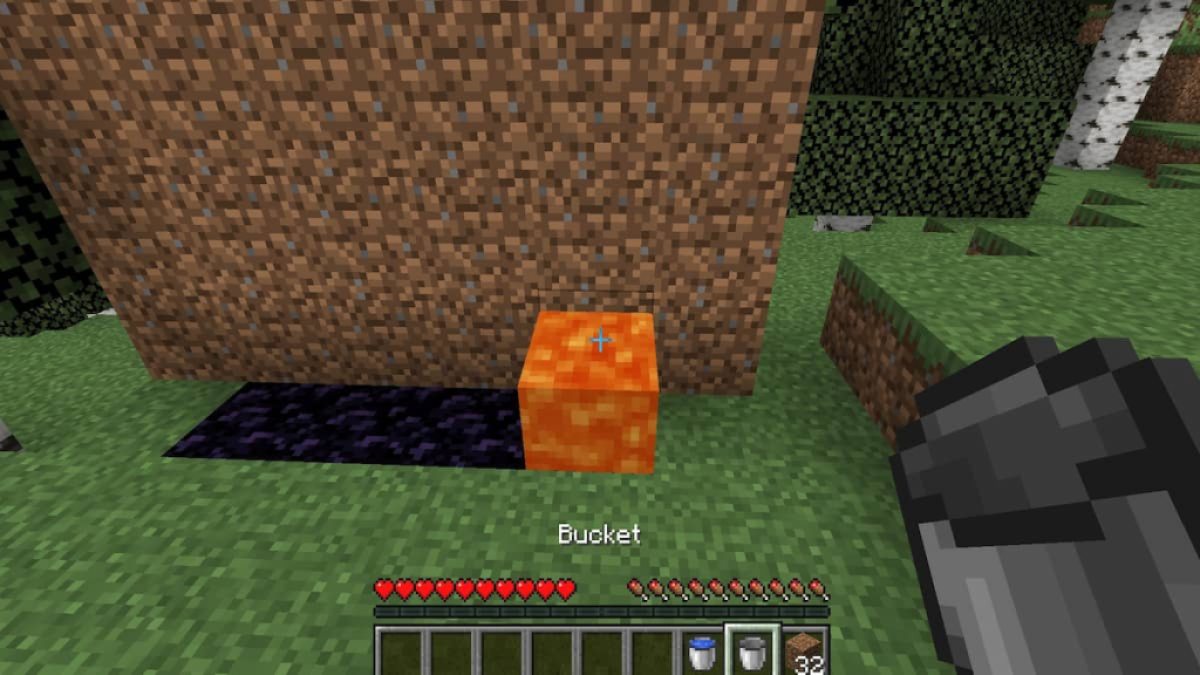
I then put the water from the bucketful in the centre of the rampart to allow it fall over and create obsidian .
To jump the sides , apply the bucket to pour lava where you require the obsidian to go .
Screenshot by Pro Game Guides
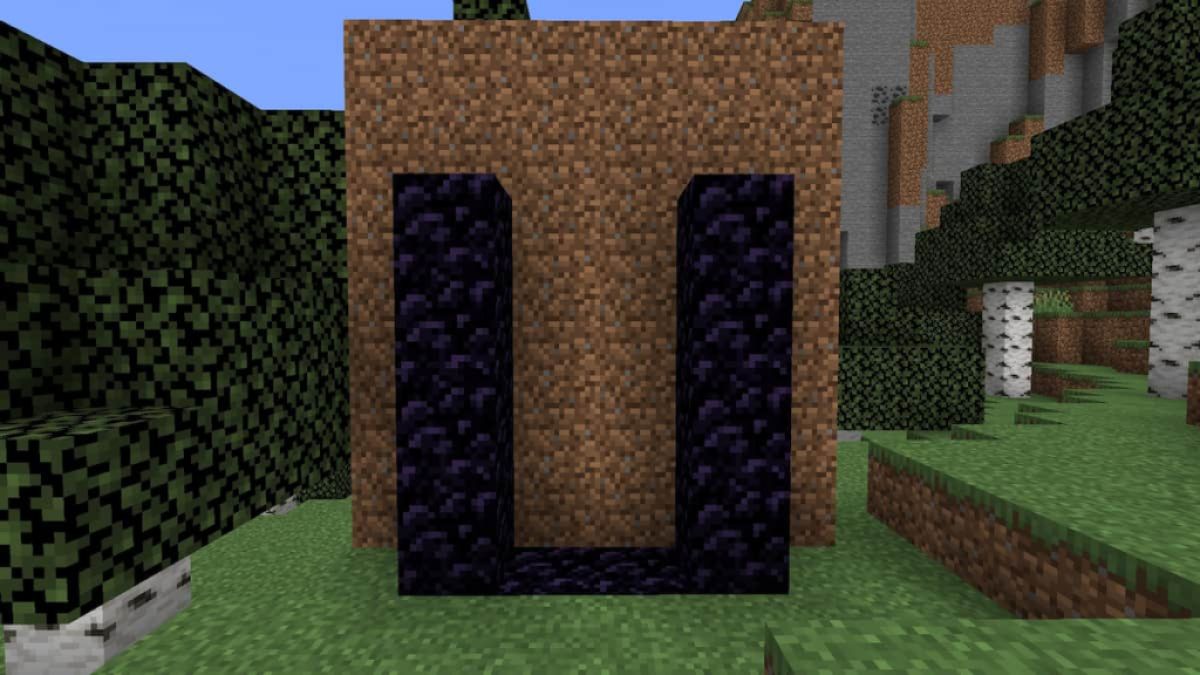
Then pour the water bucket on the filth blockage directly above that . Do this speedily to forbid water and lava from circulate and creating a lot of cobblestone .
Continue doing this until the slope are complete .
There are two ways to do the top . The first is to do it precisely like the sides by placing the lava where the obsidian is meant to go and then placing the water on top of it .
Screenshot by Pro Game Guides
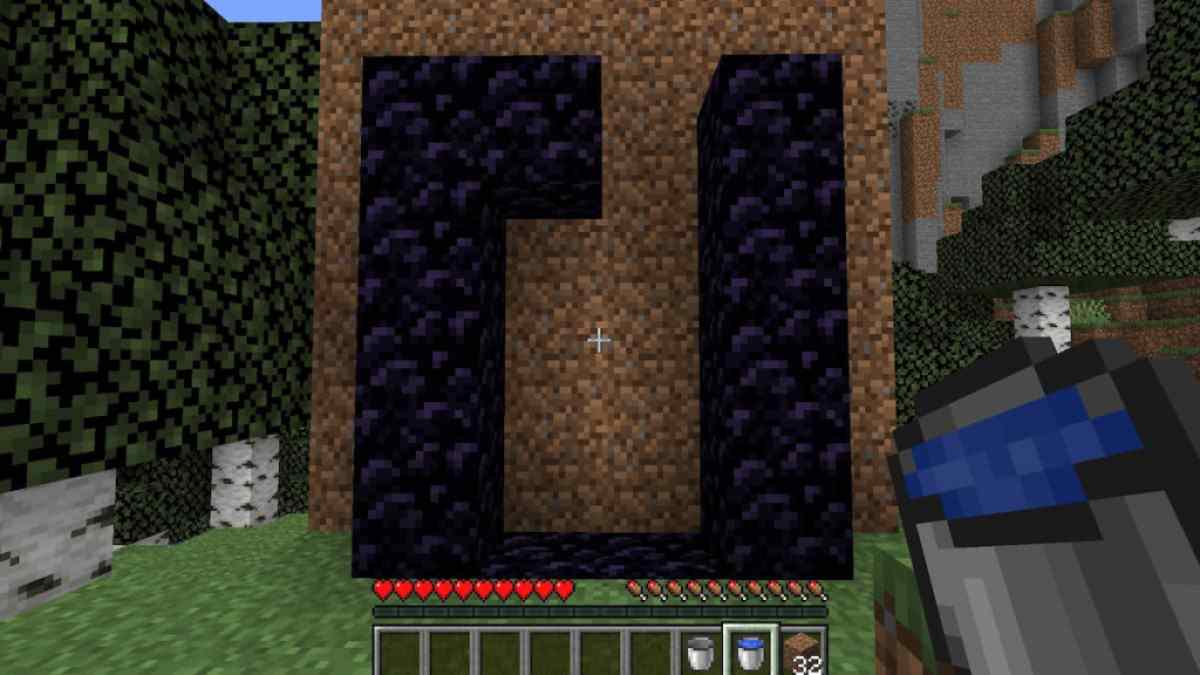
The 2nd way to do it is by produce a dirt barrier around the orbit where you desire the obsidian to be .
fill up the created hole with lava .
Then place the water supply from the bucket on top of the turd wall .
Screenshot by Pro Game Guides
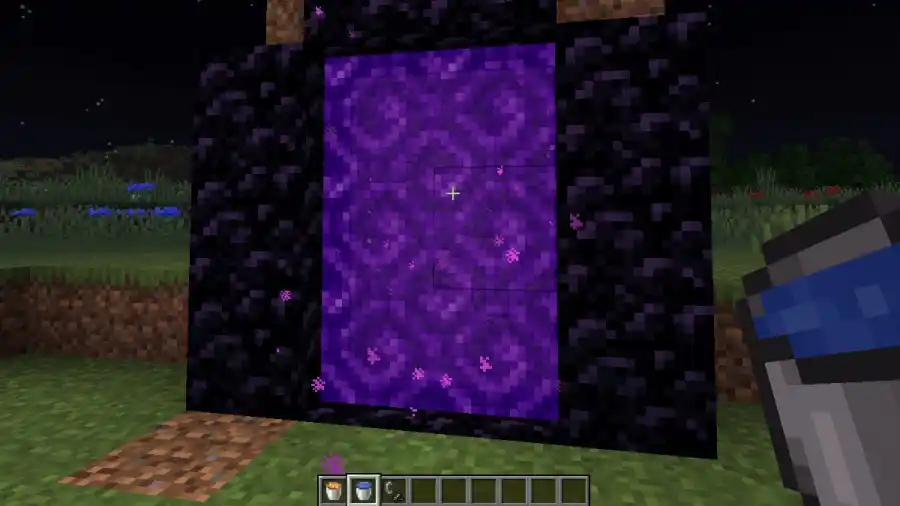
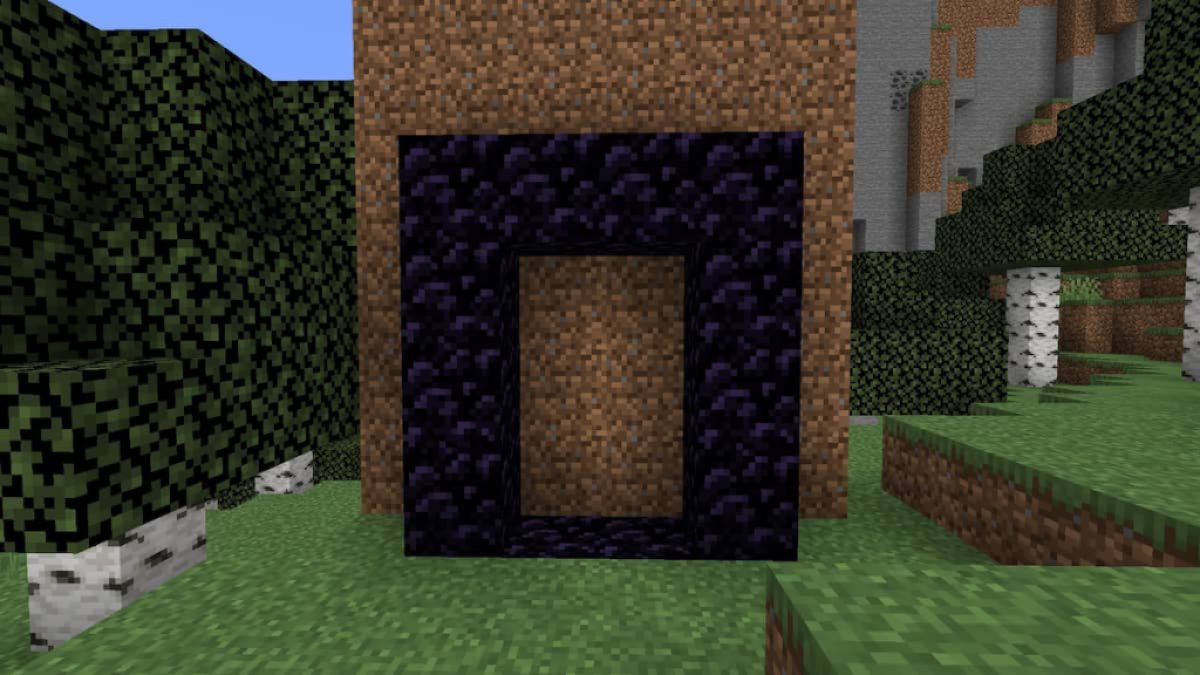
Now you have a completed portal before you ’ve ever even seen infield !
Related : Best Minecraft Nether Portal Ideas
Step Four: Light it up
If you had an iron ingot left over after creating the bucket , you could easily make a piece of Flint River and sword to perch the portal site with .
If not , you could use wood from a nearby Sir Herbert Beerbohm Tree and some of the persist lava to light the portal ! identify the wood next to the vena portae and habituate the lava to light it on fire . This method acting may take several tries , so gather a Flint River and steel would likely be firm .
For moreMinecraftguides , check outHow to make Netherite Armor , Tools , and Weaponshere on Pro Game Guides .
Screenshot by Pro Game Guides
Screenshot by Pro Game Guides
Screenshot by Pro Game Guides

Screenshot by Pro Game Guides
Screenshot by Pro Game Guides
Screenshot by Pro Game Guides
Screenshot by Pro Game Guides
Screenshot by Pro Game Guides
Screenshot by Pro Game Guides
Screenshot by Pro Game Guides

Screenshot by Pro Game Guides
Screenshot by Pro Game Guides
Screenshot by Pro Game Guides
