smithy bright weapons .
In Baldur ’s Gate 3 , the Adamantine Forge hold groovy importance , as it lets you craft hefty weapons and armor for your entire party to employ . However , reaching the Forge can be tricky , and even when you do , the veridical challenge begin when you have to confront a boss after activate it . If you need some help , here ’s how you could find oneself the Adamantine Forge and activate it in BG3 .
Where to Find the Adamantine Forge in BG3
The Adamantine Forge is located southwest of the Grymforge sphere in the Underdark . First school principal to the Decrepit Village near the Underdark Beach Waypoint ( see map above ) , where you will meet Duergars who have a boat that leads to the Grymforge . Whether you want to eliminate the Duergars is up to you , but either way , you will need to use their boats to progress .
Interact with the boat near the Beach Waypoint to head to Grymforge . Take the step to the north , go up , and you will let out the Underdark Grymforge waypoint ( the royal - colored Ancient Sigil ) . From here , take the next set of stairs to the compass north , making a sharp left over go to reach the main bedroom room of the Grymforge .
come to : Baldur ’s Gate 3 Haste , Explained

This is where you will meet Nere ; if you kill him , you could take his brain to the Myconid Colony later . descend to the bound of the sway formations overlooking the lava in the northwestern corner of this bedroom where you found Nere .
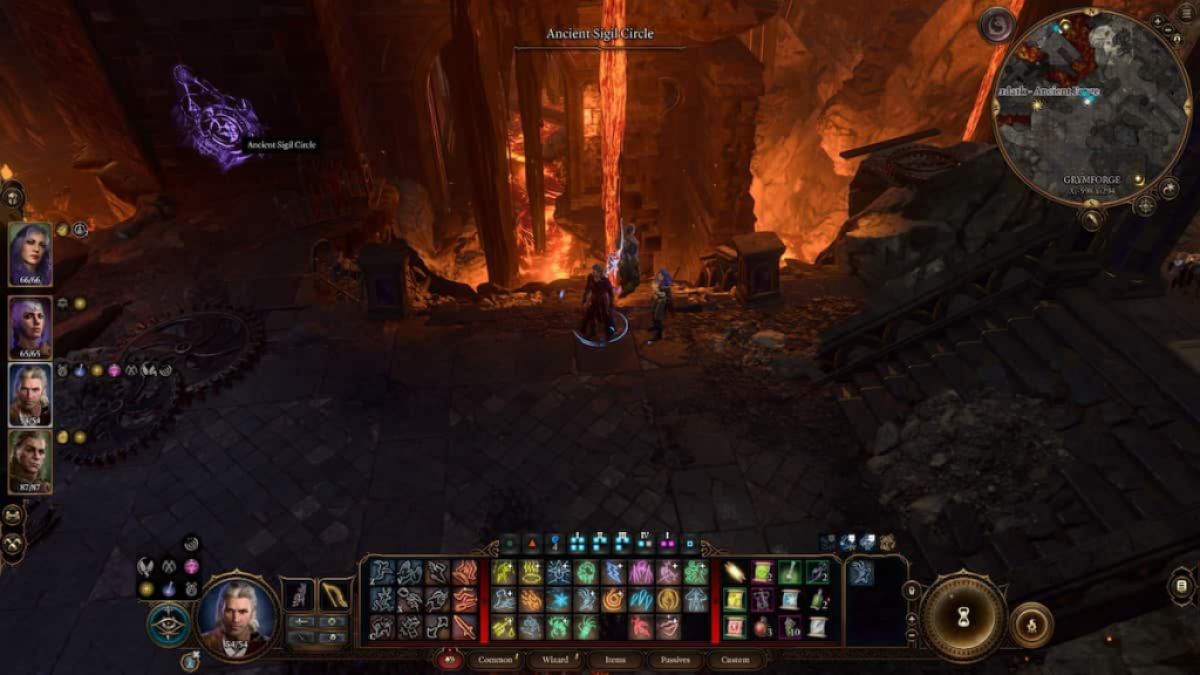
If you have Misty Step or Flight Spell , you’re able to easily take one person at a time from this point to the higher primer above . After you make the 2d jump from there , you will find the Ancient Forge Waypoint on your right .
call back , if one penis of your party has unlock the Ancient Forge Waypoint , you could easily teleport the other members . To do this , switch to the other member , open up the map , and fast - travel to the waypoint .

Screenshot by Pro Game Guides
So , after you have reached the Ancient Forge Waypoint , take the stairs just opposite it . Bring your party members down using the stairs , but be heedful as the stairs are broken midway ( so you need to jump to the other one-half of the stairs ) . Getting down the staircase will head you to the Adamantine Forge .
How to Activate the Adamantine Forge in BG3
Once you have reached the Adamantine Forge , you will take Mithral Ore and any one mold such as the Longsword , Shield , or Splint . Once you have collected the two item required to forge weapons or gear wheel , fit out the mold into the mold sleeping room , and insert the Mithral Ore into the melting pot . ( stop the prototype above to see how it precisely look . ) The last step is to interact with the Forge Lever just behind the melting pot and then choose the Lava Valve . However , be educate for rugged fight with theGrym bossafter you practice the Lava Valve .
How to get Mithral Ore in BG3 (Map)
You will ascertain two pieces of Mithral Ore near the Adamantine Forge . ( Check the yellow circles on the mapping image to see the accurate two fix . )
For the first piece , go down the stairs opposite the waypoint to the Forge and turn left to find the beam naughty - colour nervure on the rock-and-roll formations . Be thrifty of the Magma Memphit you necessitate to decimate before you get to the ore . To mine the Mithral Ore , employ weapons like mace that deal Bludgeoning damage .
To get the second bit of Mithral Ore , head back to the Ancient Forge Waypoint area , take the track behind the liven up armour on your rightfield , jump over the lava , and you should see the glow ore repository . You ’ll be ambushed by Magma enemies at this smear as well , so be prepared for a conflict .

Screenshot by Pro Game Guides
To find more on Baldur ’s Gate 3 , check outHow to find Arabella ’s parent in Baldur ’s Gate 3on Pro Game Guides .

Screenshot by Pro Game Guides

Screenshot by Pro Game Guides

Screenshot by Pro Game Guides
Screenshot by Pro Game Guides

Screenshot by Pro Game Guides

Image by Pro Game Guides
