well-off Infrared walkthrough .
Infrared is the final write up mission for the Tier 4 Redacted faction in Call of obligation : Warzone 2 DMZ . In this guide , I ’ve demonstrate a step - by - step process on how you may reset the surety system and get at the locked stash in the L2 Restricted Zone of Alpha Cluster .
Infrared DMZ Mission Guide
Before deploying into Koschei Complex , I suggest you pile up the adopt items beforehand in Al Mazrah :
relate : Brother In Arms Mission Guide DMZ – Rhinoceros and Sniper Location
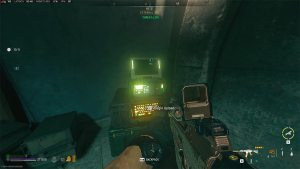
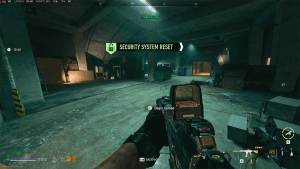
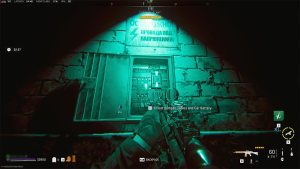
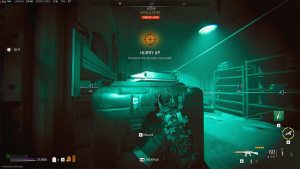
How to Reset the Security System in External Ops
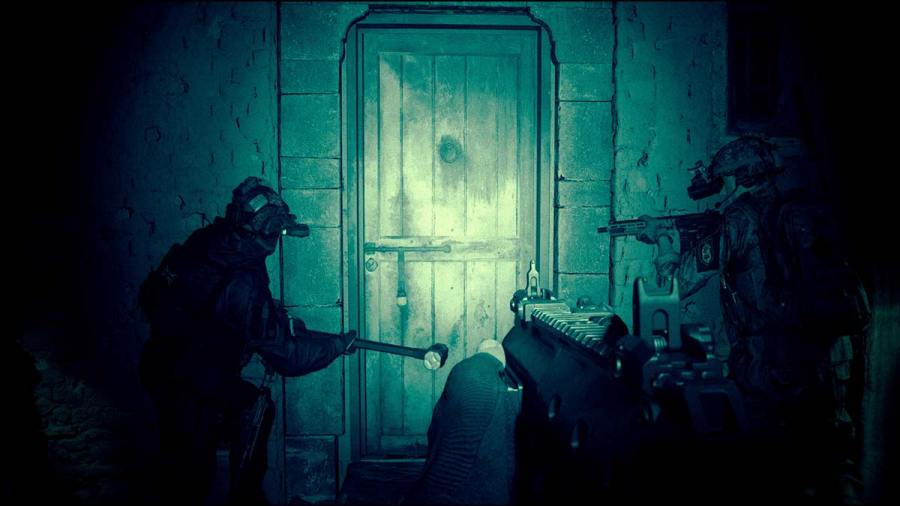
Now head to the air lock that leads to Chemical Plant and interact with the board to place a railroad car Battery and Jumper Cables . This will solve thepuzzleafter which you’re able to press the button to unlock the trap door and get at the next area . Do n’t forget to put on your Night Vision Goggles .
How to enter the Alpha Cluster
relate : Where to find the FTAC Siege in DMZ
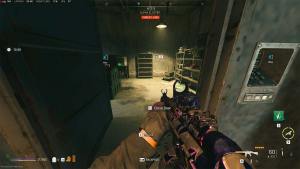
How to enter the restricted section of Alpha Cluster
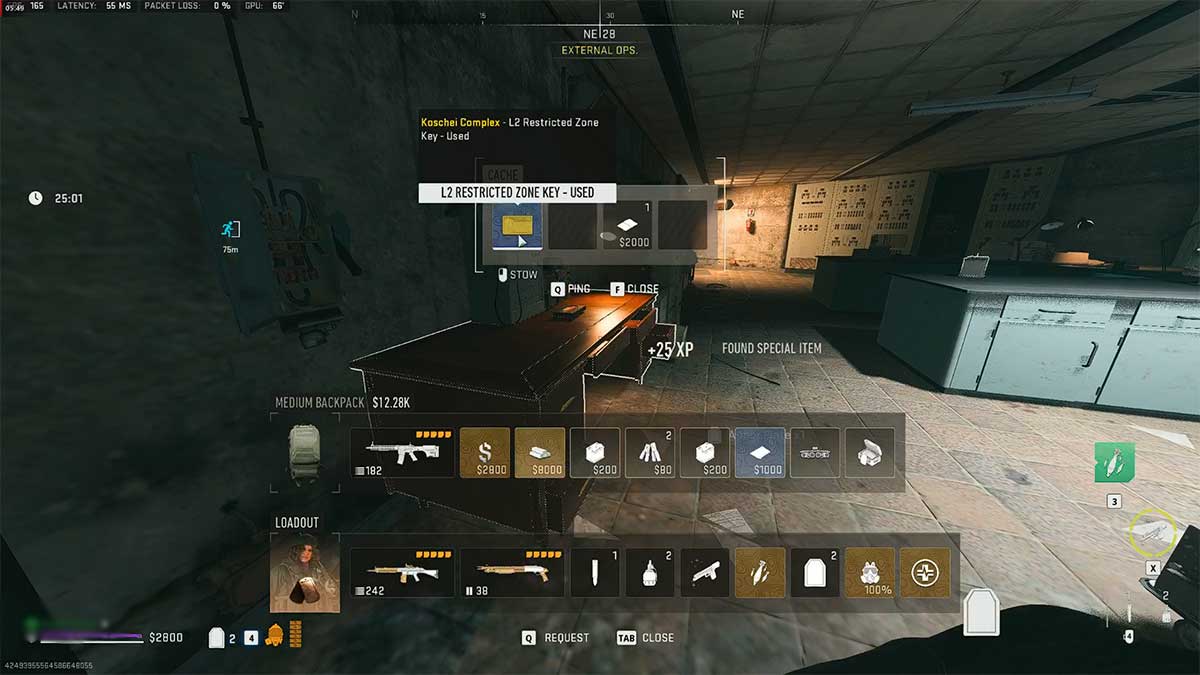
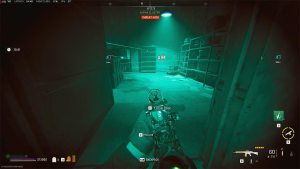
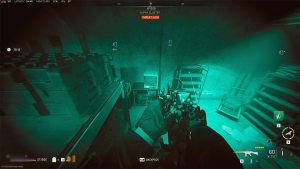
How to open the locked cache in the restricted section of Alpha Cluster
The objective here is to strive the locked stash without crossing the laser and triggering the alarm . For you , I have theperfect routethat you could follow and pass the supply boxwood , but remember to be super patient :
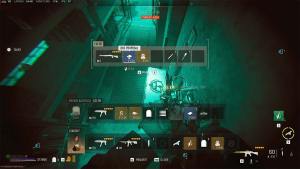
And that ’s how I accomplish the locked cache in the restricted zone without triggering any alarm clock . give the hoard while on top of the TV and ensure to seize theDRC Proposal , i.e. , the Building 21 evidence , before you jump down . you’re able to then exfil with this item from the elevator further inside the restricted zone .
Stay tuned to Pro Game Guides for more Call of obligation : Modern Warfare 2 and Warzone 2 subject . In the meantime , fountainhead to ourHow to get the Koschei Complex Weapon Case in DMZarticle .
Screenshot by Pro Game Guides
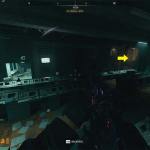
Image by Pro Game Guides
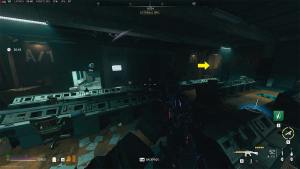
Image by Pro Game Guides
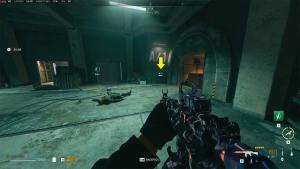
Image by Pro Game Guides
Screenshot by Pro Game Guides
Screenshot by Pro Game Guides
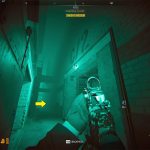
Image by Pro Game Guides
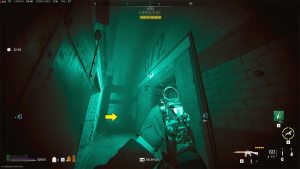
Image by Pro Game Guides
Screenshot by Pro Game Guides
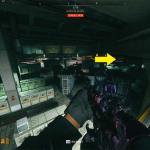
Image by Pro Game Guides
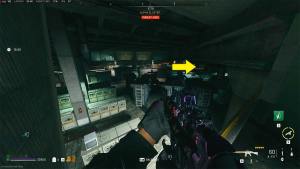
Image by Pro Game Guides
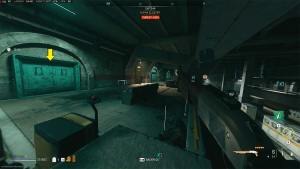
Image by Pro Game Guides
Screenshot by Pro Game Guides
Screenshot by Pro Game Guides
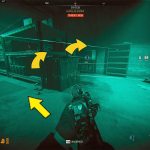
Image by Pro Game Guides
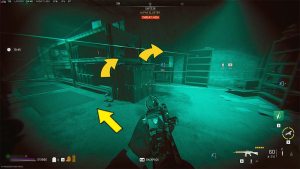
Image by Pro Game Guides
Screenshot by Pro Game Guides
Screenshot by Pro Game Guides
Screenshot by Pro Game Guides
