Now you ’re thinking with portals .
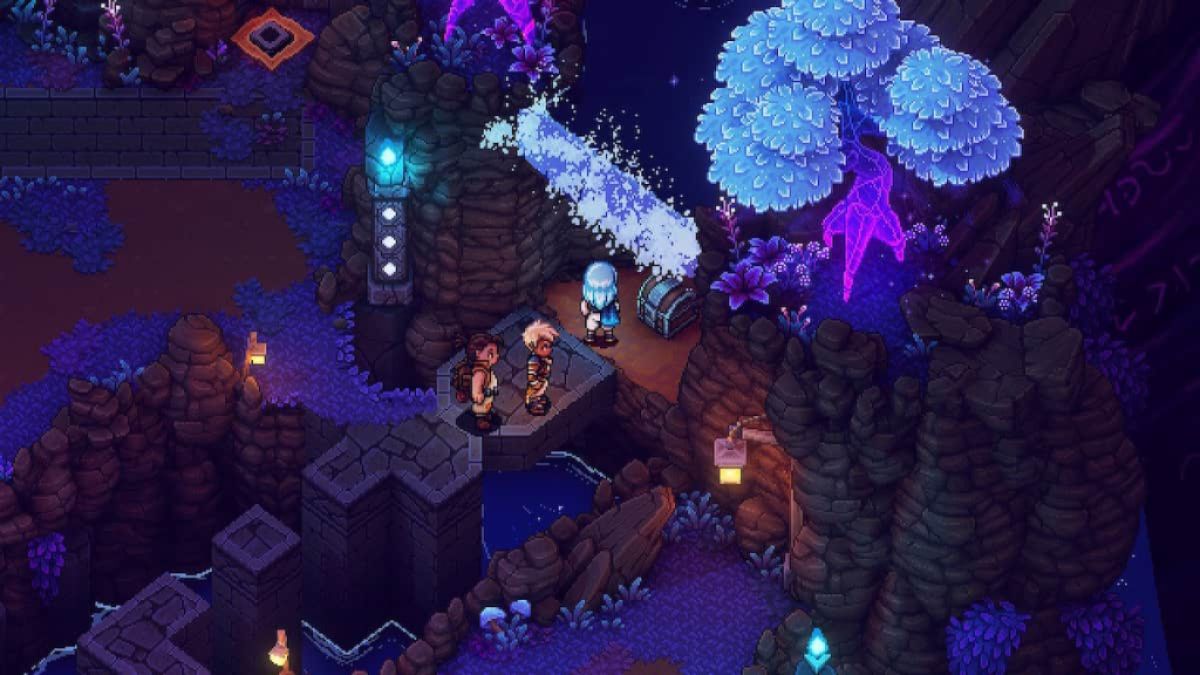
InSea of Stars , you conduct a company of adventurers through a whimsical world , defeating monsters and collecting rarified artifact along the way of life . The secret plan ’s optical elan is intemperately pep up by Chrono Trigger , with charming retro nontextual matter and a nostalgic soundtrack . Here ’s your ultimate scout to the tripping emitter room in Sea of Stars .
Sea of Stars Abandoned Wizard’s Lab Guide
By the way , keep your eye unclothe , as there should betwo Rainbow Conchesin this field !
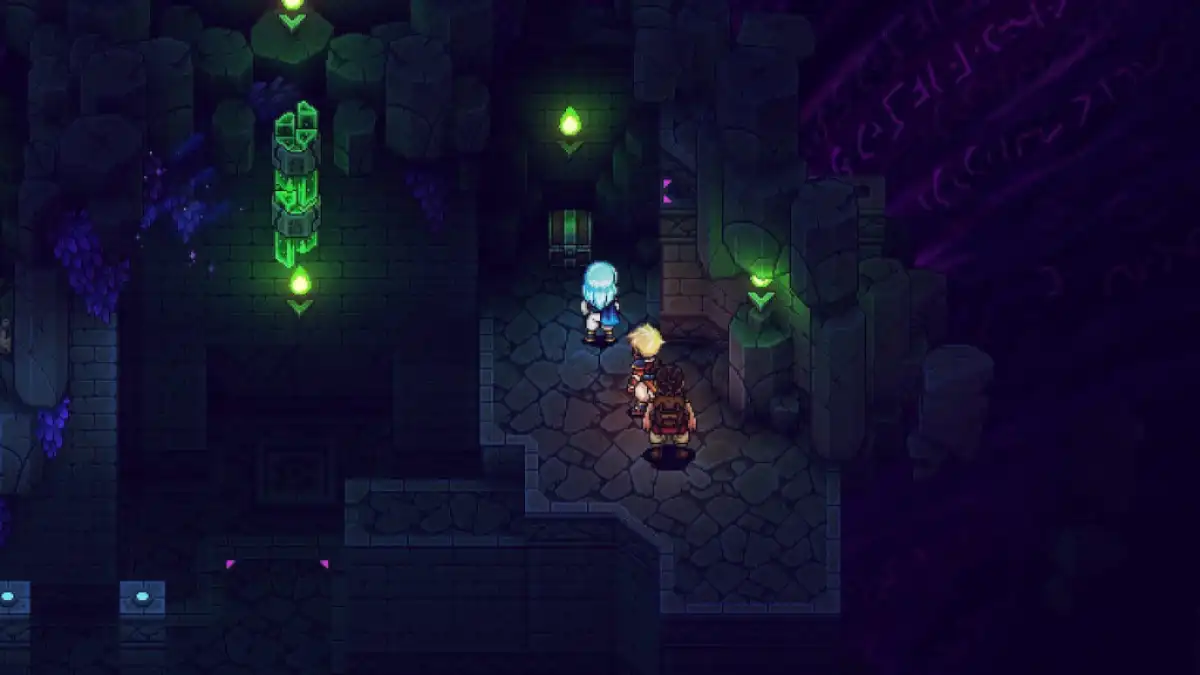
Getting the Green Crystal
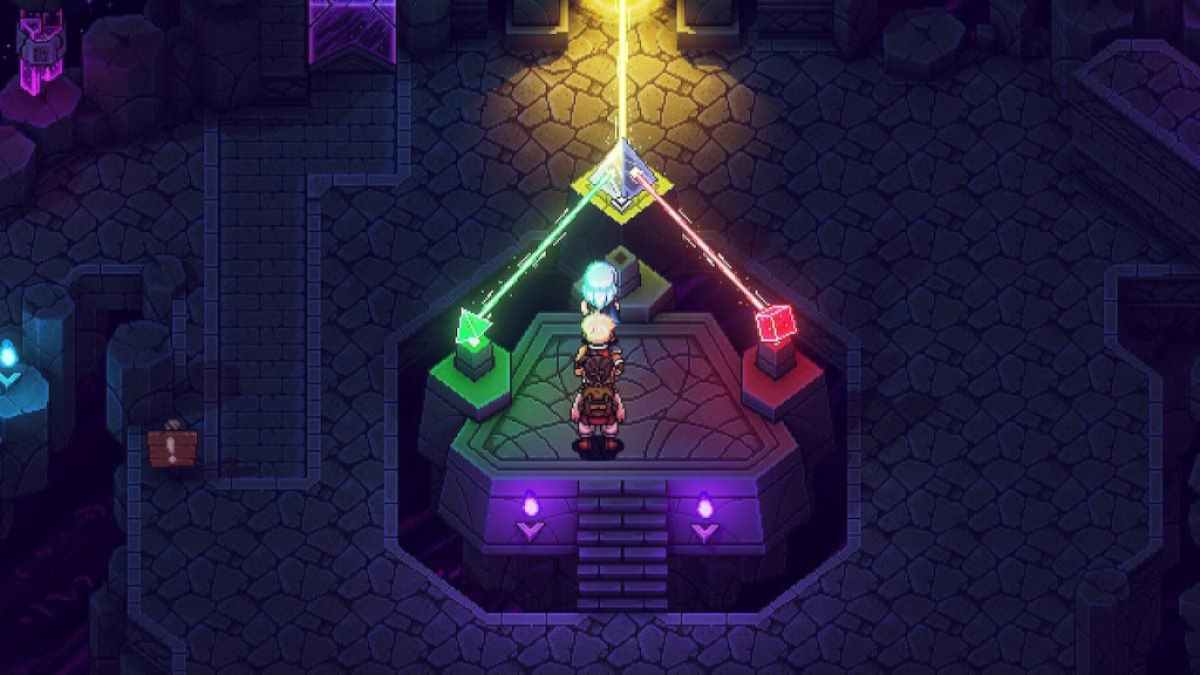
To fix the light-colored emitter , you must first collect the Green Crystal from achest in the emitter room . This thorax is just out of reach , so you must move the imperial corner using your Mistral Bracelet , grant you to climb up up to the chest platform . With the Green Crystal in tow , return to the light emitter and place it in the pillar to the right . This get the emitter to muse fleeceable luminance , generating a unripe portal vein in the outgrowth . Step through the vena portae .
Getting the Blue Crystal
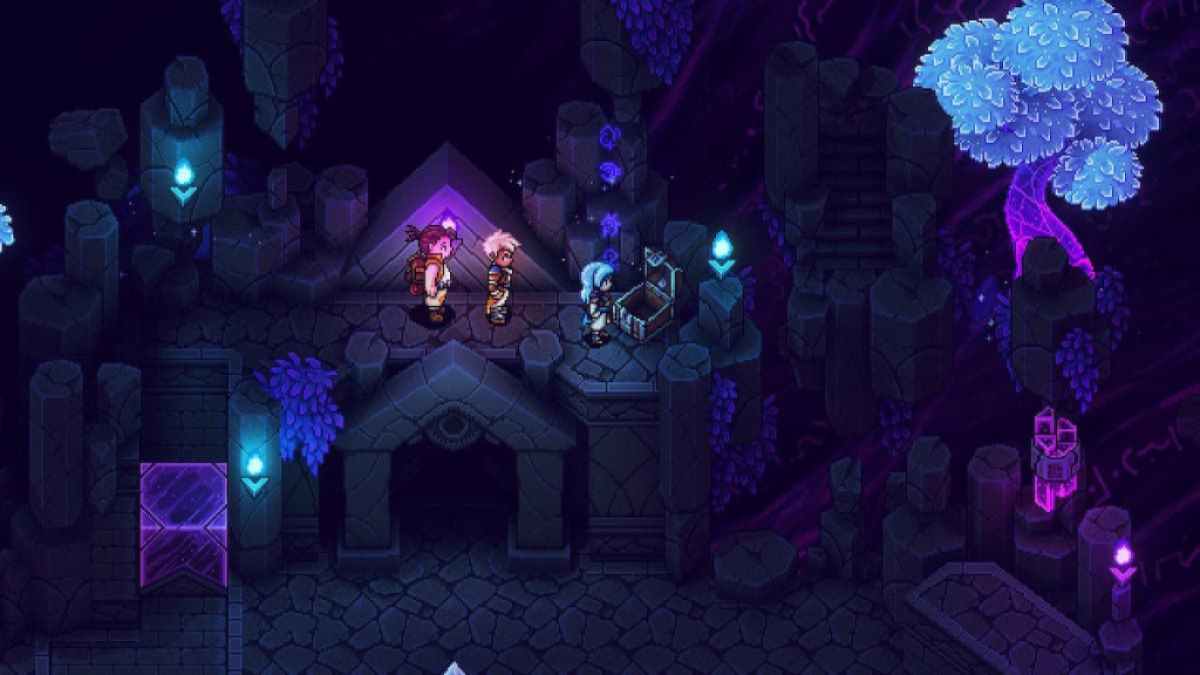
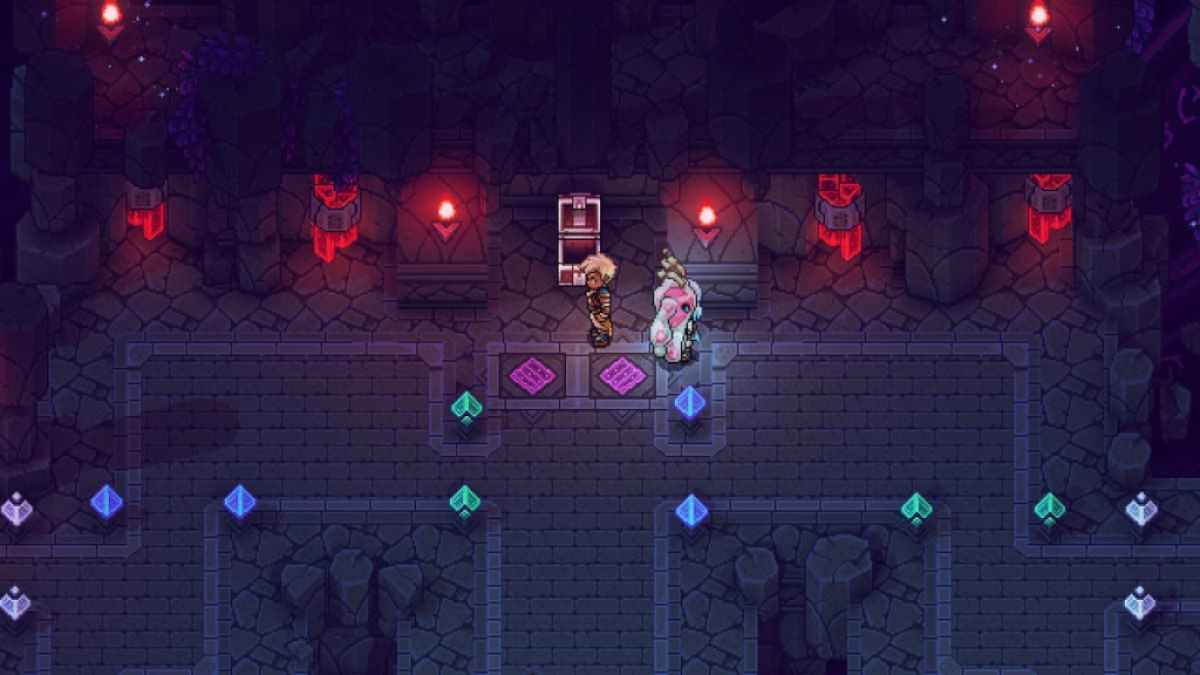
After walking through the unripe portal , appear for achest on the upper - right portion of the room . This is your goal , but to get there , you must solve a mystifier with glowing plateful on the ground . There are two plate , one in the center of the room and one on the eminent political platform near the remaining side of the room . First , footfall on the center plate . Then , leap out across the broken sections of the trading floor and climb up to the left-hand plate . start the thorax , then step on the remaining plate .
Now , the platforms have been change once again , so jump across the glowing platforms and onto the storey . From here , rise up to the right-hand platform , skip off the platform toward the glow plate , then step on it . This opens the wall that antecedently barricaded the dresser , permit you to reconstruct your steps andclaim the Blue Crystal from the chest .
bear on : Where to ascertain a lucky Pelican booking in Sea of Stars
Solving the teleport puzzle
This puzzle is where thing get a little tedious . When you jump through a teleport hole , you reappear at a unlike position in the room , but it ’s easy to get recede . To solve this mystifier , first leap out into the portal with the compass north - look pointer . go up up the upright platforms and press the two Wanderers . It ’s best to barrage these opposition with basic onslaught before they unleash their powerful skills . After the battle , skip into the portal on the right sharpness of the platform .
rise the ladder and struggle the Arcane Sentry and Wizcroube . In this brush , watch out for the Wizcroube ’s Bubble Drop acquisition since it deals impairment to your entire party . Next , take the air to the right side of the program and drop down to the lower level . leap into the only teleporter available , then step onto the radiate plate . After completing the battle with four opponents , step onto the glowing plateful , then hop into the new approachable teleporter .
skip onto the platform where you encountered the first battle and spark the lever . Enter the teleport yap , and you should be back where you start out . Next , enter the east - facing teleporter , then select the glowing particular .
Screenshot by Pro Game Guides
Exit the blue portal and render to the light emitter room , then place the Green Crystal into the pillar to the left of the light emitter . Both crystals should be inserted into the light emitter at the same meter . A new portal should appear . Walk into the portal .
Getting the Red Crystal
If you have n’t rest at the campfire yet , now is an excellent time to do so . There will be more armed combat out front , so prepare food beforehand is judicious . When you ’re ready , jump across the rocks and interact with the burn column . This will spawn several enemies , so expect an acute battle . Afterward , move the royal box with your Mistral Bracelet , and interact with the glow pillar . This will spawn even more enemy , so be prepared for yet another combat .
After this combat encounter , move the royal box to the left side of the stone weapons platform so you could climb up to the last glow mainstay . This will kickstart the net struggle in this section , so hang on for a lilliputian while longer . launch the chest underneath the waterfall and retrieve the Red Crystal . There ’s aRainbow Conchon the far left of this property as well .
relate : All Quiz Master serve in Sea of Stars – All Question Pack answers & locations
Screenshot by Pro Game Guides
Optional room #1: Using the Green and Red Crystals
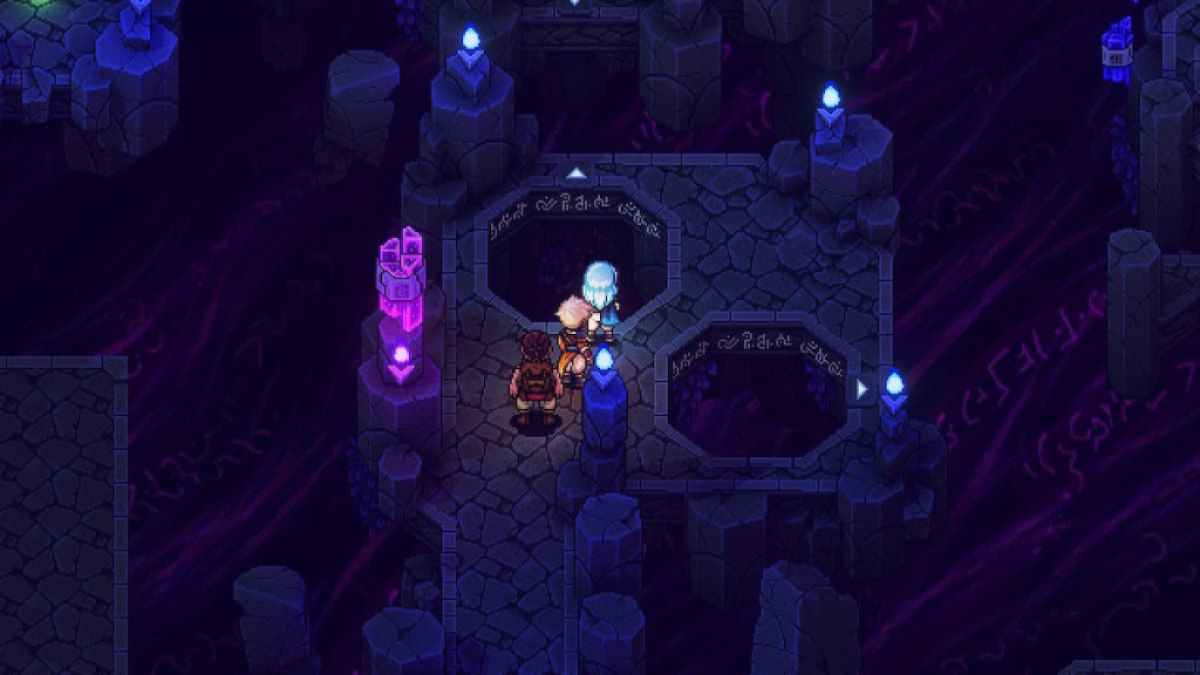
Optional room #2: Using the Red Crystal (Rainbow Conch)
If you ’re missing a Rainbow Conch in the Abandoned Wizard ’s laboratory , it ’s probably the reward for complete this room . The puzzle itself is n’t knockout — just move two of the three purple pillars to the eye of the way . The middle electrical switch allows you to yeet the pillars to the left over / rightfield side(s ) of the way so they seem on the other side .
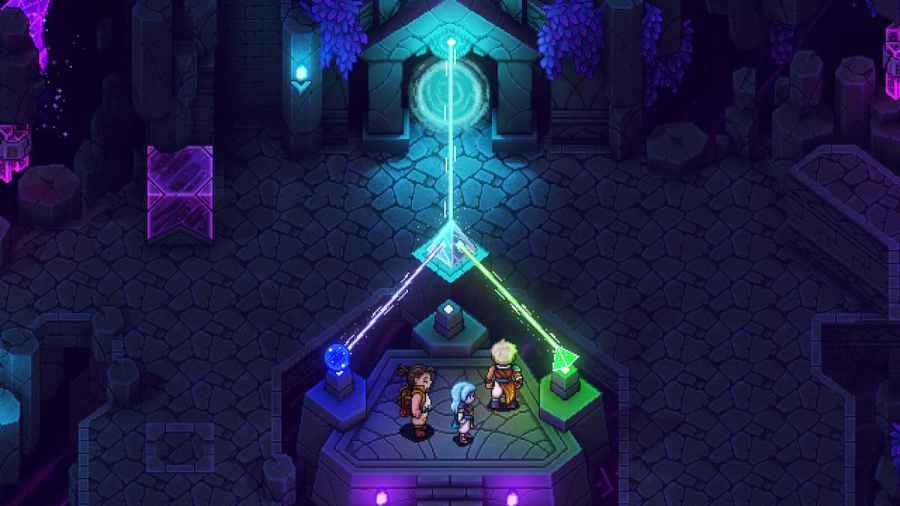
Opening the white portal
Once you ’ve completed this elbow room , there ’s no need to double back , as a lever on the leftover side will carry you back to the entrance . Return to the lite emitter room , then place all three crystals on all three stands . This action should yield awhite portal . Now , you have fill in the light emitter puzzle . Before entering the white-hot portal that seem , however , you should rest at the campfire , misrepresent some food , and carry through your game .
For more Sea of Stars guidebook , total learn outAll Artifact Locations in Sea of Starshere on Pro Game Guides .
Screenshot by Pro Game Guides
Screenshot by Pro Game Guides
Screenshot by Pro Game Guides
Screenshot by Pro Game Guides
