Ca n’t leave these treasures behind , can we , cute ?
If you ’re like me , you ’ll need to 100 % a game to culmination , meaning turn over every rock and venture to every corner to ensure no collectible are left behind . Well , venturing through the mines , parkouring , andsneaking past savage orcsis hard enough , so we have all the assist you ’ll postulate to find those collectibles without any extra focus . There are five collectibles in Chapter 2 , and here ’s how you may get them all as you progress through the story .
The Lord of the Rings: Gollum All Chapter 2 Collectible Locations
There are five full collectible you’re able to find oneself in this The Lord of the Rings : Gollum Chapter 2 , and they can be tricky to locate , especially because you will only get a few chances at some before the chapter progresses . Here is how you could get all of them in order :
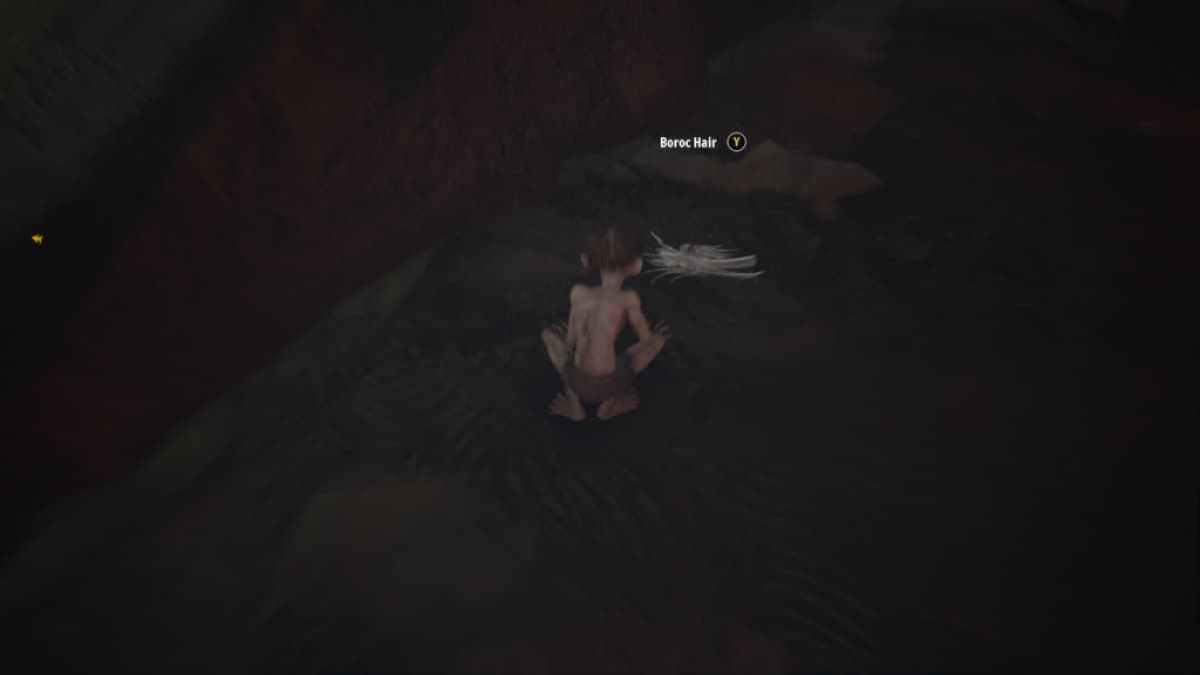
Beast Pits Collectible Location
Barad-dur Mines Collectible Location
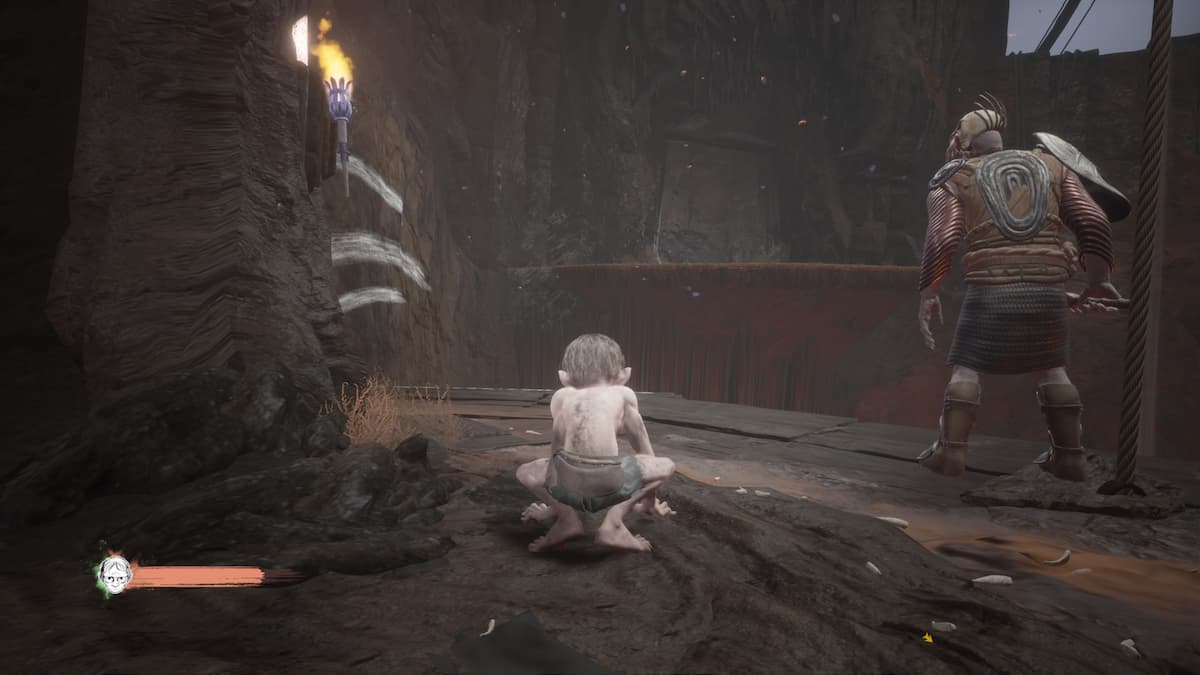
The 2nd collectible is a bit tricksy to find because you ’ll need to navigate the mines . you could roll up this one as you ’re locating all the fall slave tags . Make your way down the mines , follow the ladders and climb spots and hoard the tags as you go . You ’ll eventually take a lift up again and then come to a smaller cavern way with a puddle of lava and a big column in the eye .
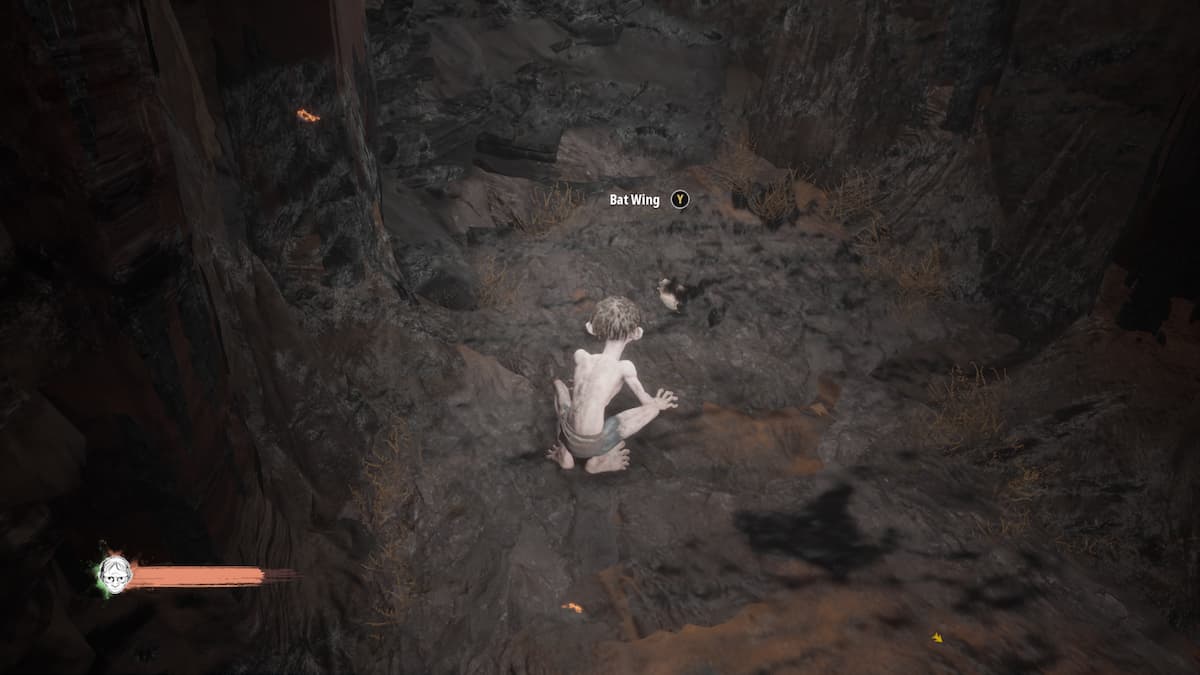
After fix the tag here , go up up the pillar onto the high floor and make your way out until you get back to the open mine shaft . There will be two different running walls on either side here that you’re able to take . manoeuver to the leftfield , run across the wall where the blanched fool are painted , and you ’ll recover theBat Wingcollectible .
Related : The Lord of the Rings : Gollum – All Chapter 1 Collectibles

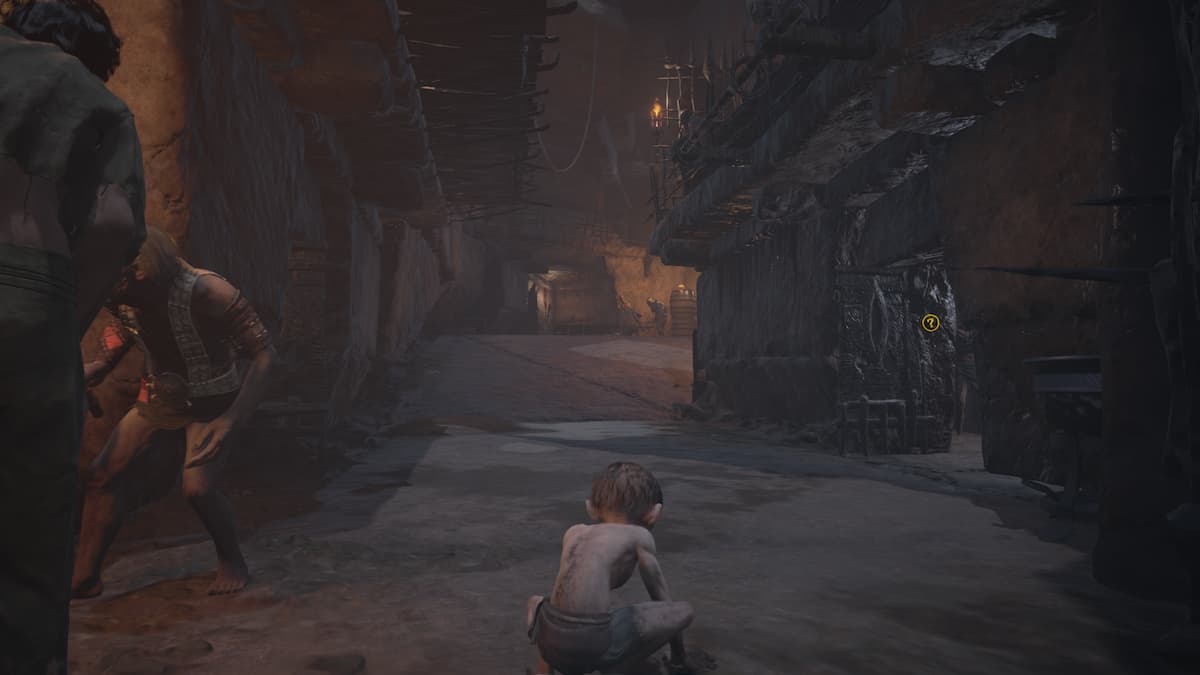
Slave Cells Collectible Location
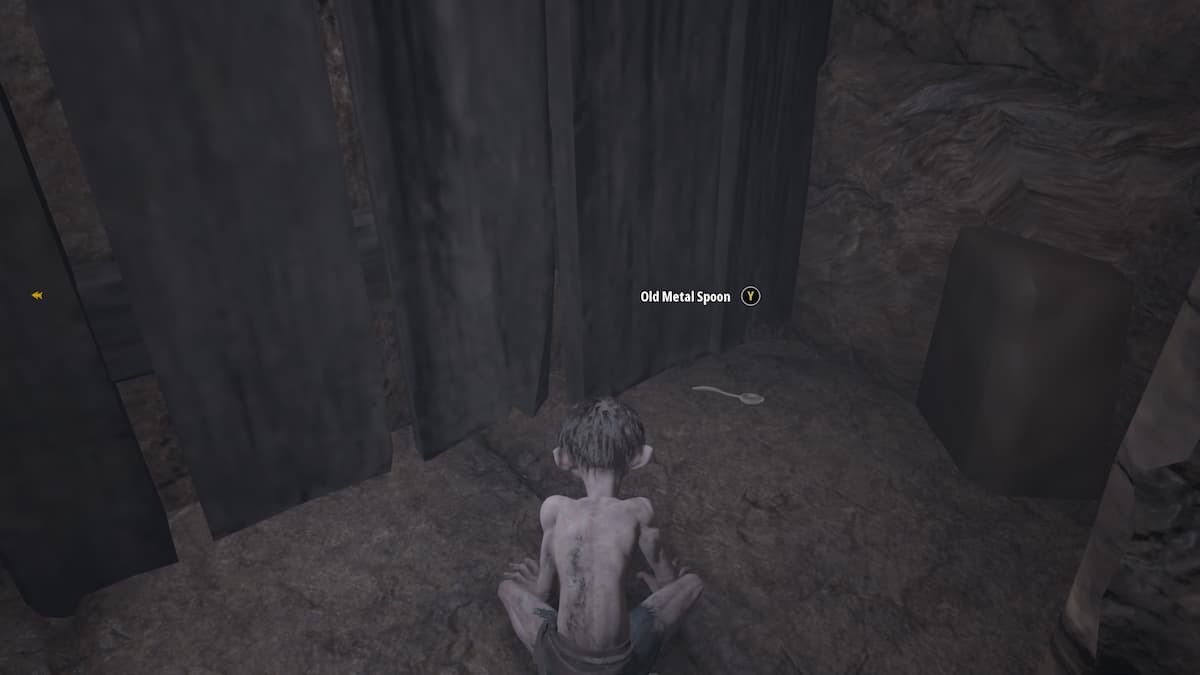
you could grab the next collectible , the Old Metal Spoon , on your way back through . I miss this completely my first time through , so be very observant of your surroundings . After you check back from complete your tariff , you ’ll be released to head back to your cellular telephone . The cell flat before yours will be left undefended this meter . A bearded man is stand at heart , and in the corner , you ’ll see the spoon to grab . This is the only fortune you ’ll have to get inside the cubicle and get the collectable , so you ’ll need to complete this before returning to your cell .
Halls of Grond Collectible Location 1
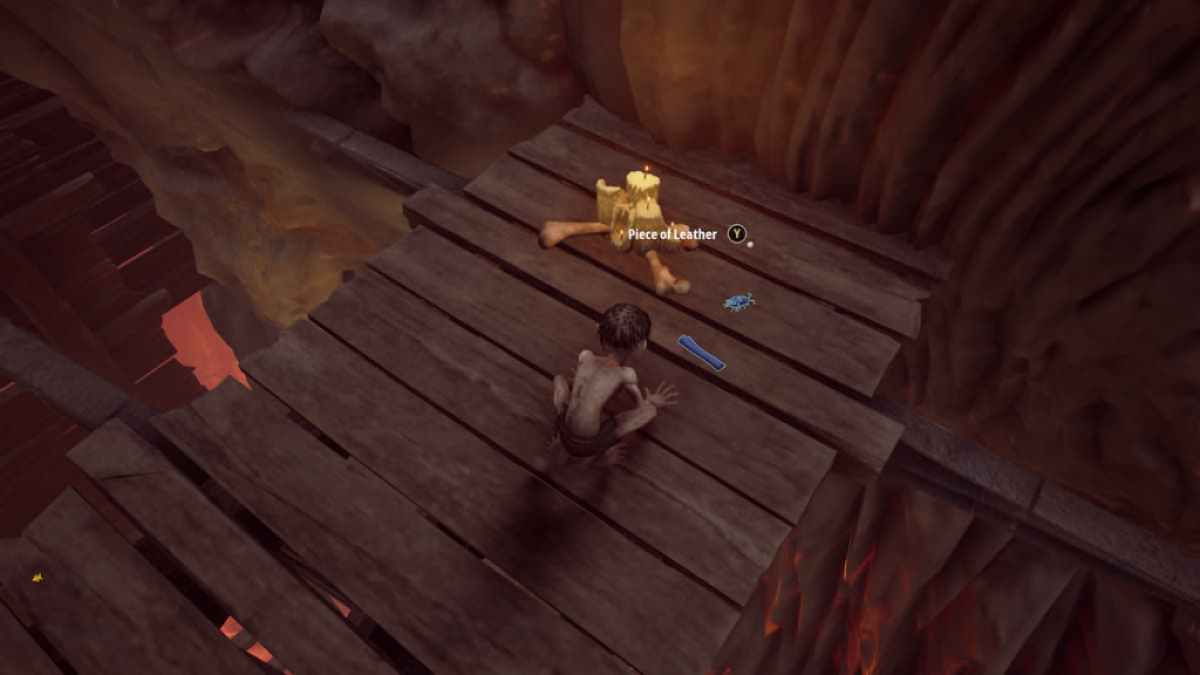
Once you reach the Halls of Grond , the next two collectibles are further into the chapter . These are the trickiest to find since there are so many obstruction and orcs to dodge here . To find thePiece of Leather , follow the track and obstacles until you reach the bombastic wheel with the barrelful - shaped rods . Jump past the bbl to get to the other side , or you could hop-skip on a barrelful and drive it over , but this is risky . You ’ll want to jump to the weapons platform branching out on your right , and the payable will be beside a candle .
interrelate : Should you menace , Beg , or Give Bread to the Orc in The Lord of the Rings : Gollum ?
Halls of Grond Collectible Location 2
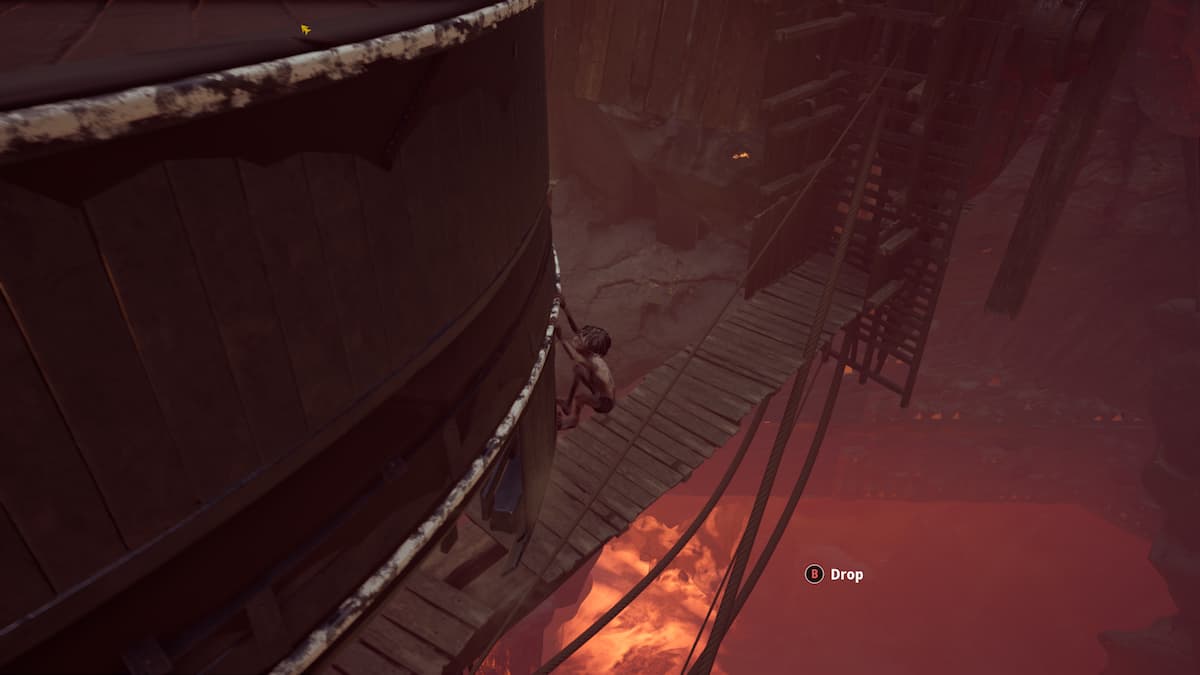
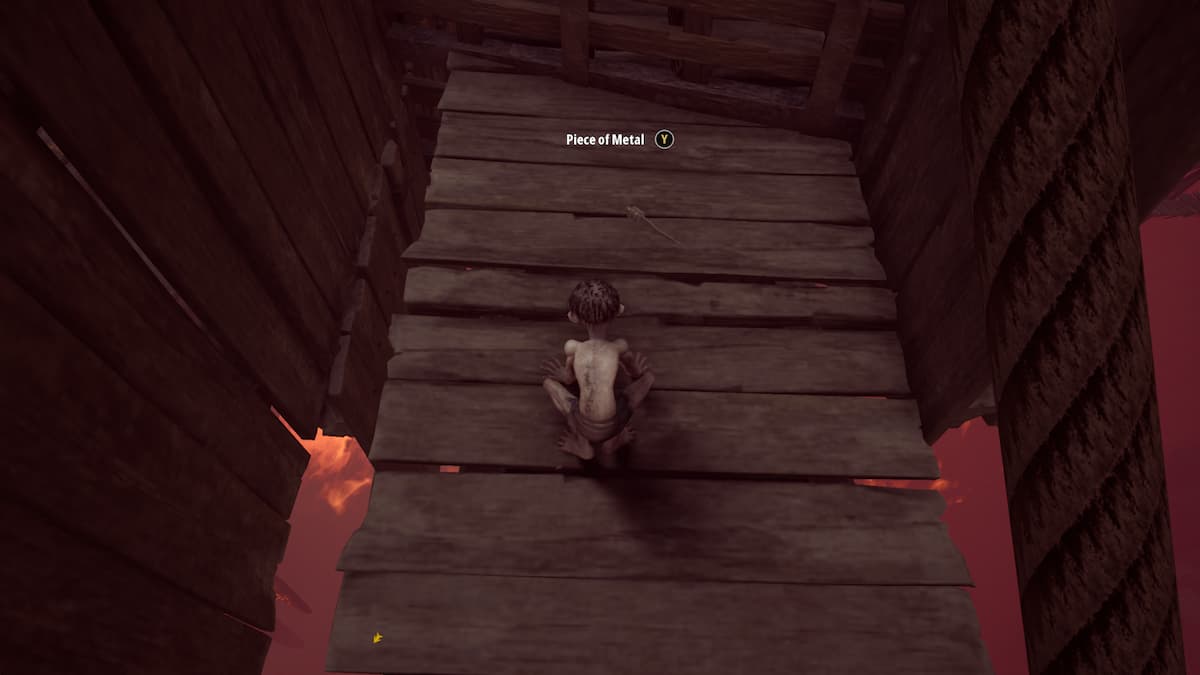
The last collectable here , thePiece of Metal , is n’t far from the leather . Continue pilot your mode through the obstacles until you get to the part with the spinning metal wheel . Get past the first twosome , and you ’ll see one flipped vertically , almost like a hamster wheel you may really take the air on top of . From this one , hop over to the wheel on your right , wait for it to confront the branching walkway show in the range above , and dropdown . you may grab the collectible and then climb the ladder to stay .
Now you have all the collectible in Chapter 2 and can move on to the next chapter . Keep a look out for more burnished treasures as you progress .
appear for more Pro Game Guides Lord of the Rings content ? Check out our guides onWill The Lord of the Rings : Gollum feature fictitious character from the moving picture or books?orIs The Lord of the Rings : Gollum canon ?
Screenshot by Pro Game Guides
Screenshot by Pro Game Guides
Screenshot by Pro Game Guides
Screenshot by Pro Game Guides
Screenshot by Pro Game Guides
Screenshot by Pro Game Guides
Screenshot by Pro Game Guides
