They wo n’t stay lose for long .
If you ’re looking to grab some excess prize or farm Nimbusbounties , then Lost Sectors should be your first priority . baffled sector are hide out , ego - bear areas filled with enemies . To obtain a Lost Sector ’s loot , you must defeat the boss , granting you a tonality that unlocks the last chest of drawers of rewards . Although these area are displayed on the map , their entrances are discreet and pucker away . Come fall in us as we explain where to ascertain all Lost Sectors in Neomuna in Destiny 2 .
All Neomuna Lost Sector locations and how to get there
Thrilladrome
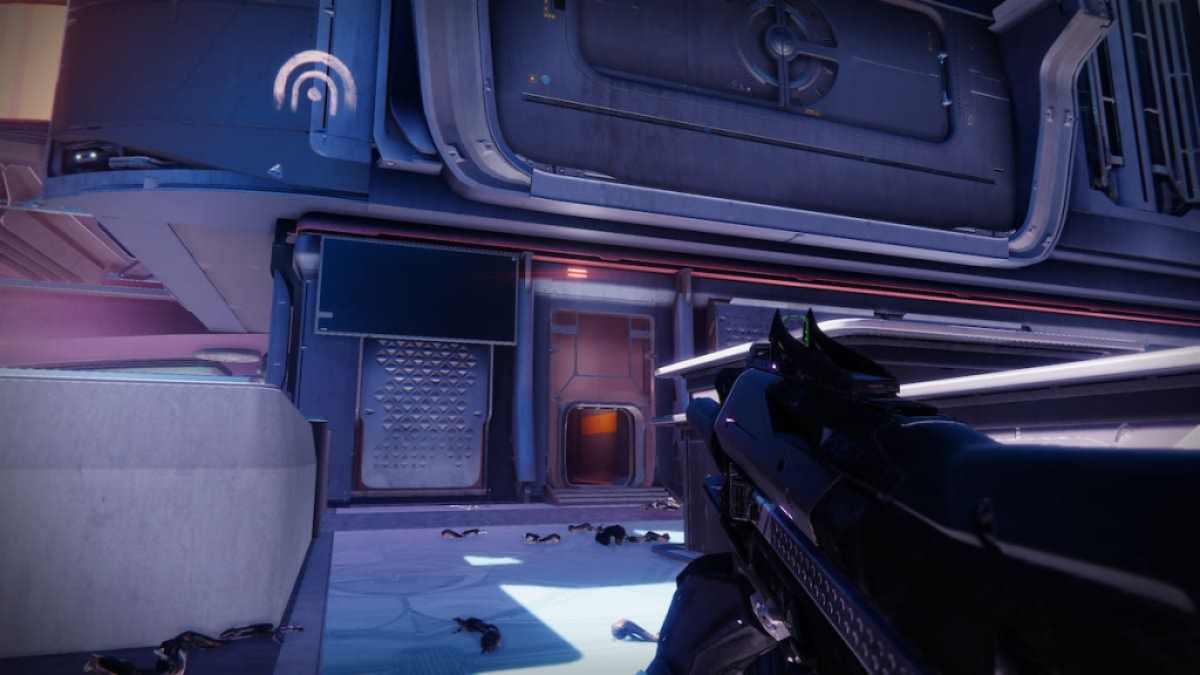
To find this Lost Sector , locomote to Liming Harbor and chief to the Union side of the surface area . Try and pose yourself where the Lost Sector icon is on the map . Look up at nearby edifice and you should see a Lost Sector logotype on one of the construction . take the air through this door . In the center of the room , there is a futuristic plant video display . Jump on top of this display to get to the second floor of the building .
If you see a vent with a twinkle red light , you ’re on the right track . take the air through this vent , following the path to what seems to be a dead end . There is a grate on the floor , but it can be destroy by heater . degenerate down through the grating , and you have now enter the Thrilladrome Lost Sector .
Related : How to get Vexcalibur Glaive in Destiny 2

Hydroponics Delta
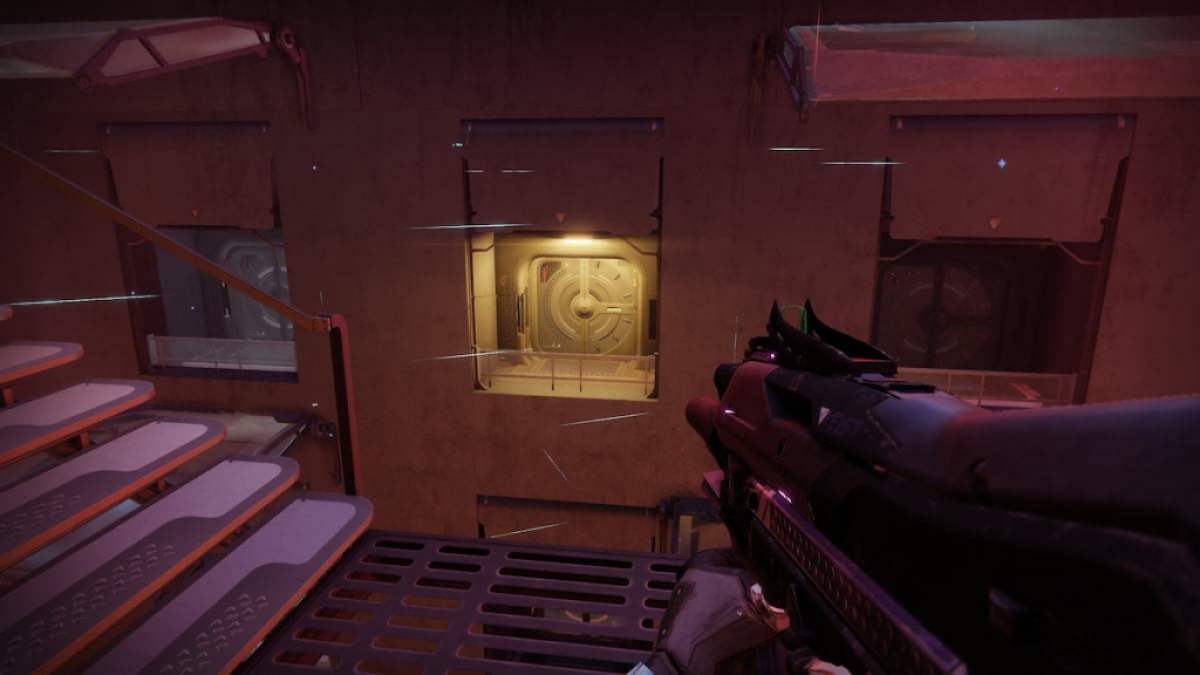
skip onto this anatomical structure , then sprain around and await for a room access that is lit up . Jump across the void into the threshold , then follow the path until you see a burrow of digital flora . In this room , drop down into a hole in the floor , continuing through the twisting route . After a short while , you should discover yourself in the Hydroponics Delta Lost Sector .
Gilded Precept
For more Destiny 2 guide , come check outAll Action Figure Locations in Destiny 2 ( They ’re Not Dolls Triumph)here on Pro Game Guides .
Screenshot by Pro Game Guides

Screenshot by Pro Game Guides

Screenshot by Pro Game Guides
Screenshot by Pro Game Guides
Screenshot by Pro Game Guides
