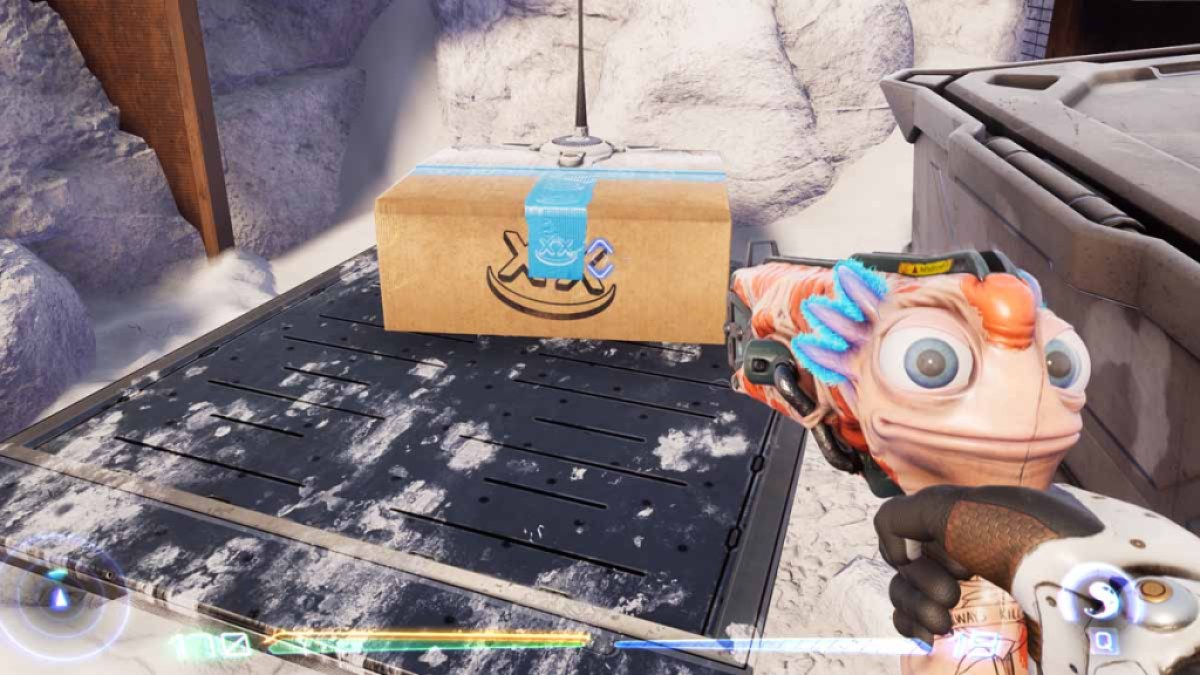
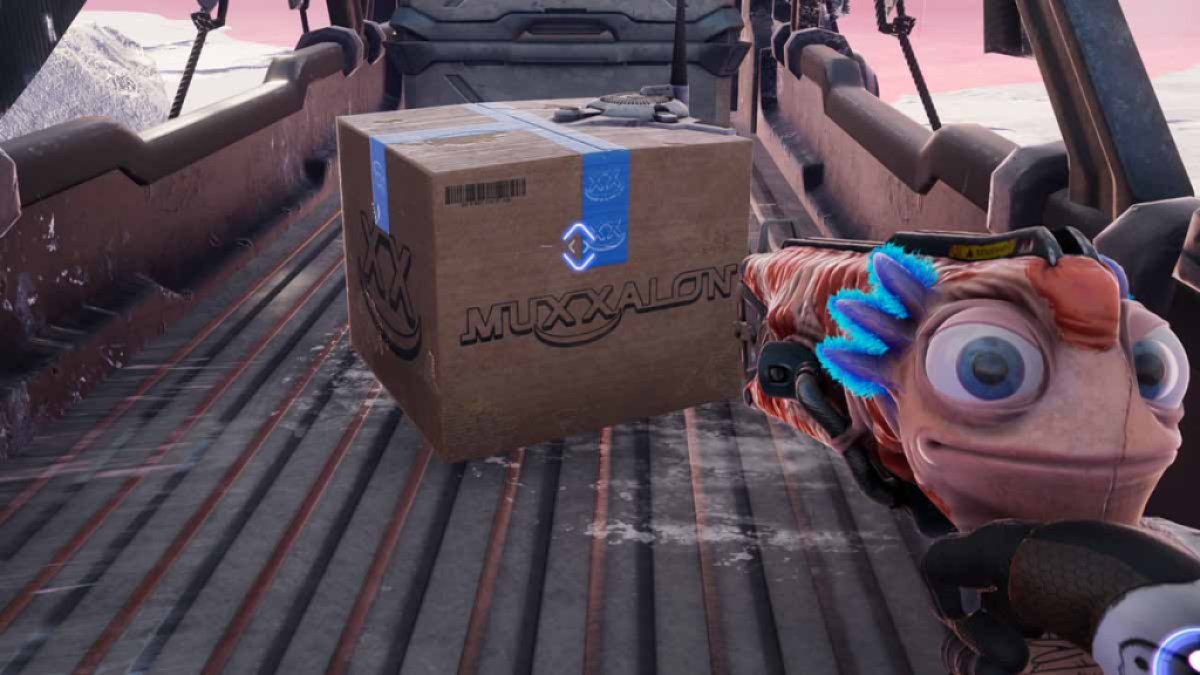
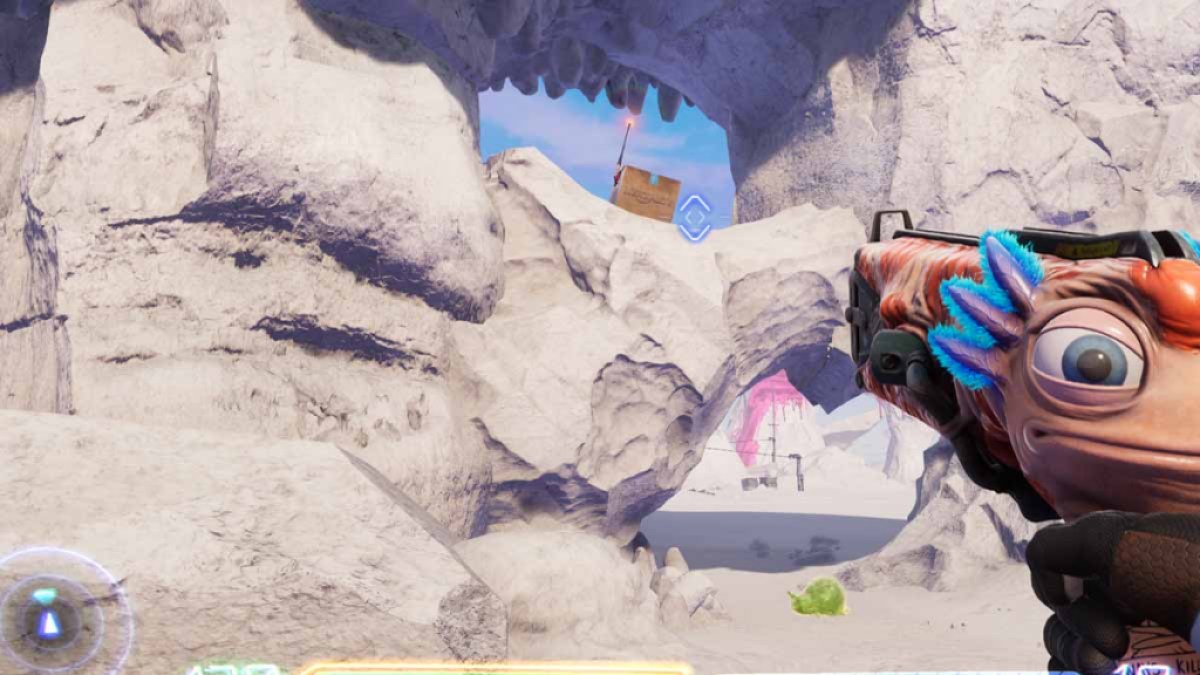
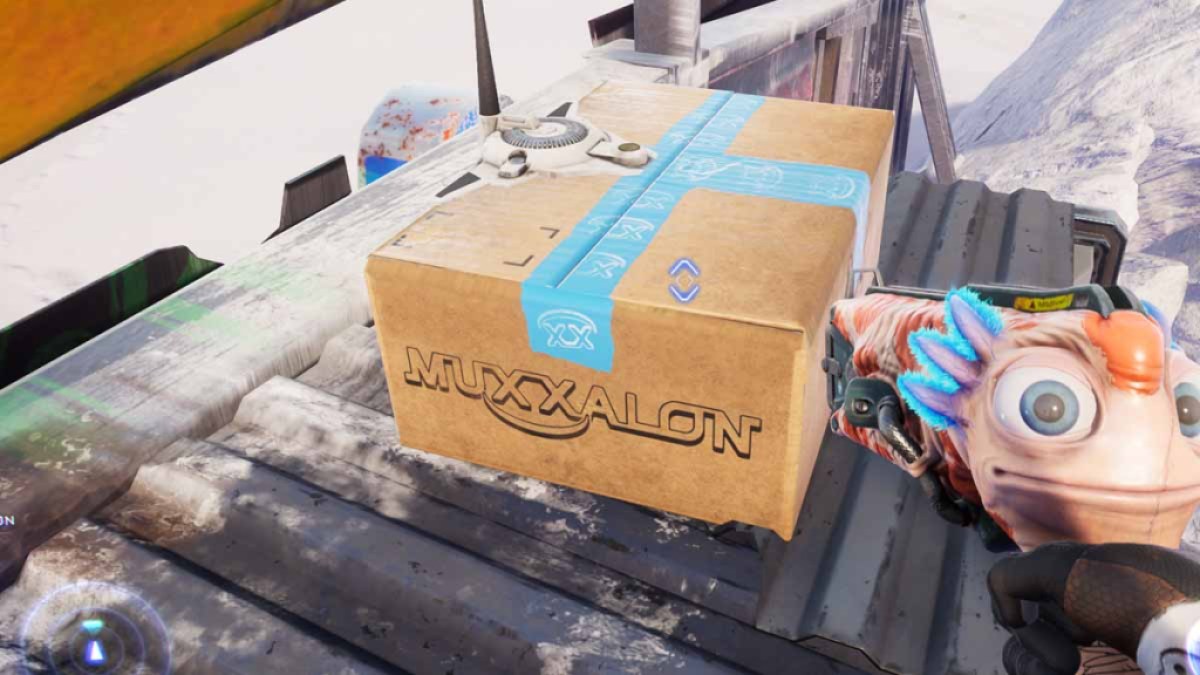
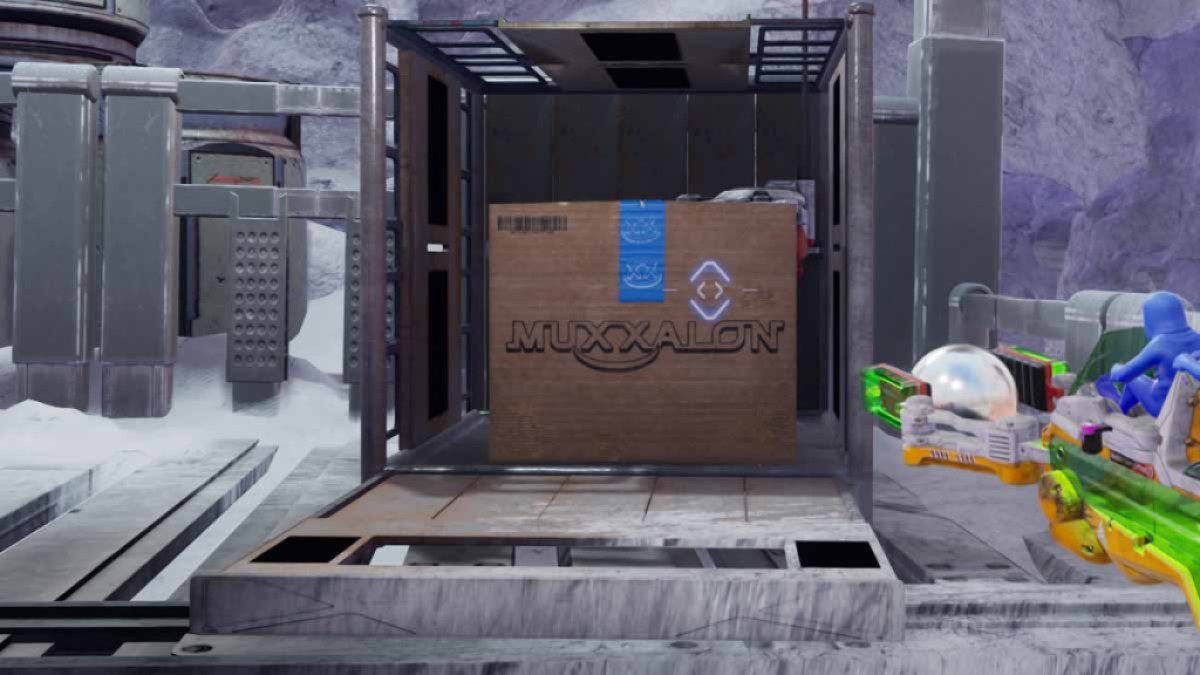
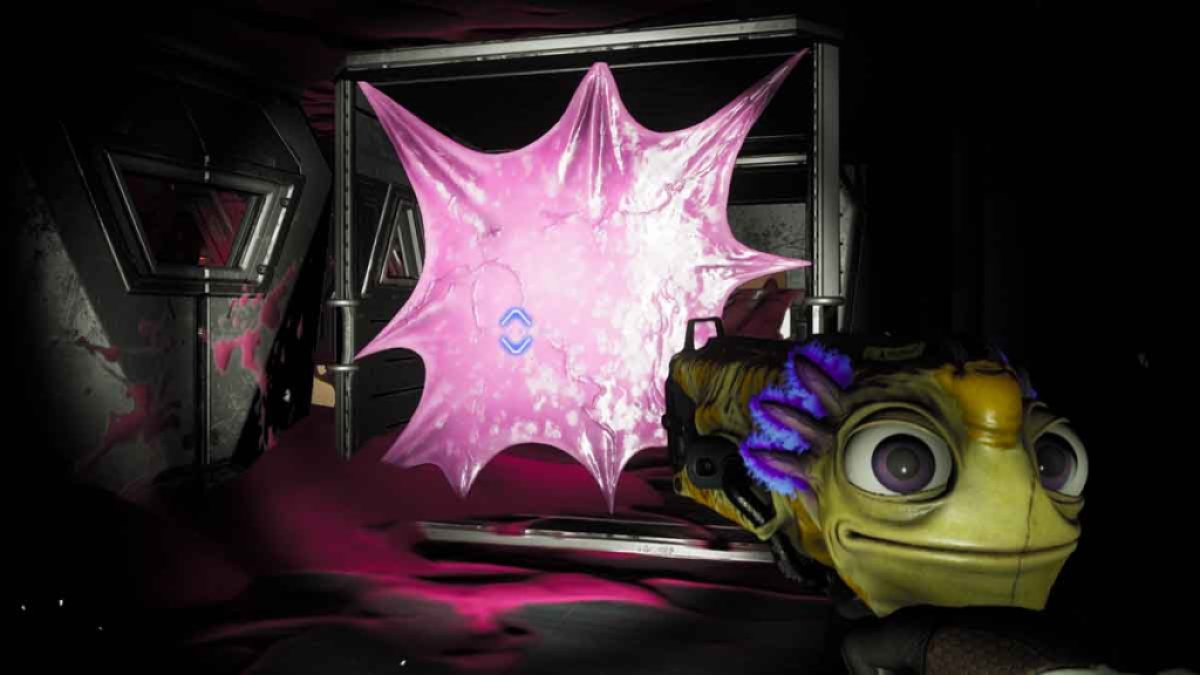
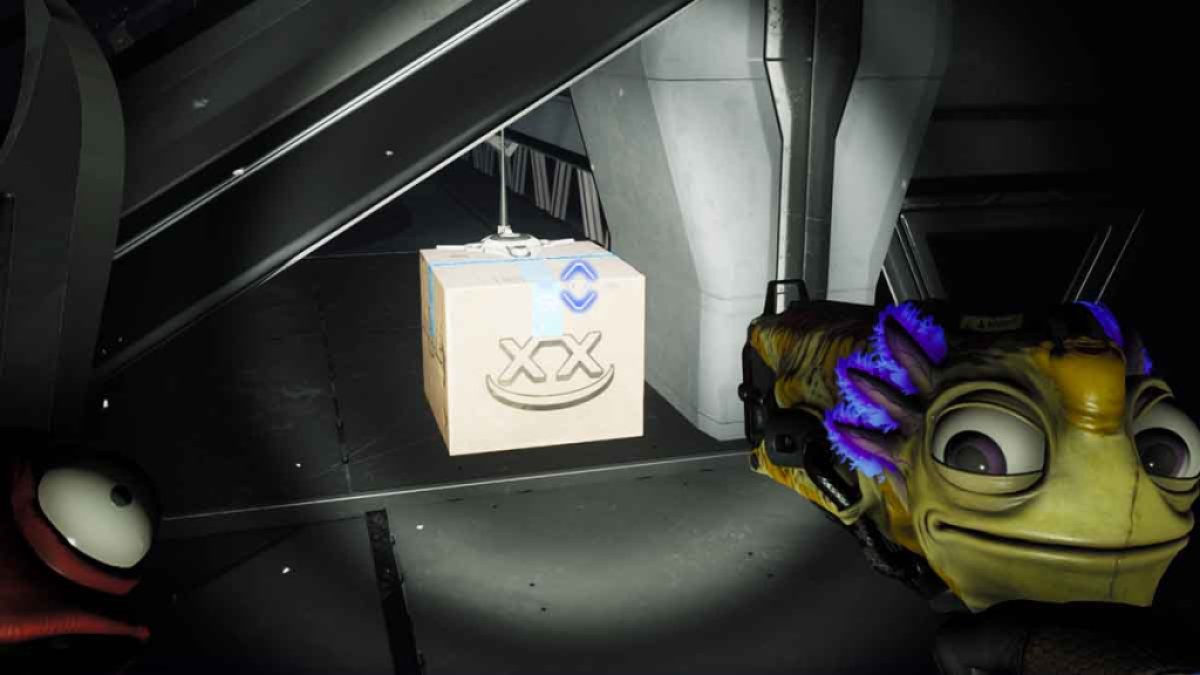
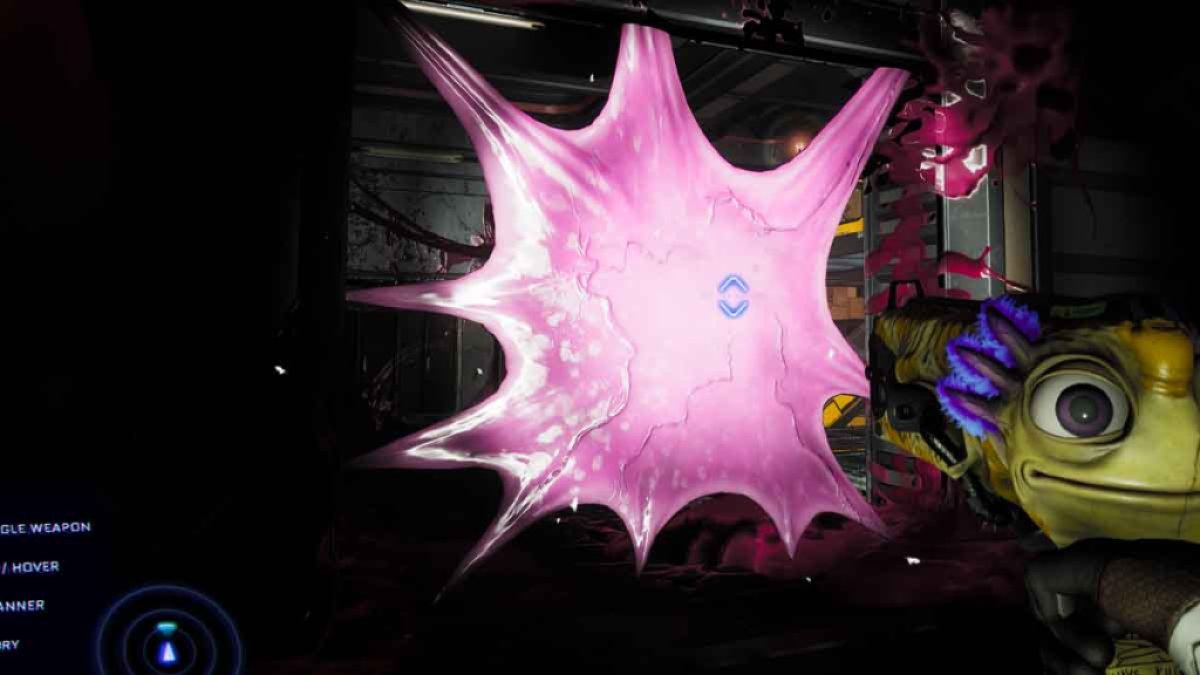
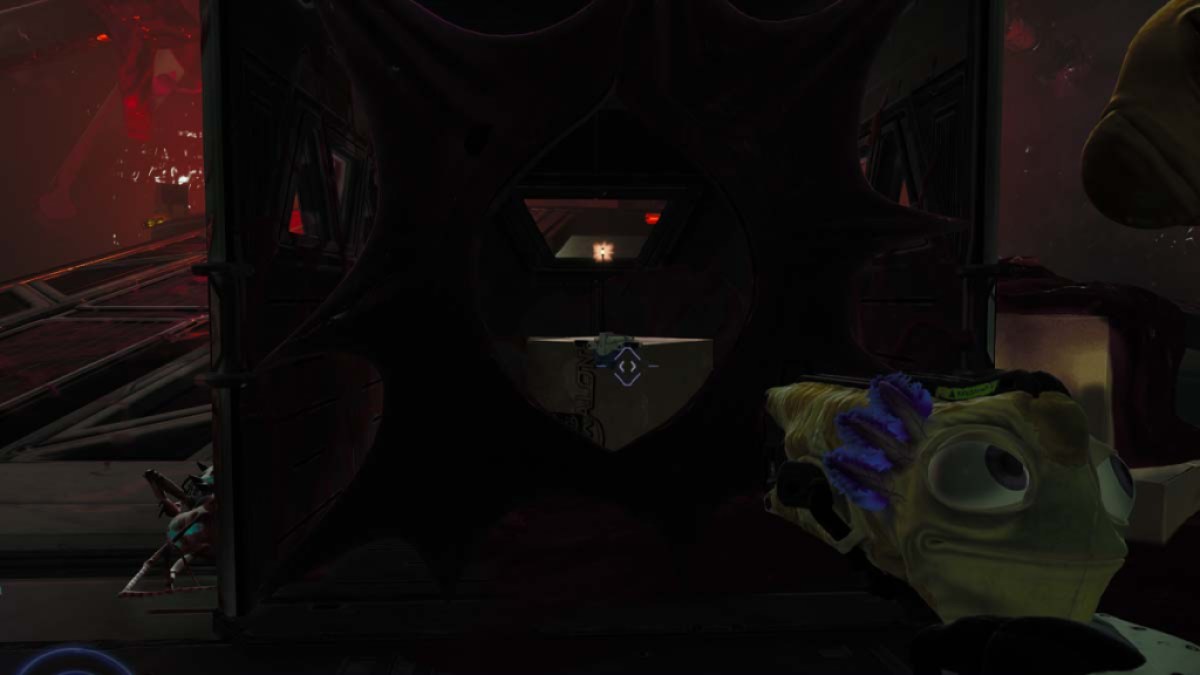
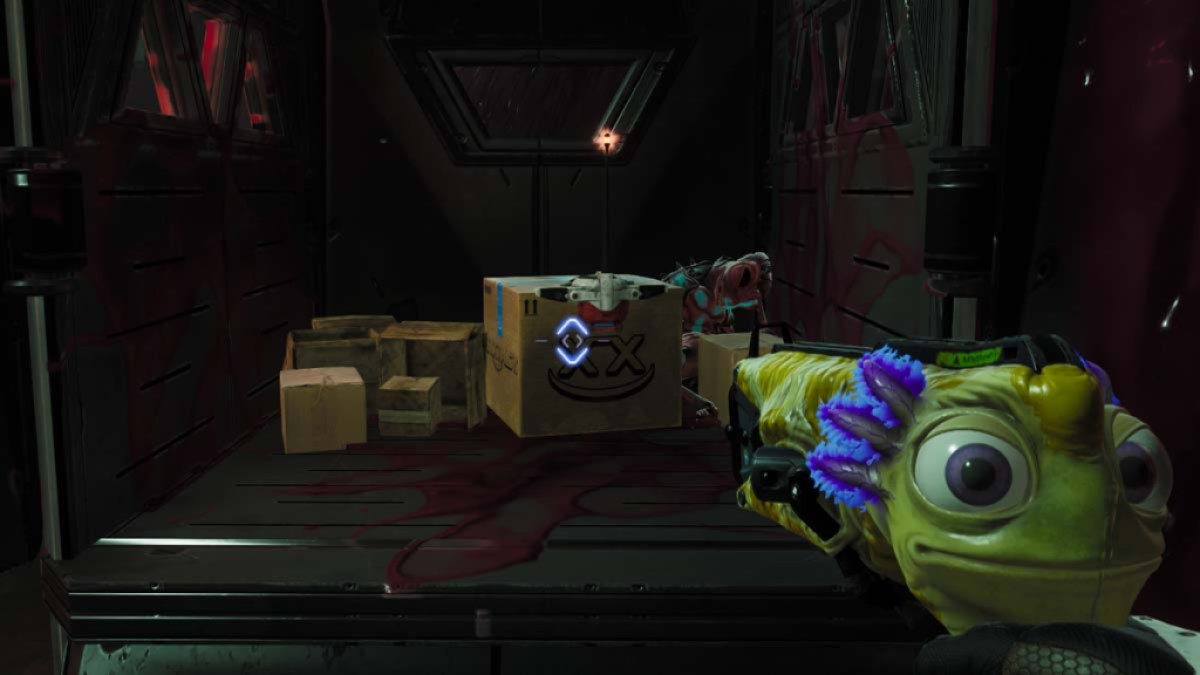
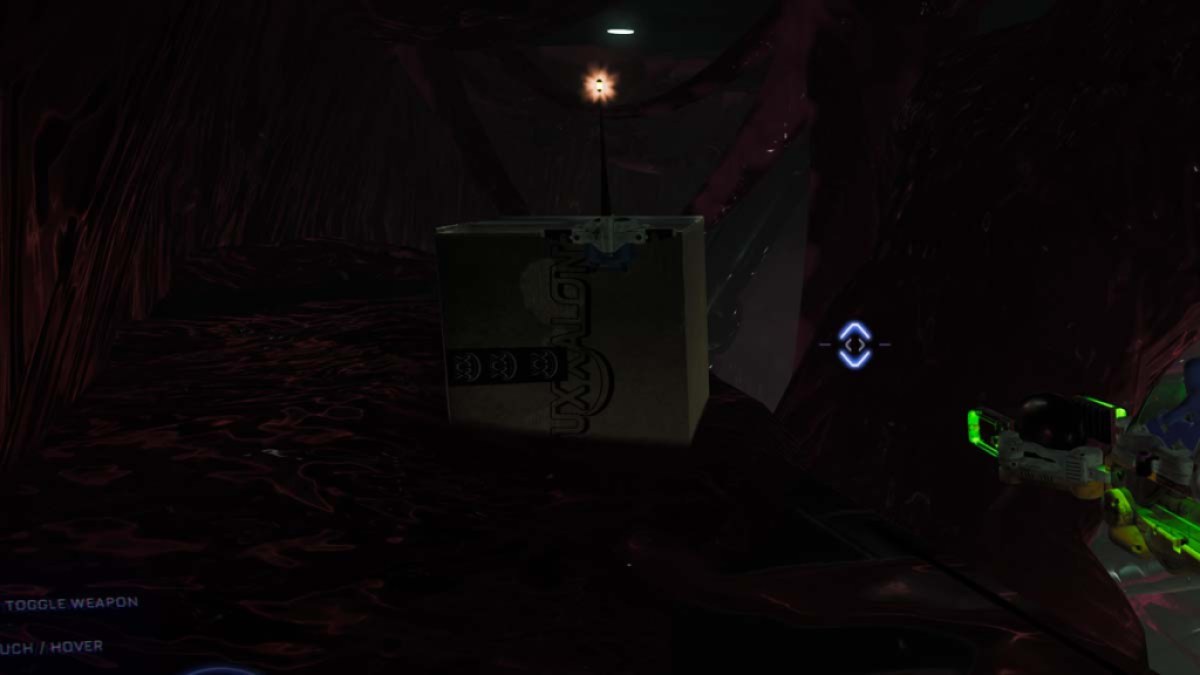
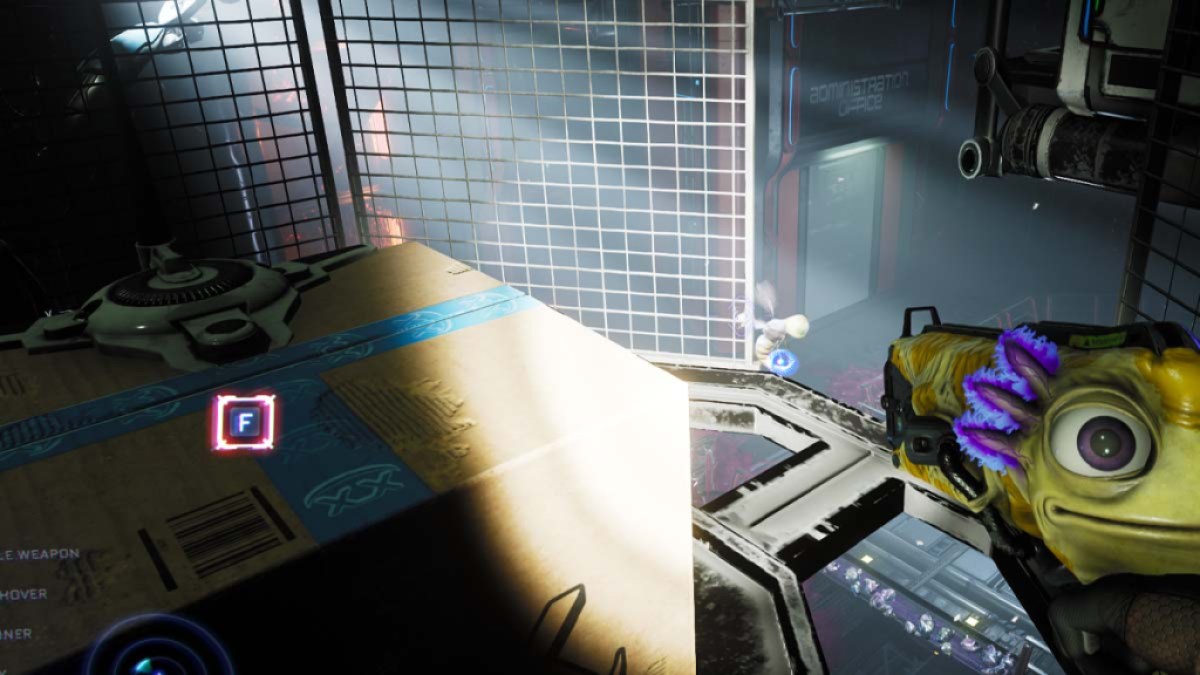
Collect all 58 .
The High on Knife DLC forHigh on Lifecomes with a bunch of a fresh collectible to rule . There are 58 Muxxalon packages to find in total , and they are very prosperous to overlook if you do n’t know where to wait . Keep in brain you ’ll need to beat the DLC to unlock the necessary tools to collect each box . Here ’s where you may rule all Muxxalon package in High on Life ’s " High on Knife " DLC .
Every Muxxalon package location in Outskirts
Package 1
Right next to the portal when you start the DLC .
Package 2
Package 3
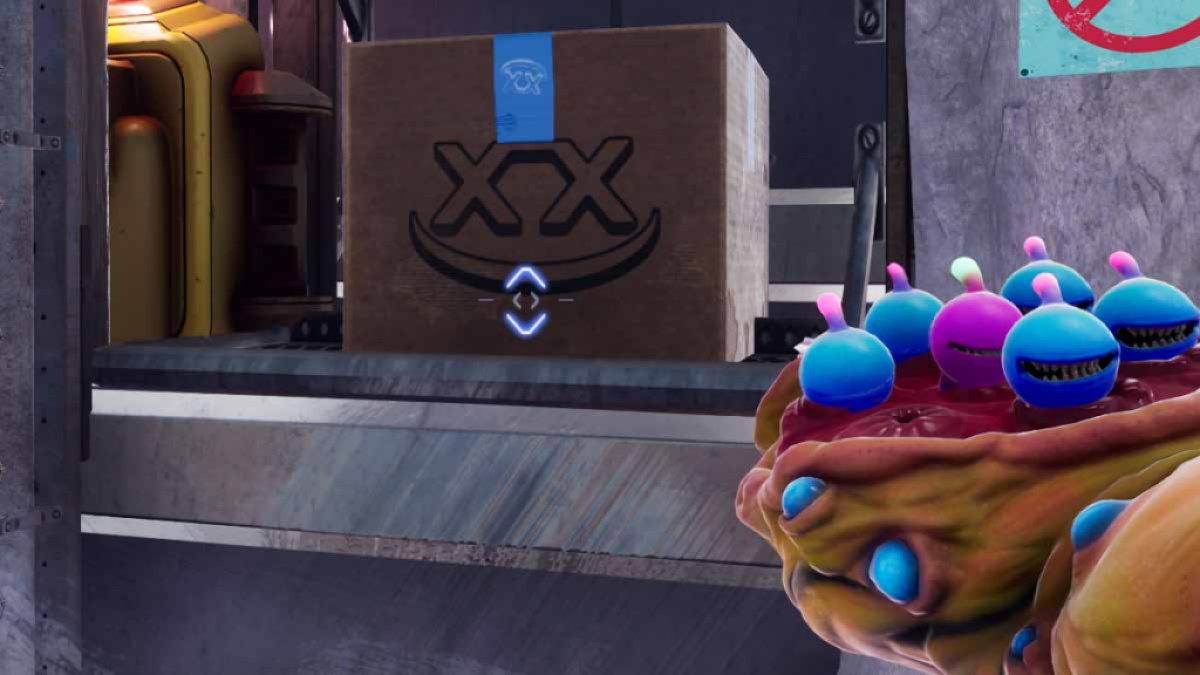
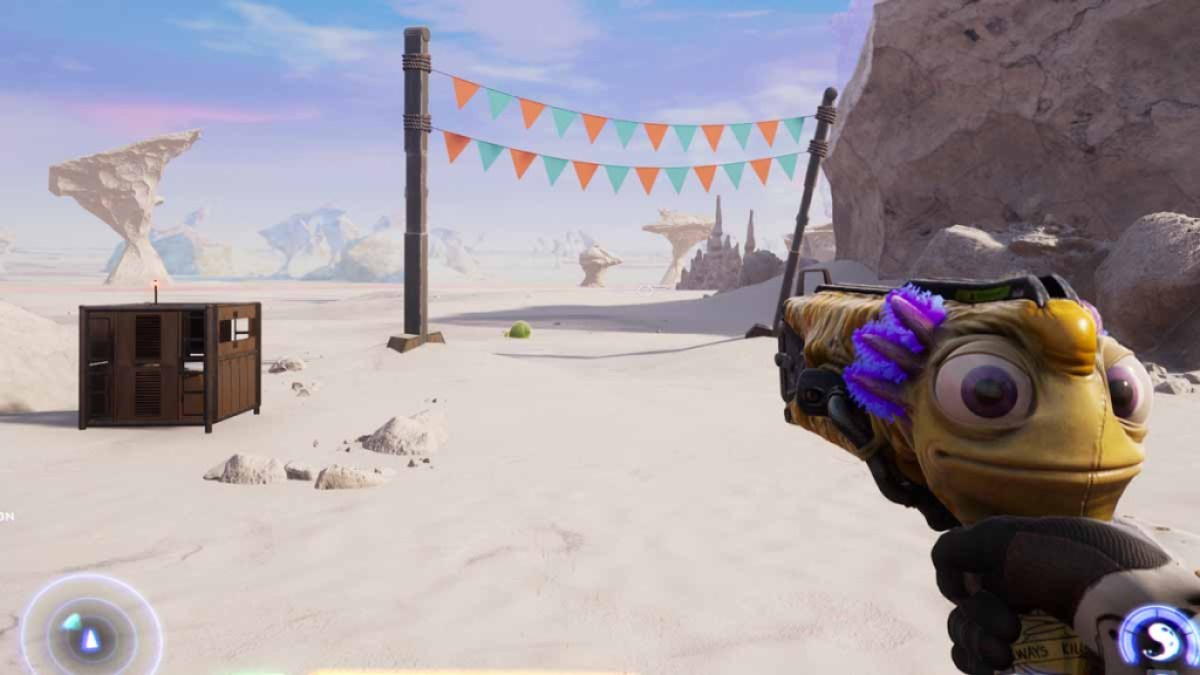
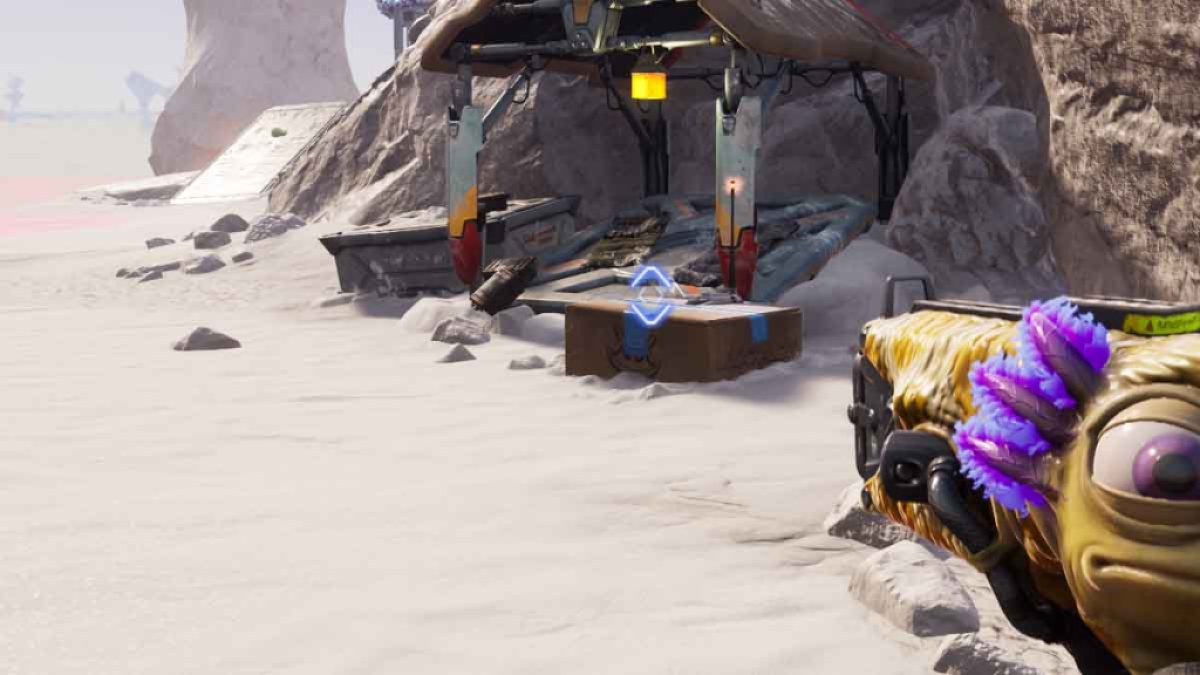
In a rock organisation straight to the leftfield of Salt Lick City .
Package 4
Right behind the main preindication to Salt Lick City .
Package 5
Up the stairs to the right inside Salt Lick City . Slow time to get past the fan , and then slow sentence again to get the outlet on the other side of the fence to open . Shoot a assistant creature at heart to spread out up the forcefield .
Package 6
Drop into the independent hub area of the city . slit the goop paries down and start the box on the other side . This will be directly below Package 5 if you ’re follow along .
Package 7
Just across from the B.A.L.L. mini plot NPC and up the stairs . You need to use the Goop Shot to enter the room access .
Package 8
finish the Salt Lick City slug race in under 14 time of day . Yes , it ’s that easy .
Package 9
Beat theB.A.L.L. minigame in high spirits score . Use the bumper as much as you could and prioritize the drab target .
Package 10
tally a switch next to a tube in Salt Lick City . Throw a puppet helper in and fall out the pipe to another one . Repeat the process until you get to the end . The final pipe just below the box will finally open up the forcefield .
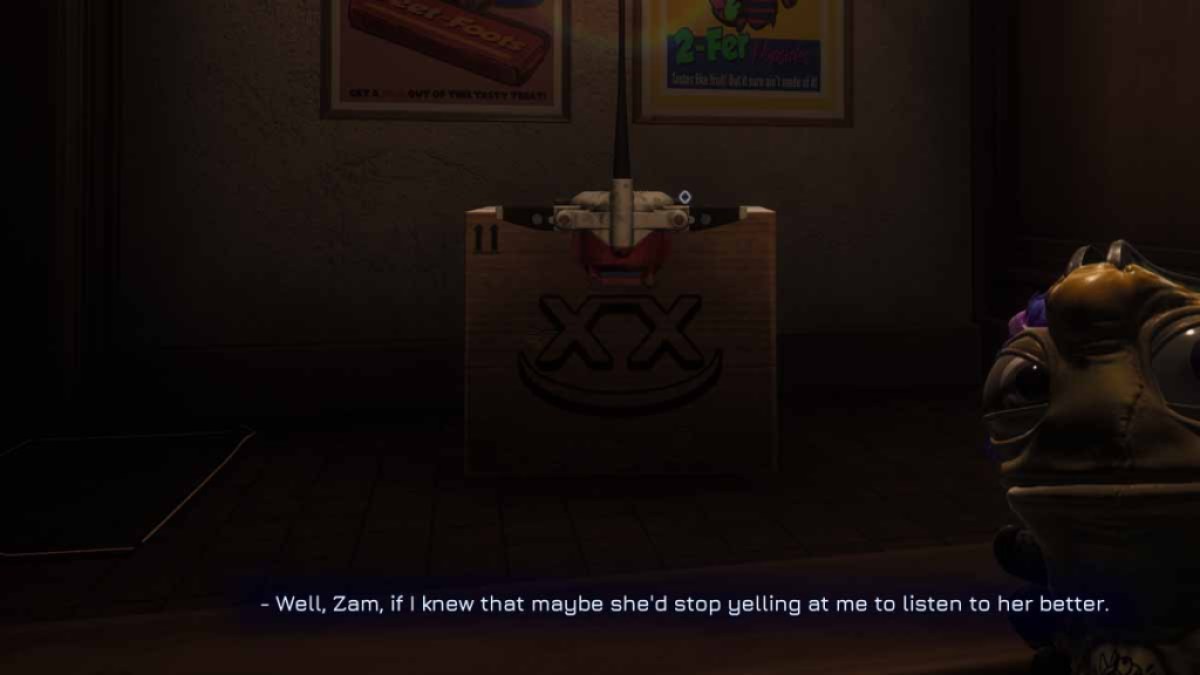
Package 11
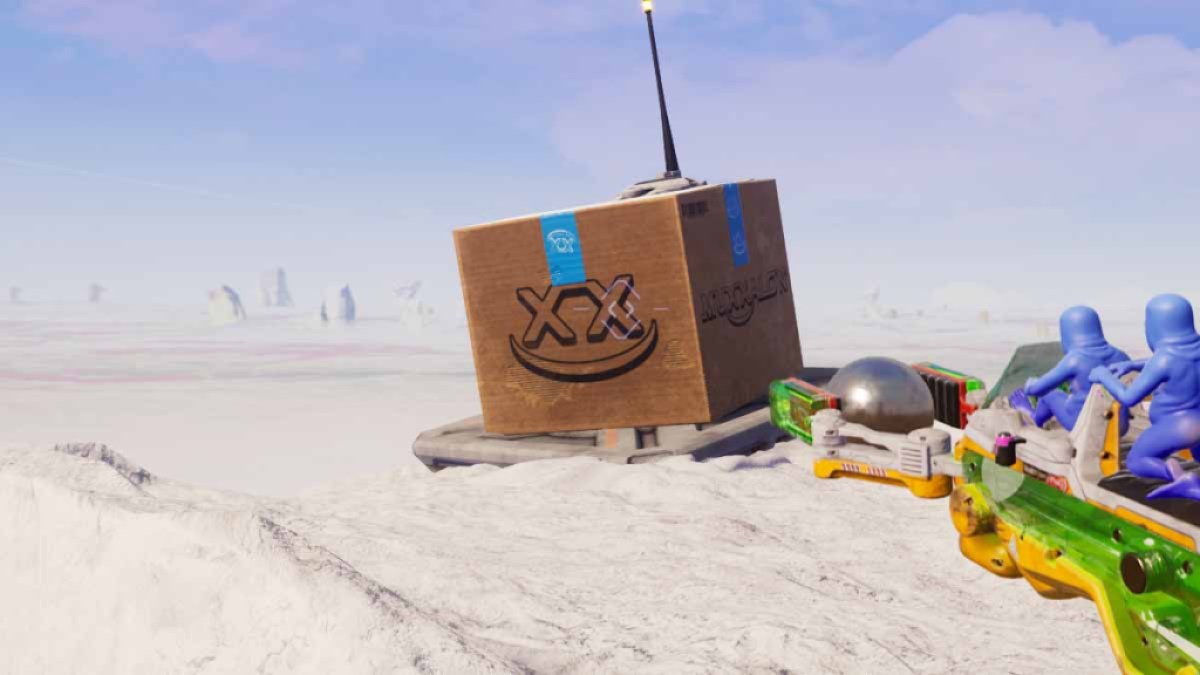
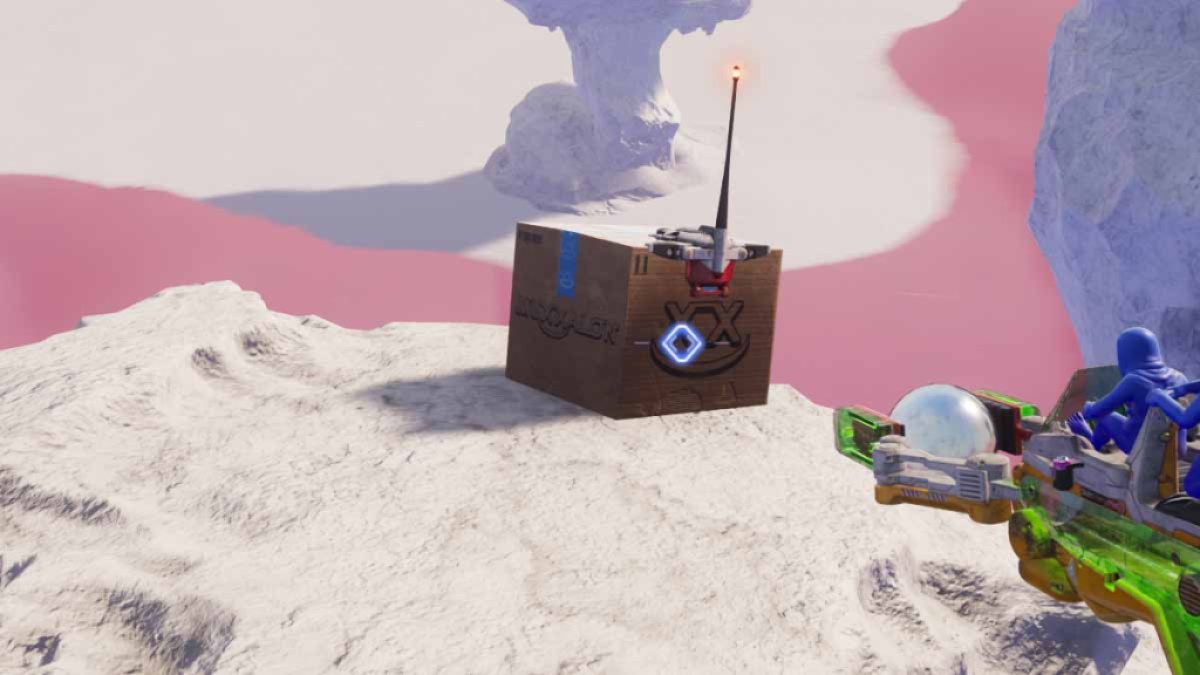
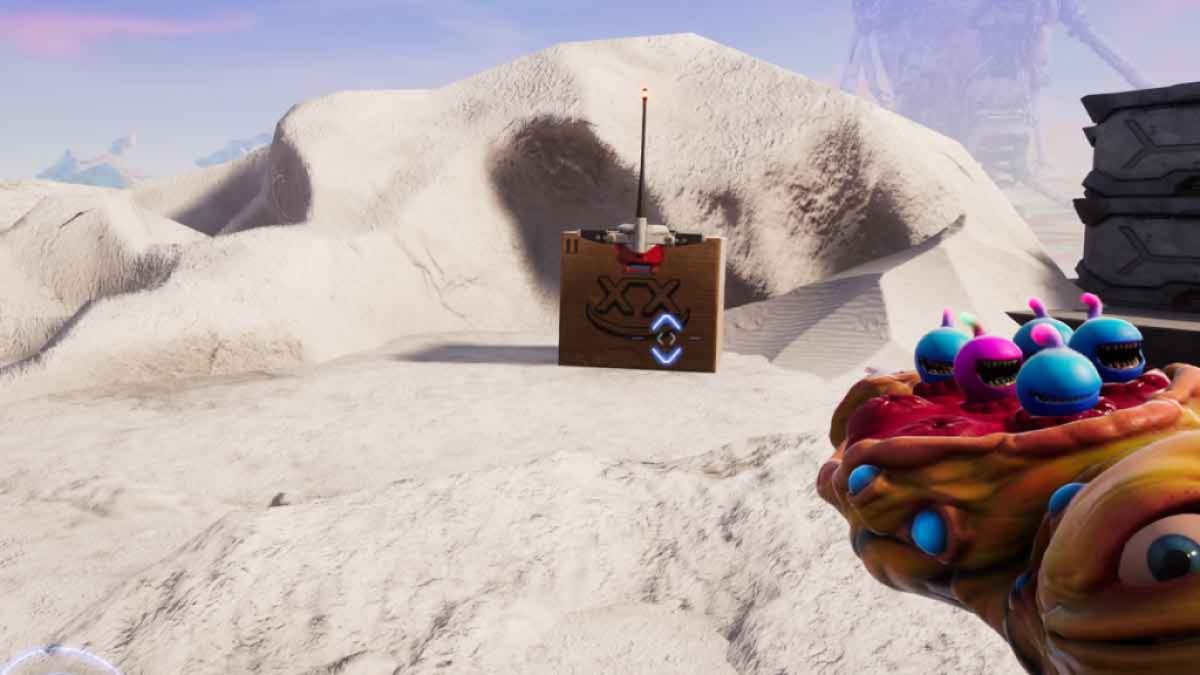
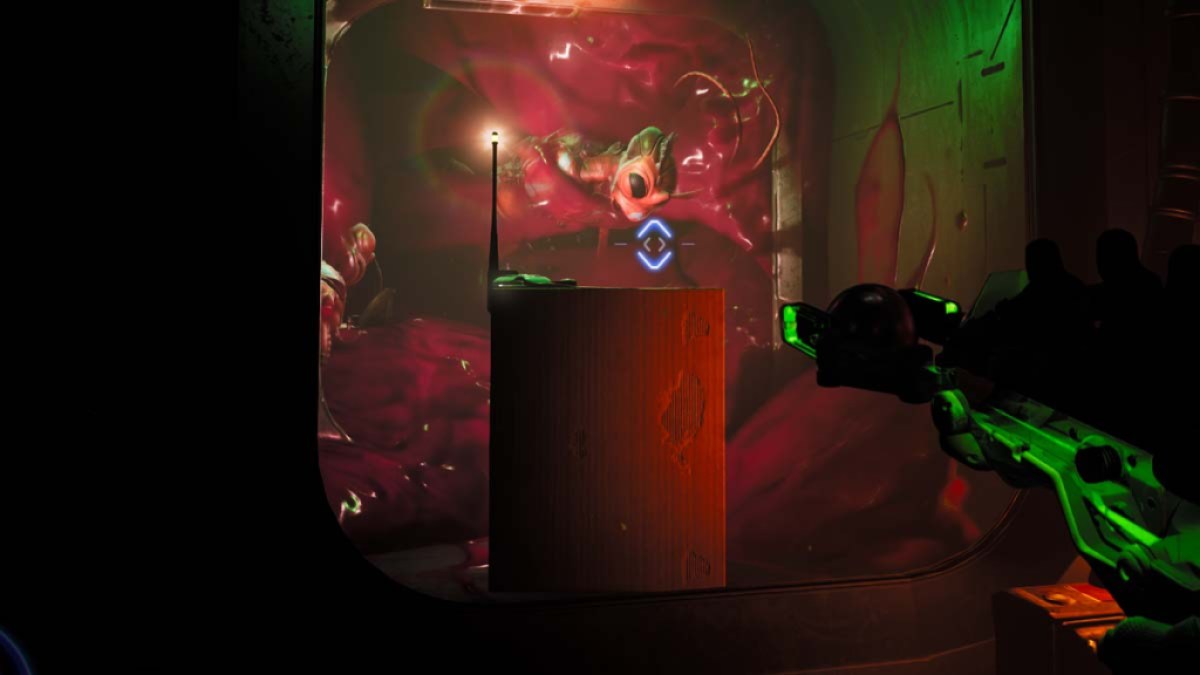
On top of a tall building in Salt Lick City . Signaled by a blinking radio beacon .
Package 12
Outside of town to the right hand . Grapple using the Hookbugs you see upon exiting and land on the column with the box . Excuse the motion fuzz .
Package 13
Keep climbing the same column justly of Salt Lick City from Package 12 using the Hookbugs . This is the last of the two software program you rule this way .
Package 14
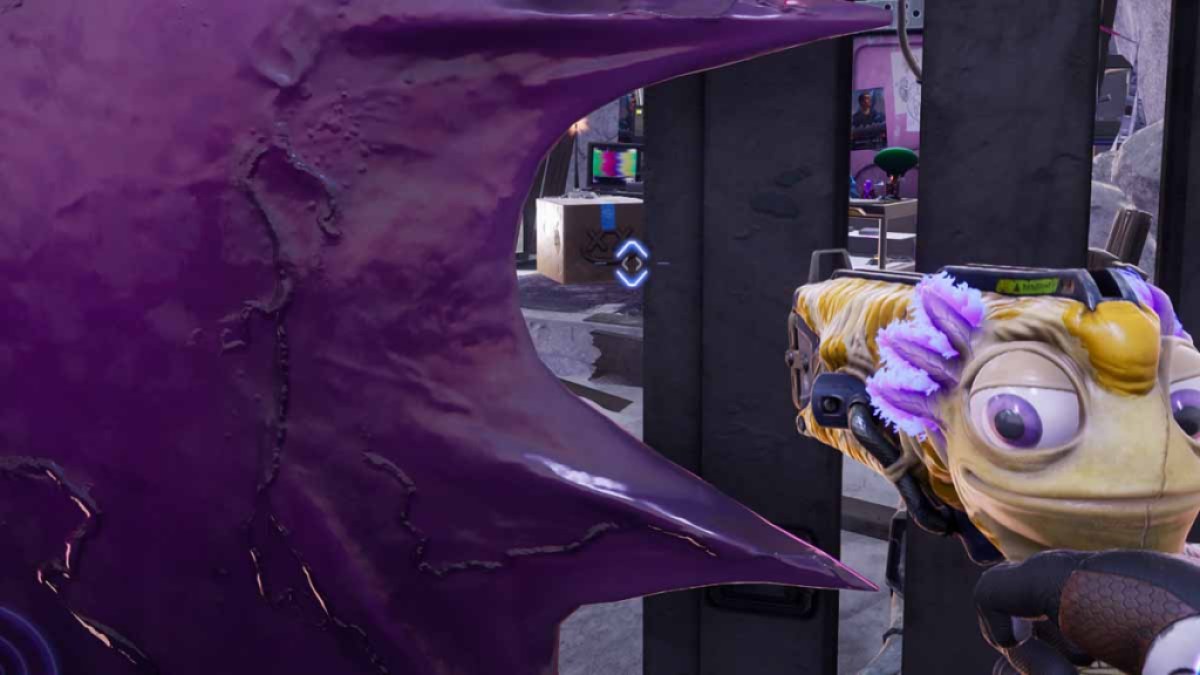
Plug the geyser blot north of Salt Lick City using the new B.A.L.L. gun and ride to the cave . reset the cave of foe and use the Hookfly to cross the chasm . Turn around and practice the same Hookfly to climb up to the box .
Package 15
Inside a poacher ant base . You ’ll need to head over to the situation and clear out the enemies for the base and loge to engender . It ’s to the left field of Salt Lick City — almost directly to the left of the portal you follow through to start the DLC .
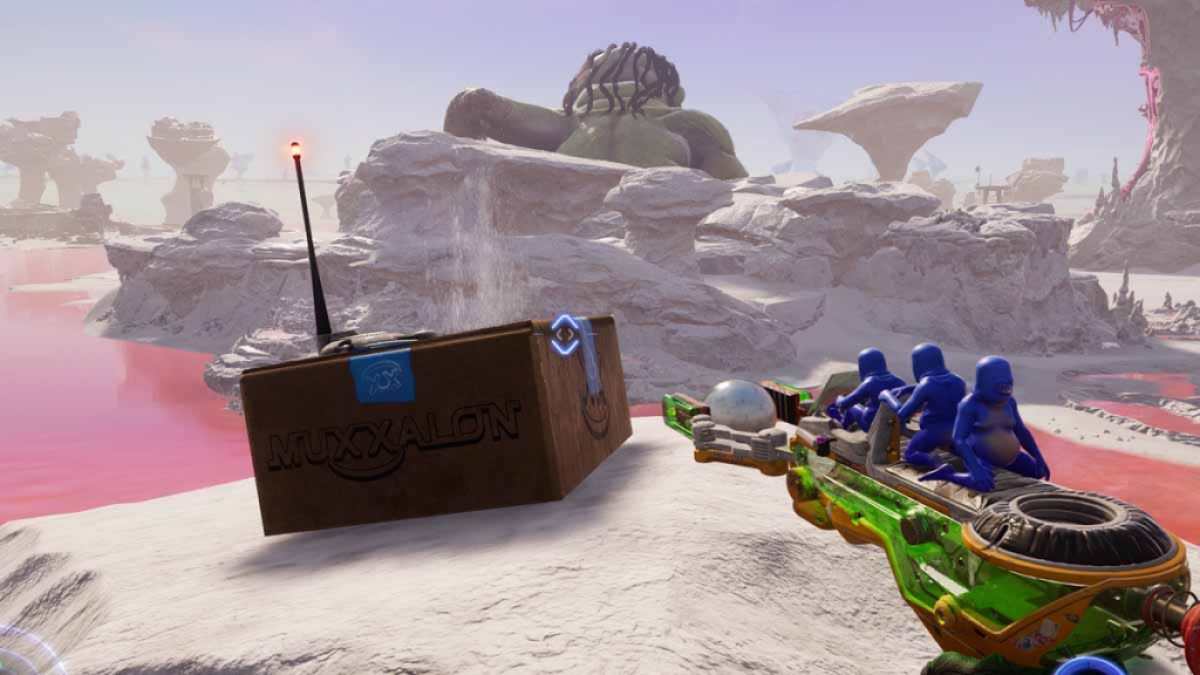
Package 16
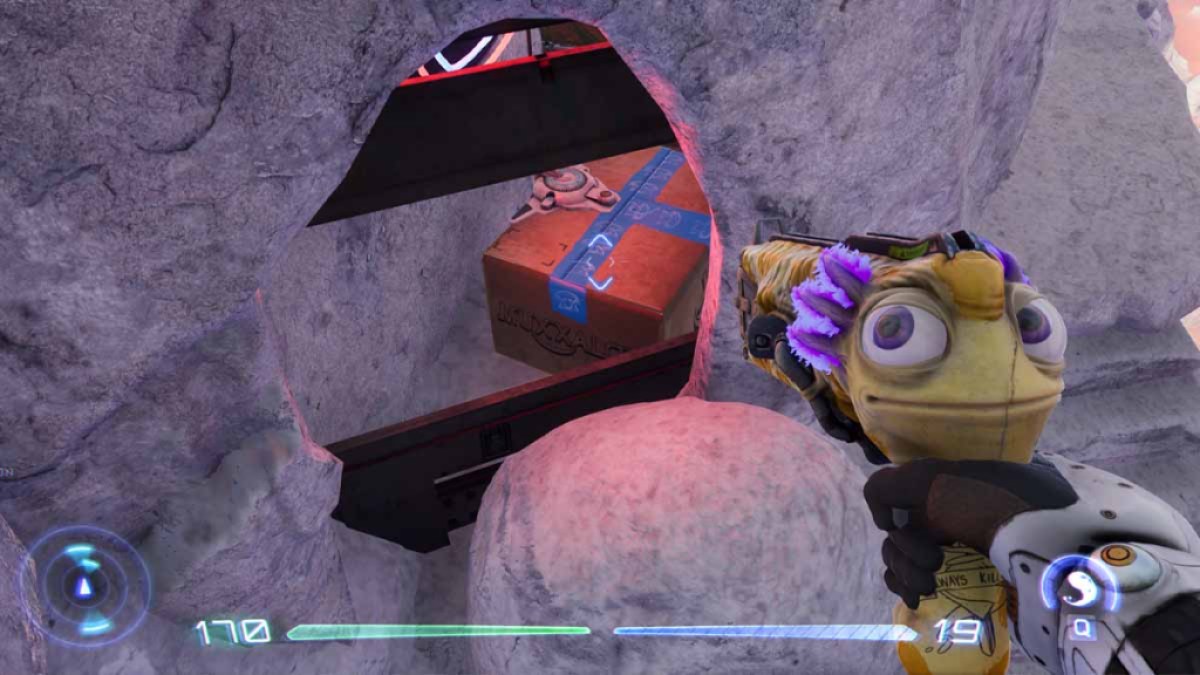
In the back of a motortruck north of the poacher ant base of operations that engender the late package . Just check for the red sea poacher alkali if you ’re collecting the packages out of social club . If this is your first time drop dead by the hand truck , you ’ll be ambushed by ants .
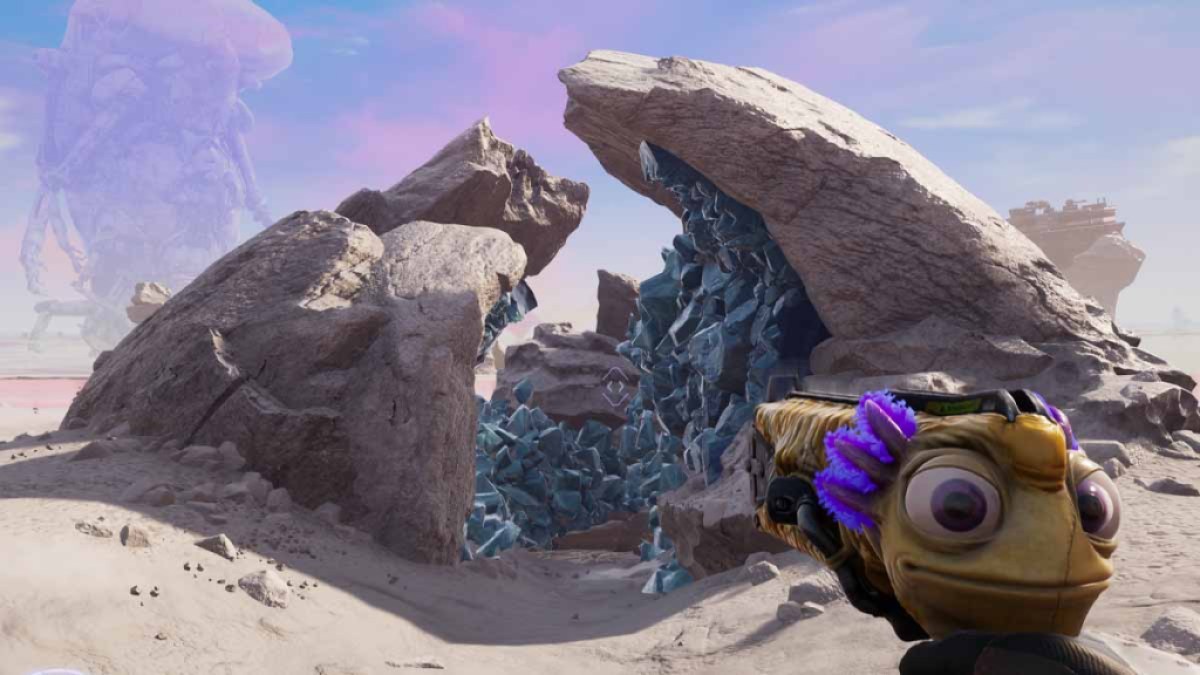
Package 17
In a rock organization almost directly next to the motortruck caparison the last parcel . This truck is north of the poacher ant base , and your minimap will light up blue to give you the precise emplacement .
Package 18
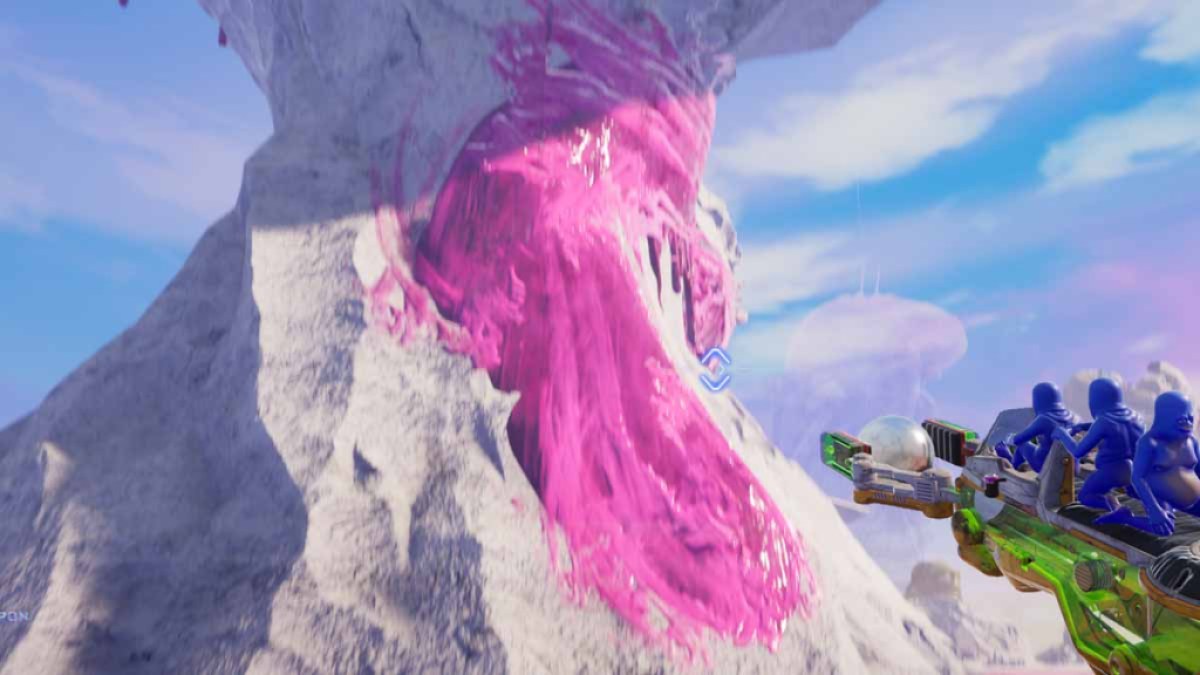
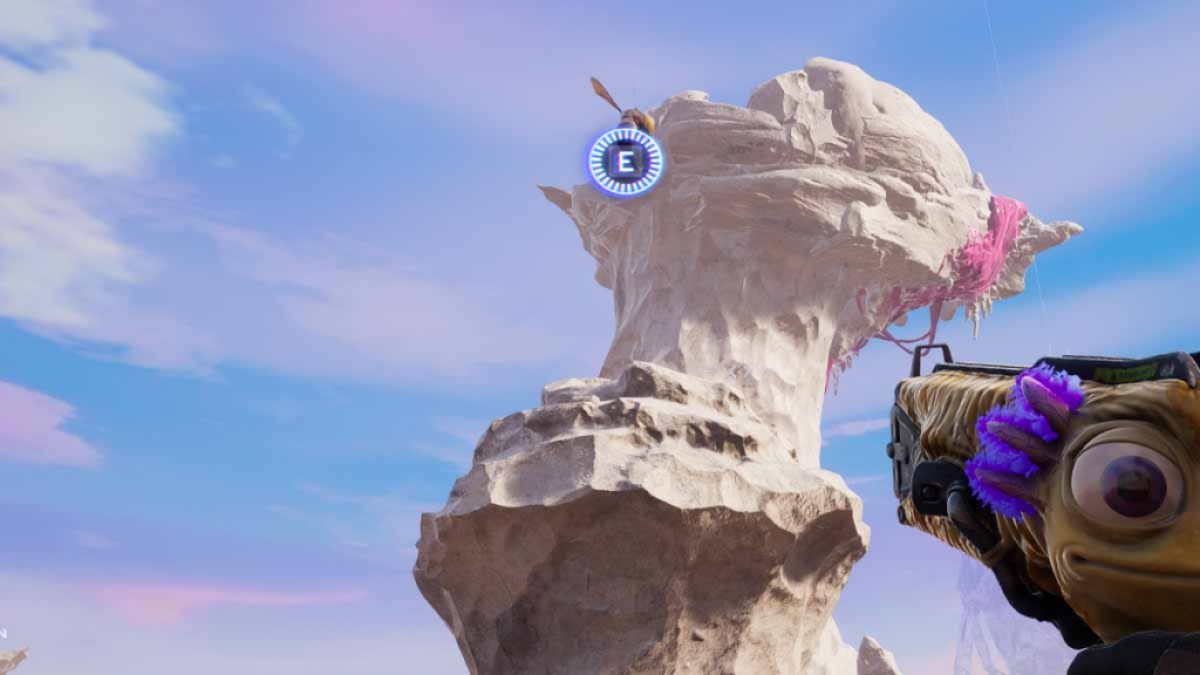
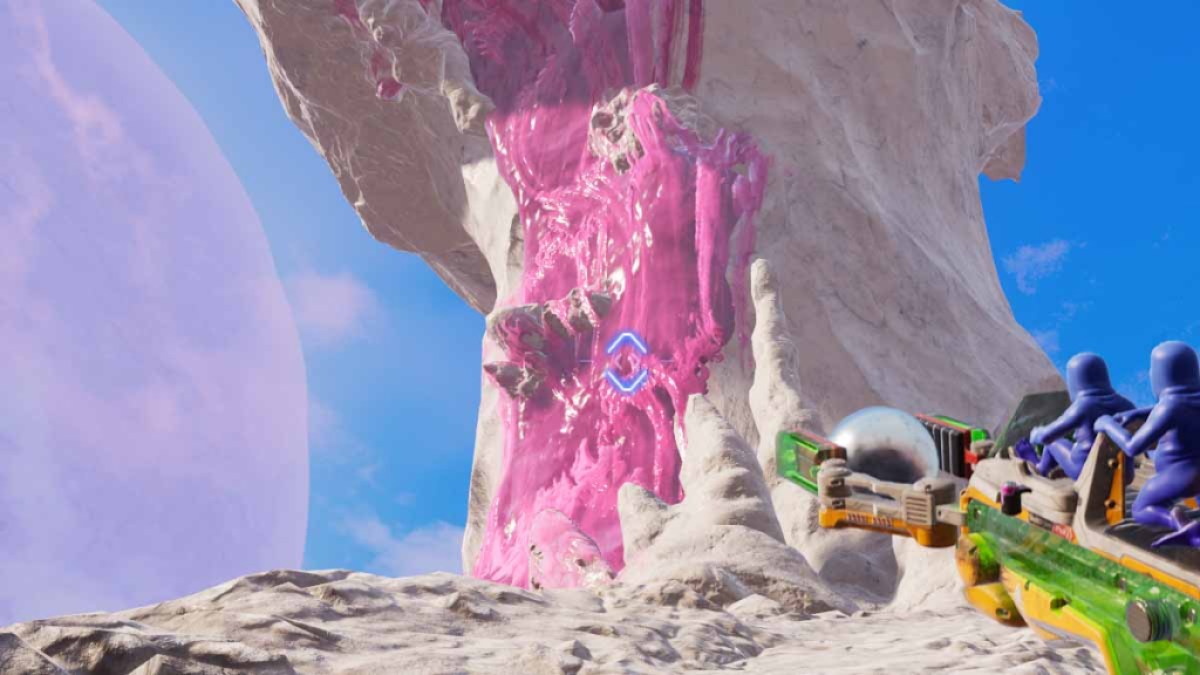
Use Knifey to climb up the pink ooze on the rock formation northward of the ant pedestal nearby the old two bundle . Ride all the elbow room to the top and collect the eighteenth and final corner of the region .
Every Muxxalon Package location in Duffalo Ranch
In an underground cavern to the left upon entering the zone from the Outskirts . Climb down to the bottom and observe the dismal marking on your miniskirt function .
In the same hugger-mugger cavern to the left field upon entering the cattle farm . go up the pillars and expend the rocks the climb on . You ’ll come across a Hookbug that ’ll provide you to navigate better . rise to the top and retrieve the second crate .
Head in the instruction of the giant unripened man . Stick to the left route and you ’ll hail across a Hookbug . utilise it and take the third boxful at the top of the column .

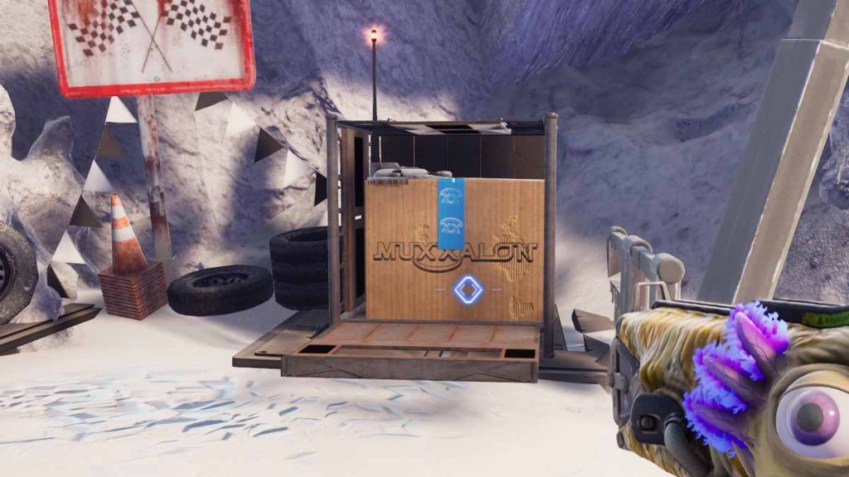
Go to the slug racing mini game in Duffalo Ranch . If you ’re following along , it ’ll be to the right hand of the previous package . If not , look for the racing streamer picture above . There will be a slug just like the one in Salt Lick City that you must challenge .
Go around the corner to the green hombre ’s right side , punch the geyser holes with the B.A.L.L. gun , and arrogate the package at the top of the rock constitution .
Climb the pick gook directly across from the immature giant . defend the enemies at the top until the package drops .
Screenshot by Pro Game Guides
Go to the right of the pinkish guck and climb the rocks . You ’ll find another package .
On the rock to the right hand of the pink slime , you ’ll be able to see another package . This is the same place as Package 7 , so you ’re in the right spot if you ’re following along . You ’ll want to use the disc special power on the red smear of the bulwark to mount up here .
Go up the step inside the prevention under the green giant . afford up the box .
Screenshot by Pro Game Guides
Head right out of the prevention until you turn over three holes that involve to be plug . Do that and ride the geyser across to the next box .
Exit the cave and manoeuvre over to the third race track . You know the deal by now : win the backwash and get a corner . ( This is how you get the Pyrat card . )
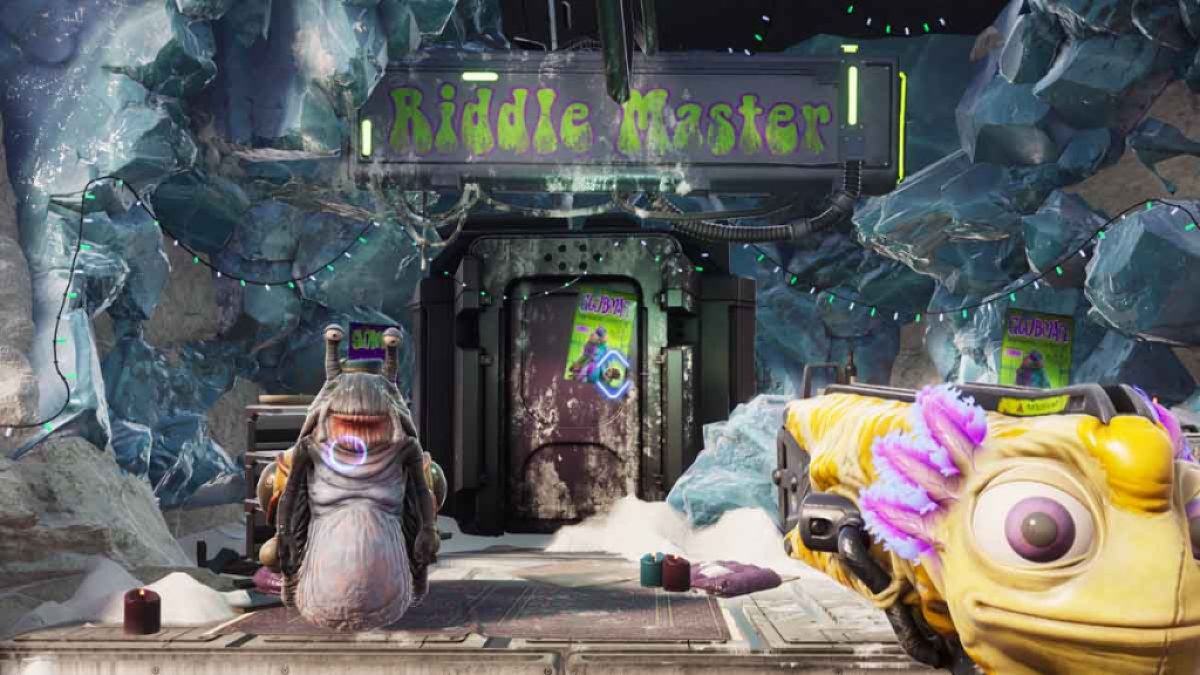
Go to the Riddle Master in Duffalo Ranch and shoot him . You get a box , an achievement , and the Ripsaur notice .
Screenshot by Pro Game Guides
rise the Riddle Master ’s construction and grab the box at the top .
Go direct across from the last package until you come in across a elephantine pickle . you could find this area by the Riddle Master if you ’re not following along . Go to the bottom and take the next package . employ the B.A.L.L. gun to turn over on the fan and get out of the mess .
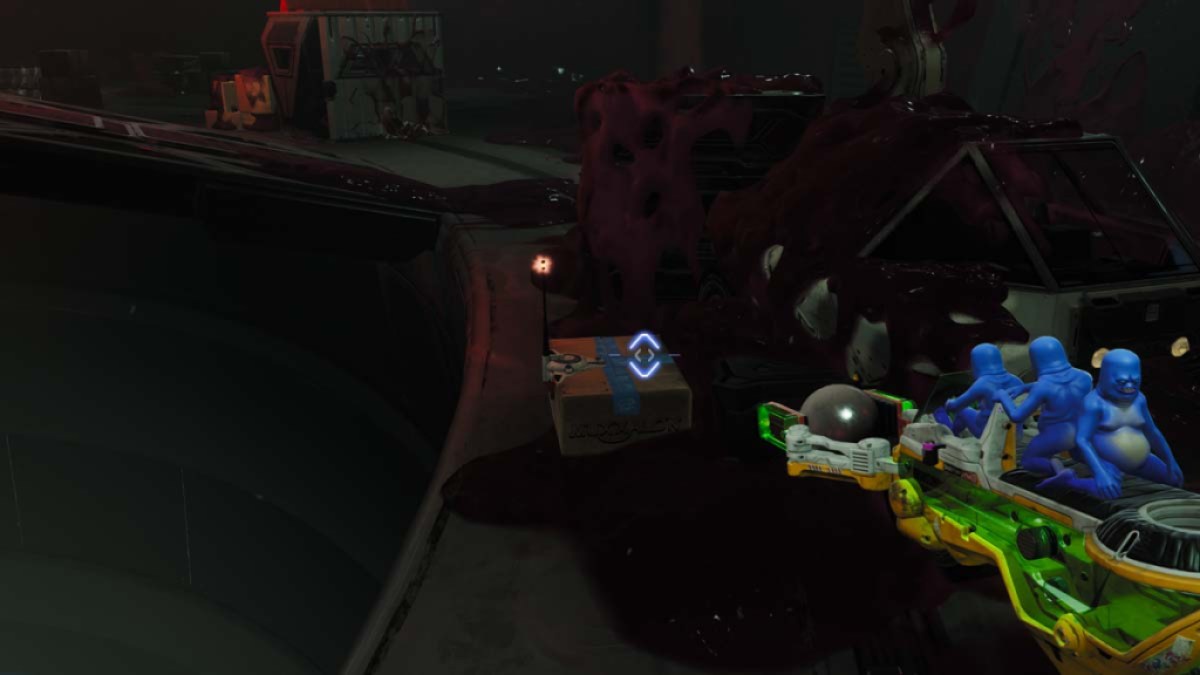
Head into Poacher Territory . quell on the course until you see a small social organisation with a box in front .
Screenshot by Pro Game Guides
Begin go up the Poacher structure . Use Gus to put the discs into the carmine portion to reach the top . plug away the geyser holes and keep work your style up . Use a fauna to make a Hookbug to make your way to far weapons platform and grab the box .
Package 19
Continue the climb to the top . apply the pair of Hookbugs to snag another box . Be fain to fight a lot of enemies .
Package 20
Use the green goo to strike hard spread the door and launch yourself to the next platform . Launch yourself again and bug out following the arrows in the base . Slow down the fan and go through . fool away green goo at the slime position and shoot a brute into the tube . Backtrack to the exit of the thermionic valve and spread up the box seat .
Package 21
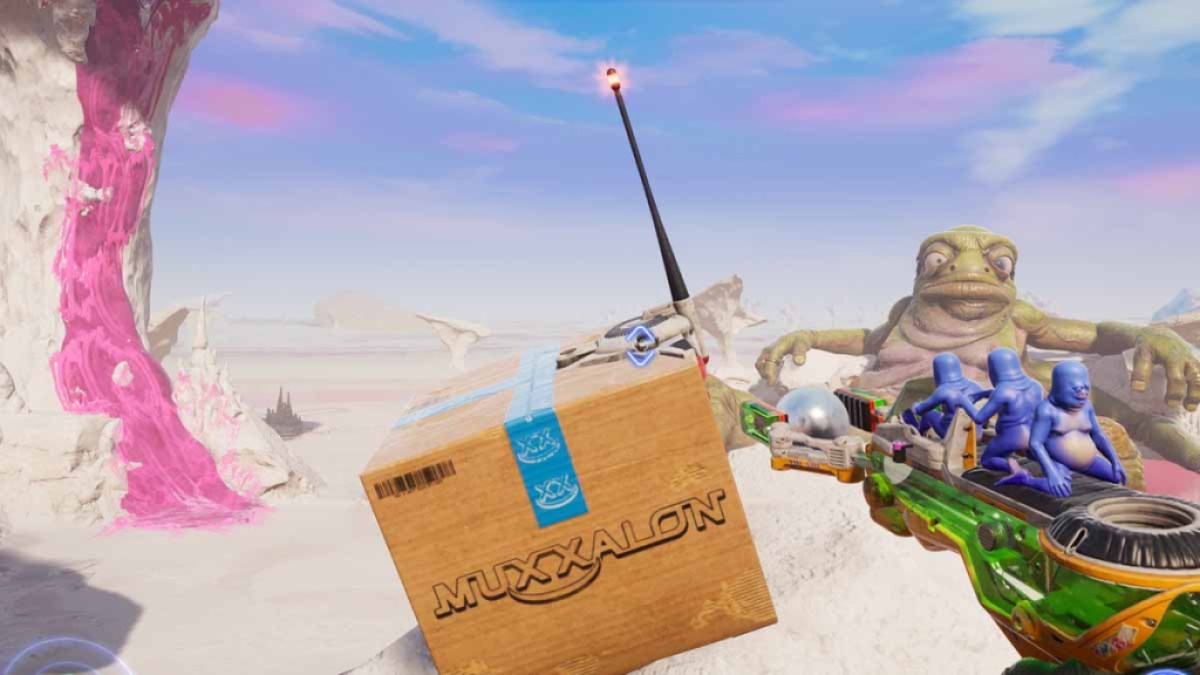
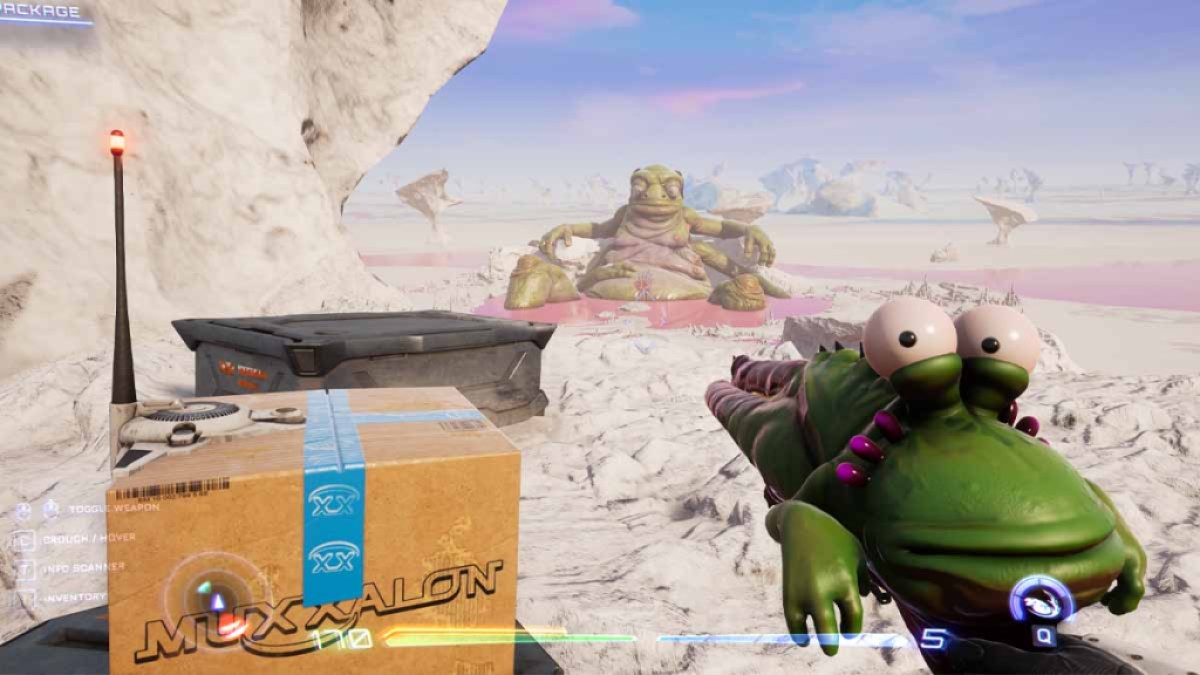
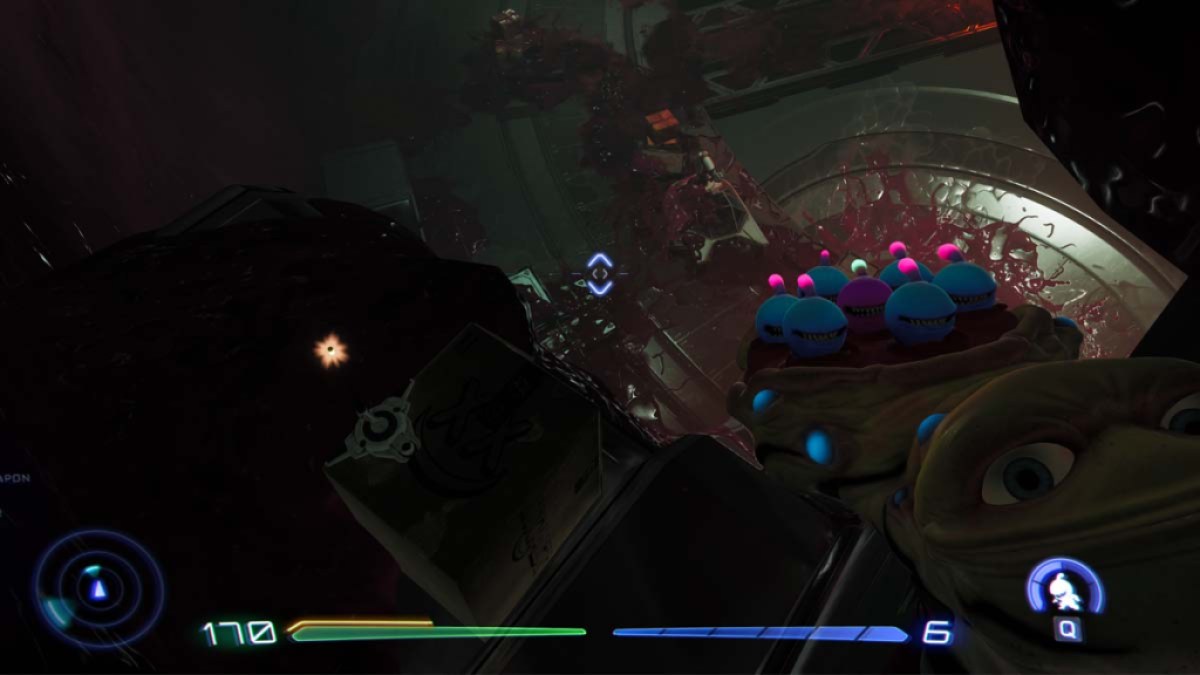
The last packet of the geographical zone is behind the Poacher King at the top of the tall social organisation .
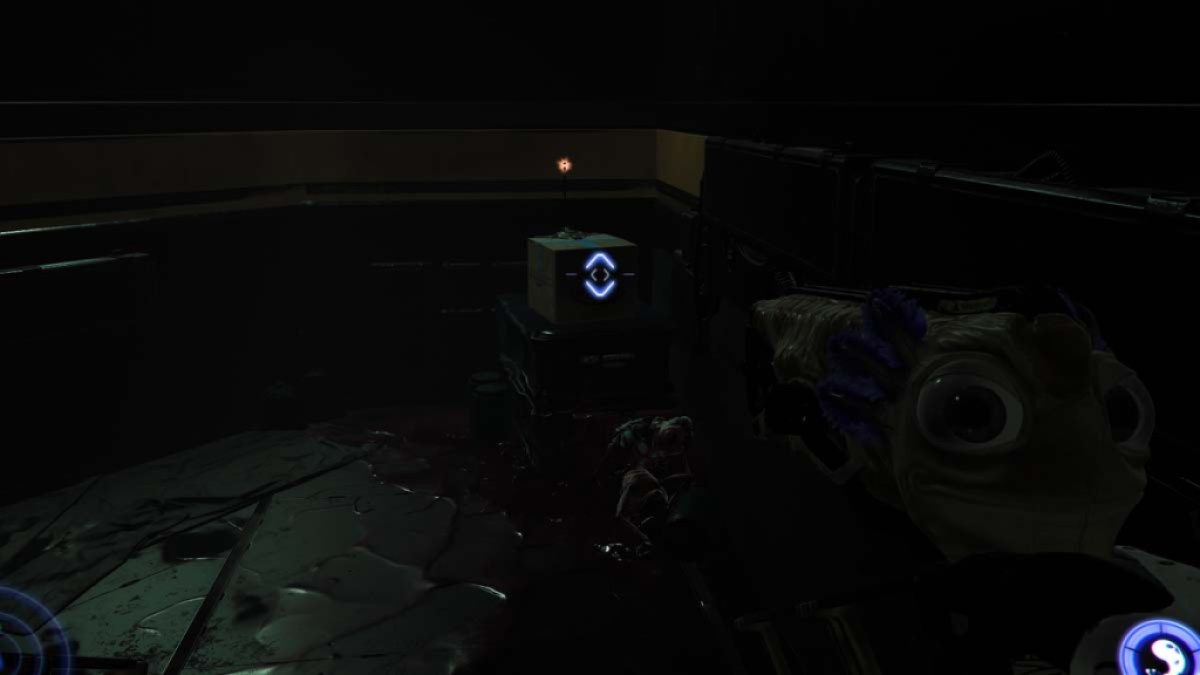
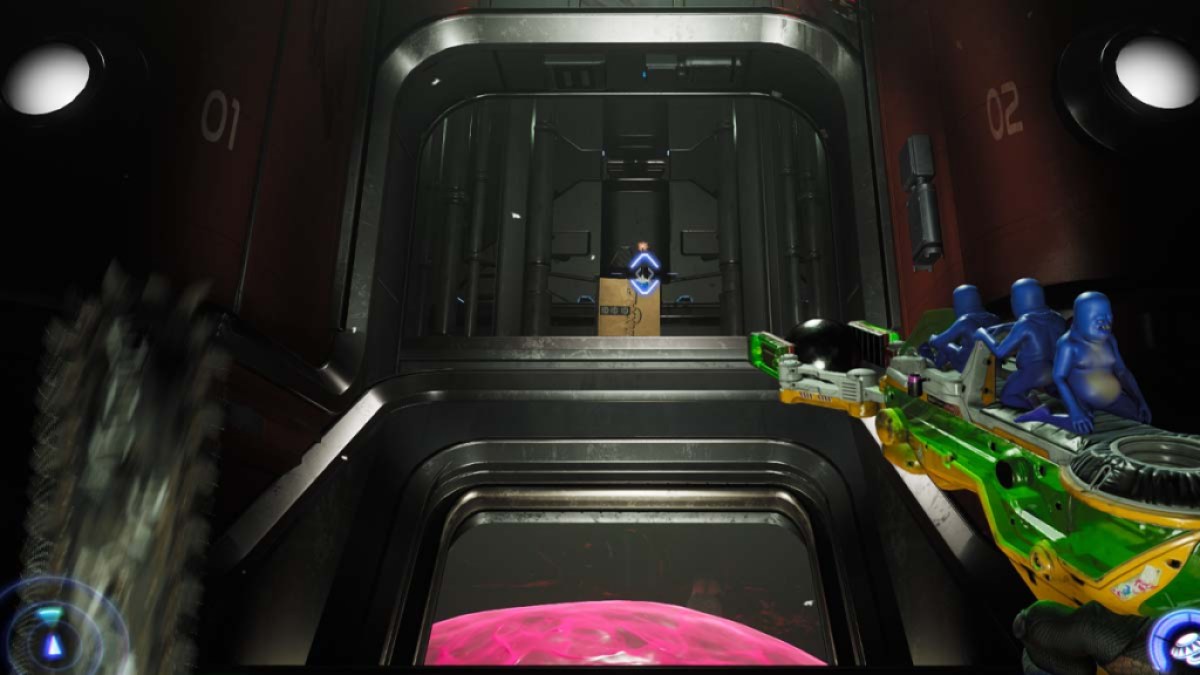
Every Muxxalon Package in Muxxalon HQ
Climb up the rampart and jump across the chopine to the pink fabric and cut through . A box will be waiting for you that contains the Tadtwo bill of fare . you may total back to this one if you do n’t have Knifey ’s chainsaw yet . It ’s near the very commencement of the zone , so it ’s easy for double back .
Go to the bottom level and front under the steps in Access Route A.
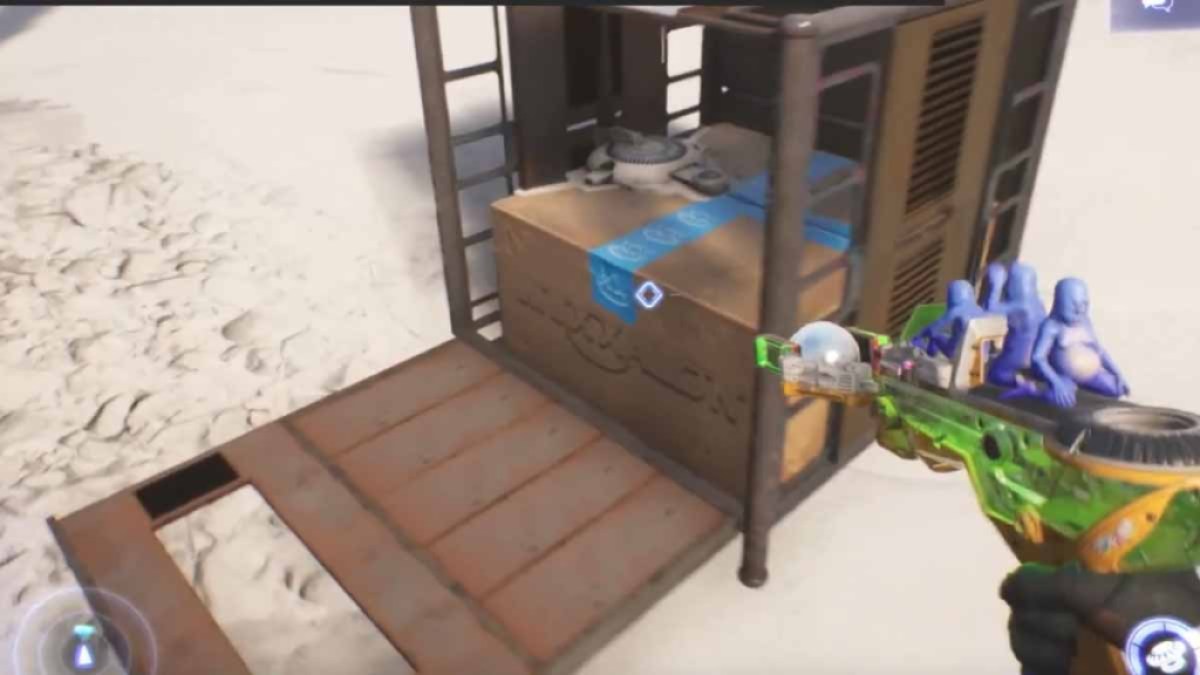
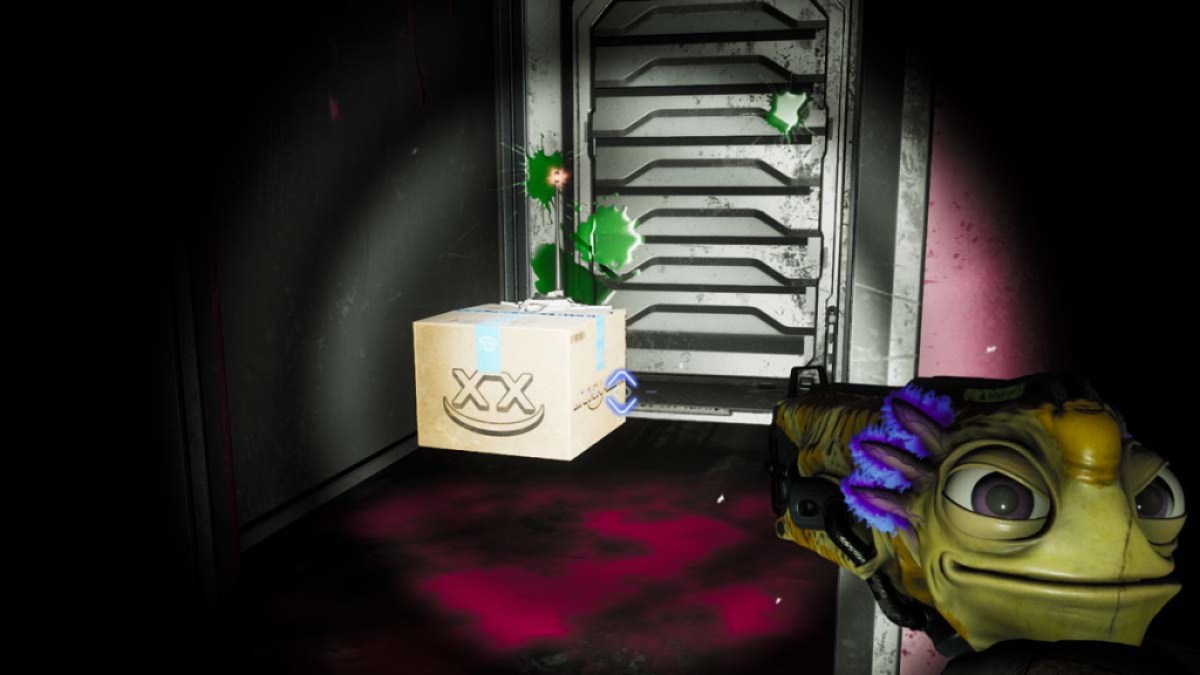
In the Cargo Loading Wing where you ’ll need to cut through more pinkish goo . This one has you play a myopic minigame where you have the box voyage down to you by hitting three clitoris . You may also have to backtrack to this one if you do n’t have the chainsaw .
Screenshot by Pro Game Guides
There will be several packages once you get the chainsaw upgrade and maneuver into the Muxxalon Central Chamber . The first of them is on the other side of a pinkish ooze surrounding the central pipe organ .
Another software will be on top of a crate inside of another crate with a dead enemy in the Muxxalon Central Chamber .
Another package can be found in the Muxxalon Central Chamber by devolve on the pink goop up to a small platform . You ’ll see the box ’s beacon fire nictitate from afar .
Screenshot by Pro Game Guides
There will be a small doorway from the Muxxalon Central Chamber that guide into a elbow room where you ’ll shoot the B.A.L.L. launcher into three holes . This afford up a forcefield allowing you to claim another package . You ’ll have to slacken time on these lover before you use the B.A.L.L.
Around the centre pack of the Muxxalon Central Chamber you ’ll come across another box by a fomite .
await for glow lighthouse up top next to the motortruck in the Muxxalon Central Chamber . You ’ll employ the Knifey chainsaw ride to get up to it . Just abrade the top levels until you see the lighter .
Screenshot by Pro Game Guides
practice your jetpack to get on top of the giant pinkish clump in the middle of Muxxalon Central Chamber and digest on top . You ’ll see another package radio beacon glowing on a platform . scud a creature into the mess under it to create a Hookfly . lilt across and claim the package .
Jump back onto the pinkish goo and crop your way on top of a pipe that had a fan underneath it . Go into this grapevine and slow time on the fan to get by . There is another package next to the rooter .
Slow time on the devotee again , but rather of leaving the way you came in , you ’ll desire to lead to a door on the other side . In the elbow room with the conveyor belt , keep shooting the B.A.L.L. into the orifice until the emergency door open . lead through to Package Conveyance and jetpack to the top for another package .
Screenshot by Pro Game Guides
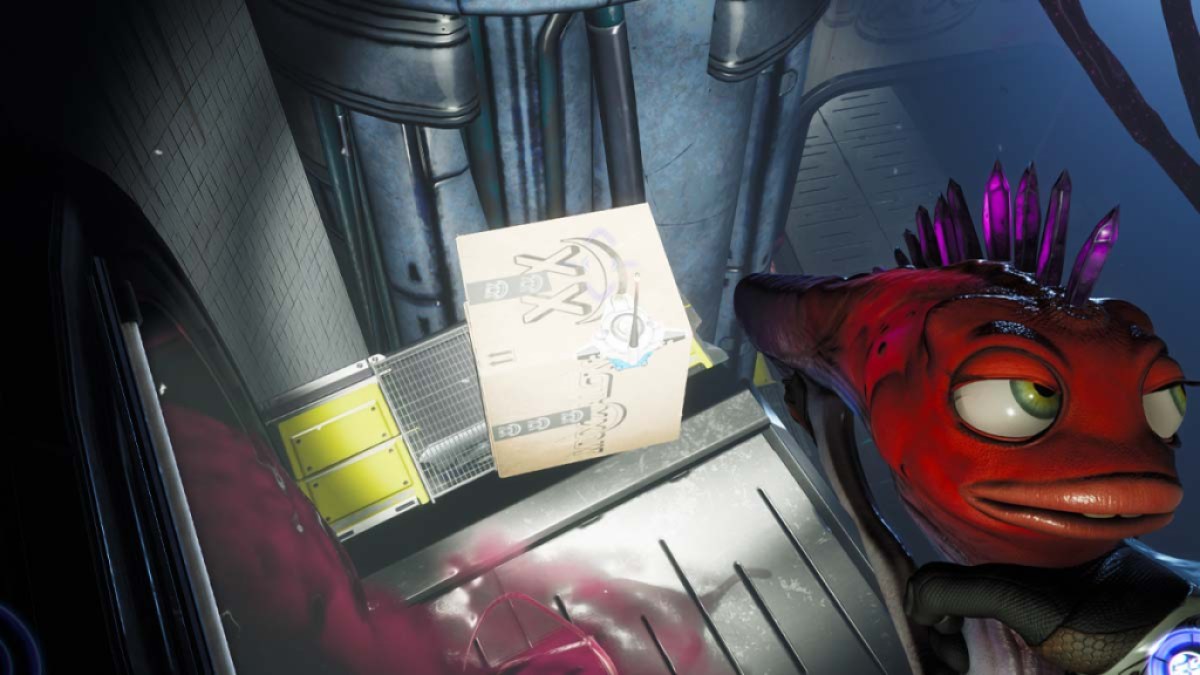
habituate Knifey to destroy the orangish spots on the wall in Package Conveyance and open up the threshold to the next software program . Jump straight down into the Muxxalon Central Chamber and become left . Keep going until you get hold of the 2nd mechanical threshold . in spite of appearance is another box . You might have to back track to this one if it ’s your first playthrough . you’re able to skip all of these steps and go correctly to the room access if it ’s your second playthrough .
practice the Knifey chain saw to fight your direction to the next electric organ by ride it until you get to a new door . fight down your style through this elbow room and you ’ll descend across a box at the end . Keep spamming the waypoint button to top you in the right counseling if you ’re lost .
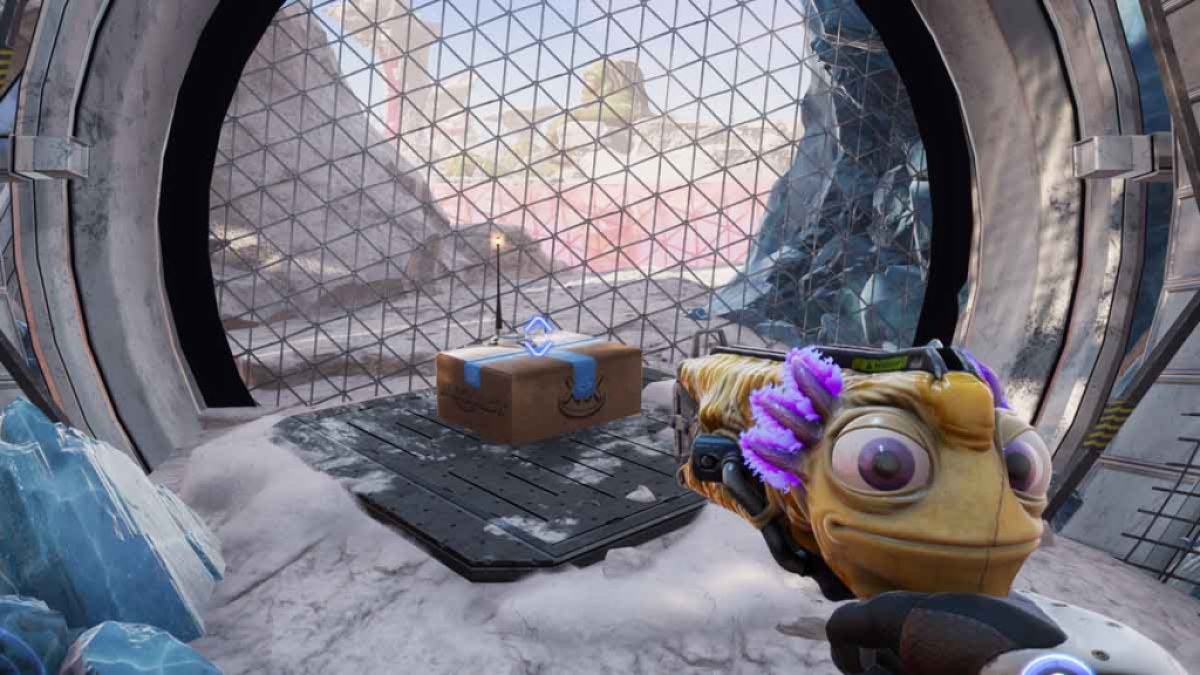
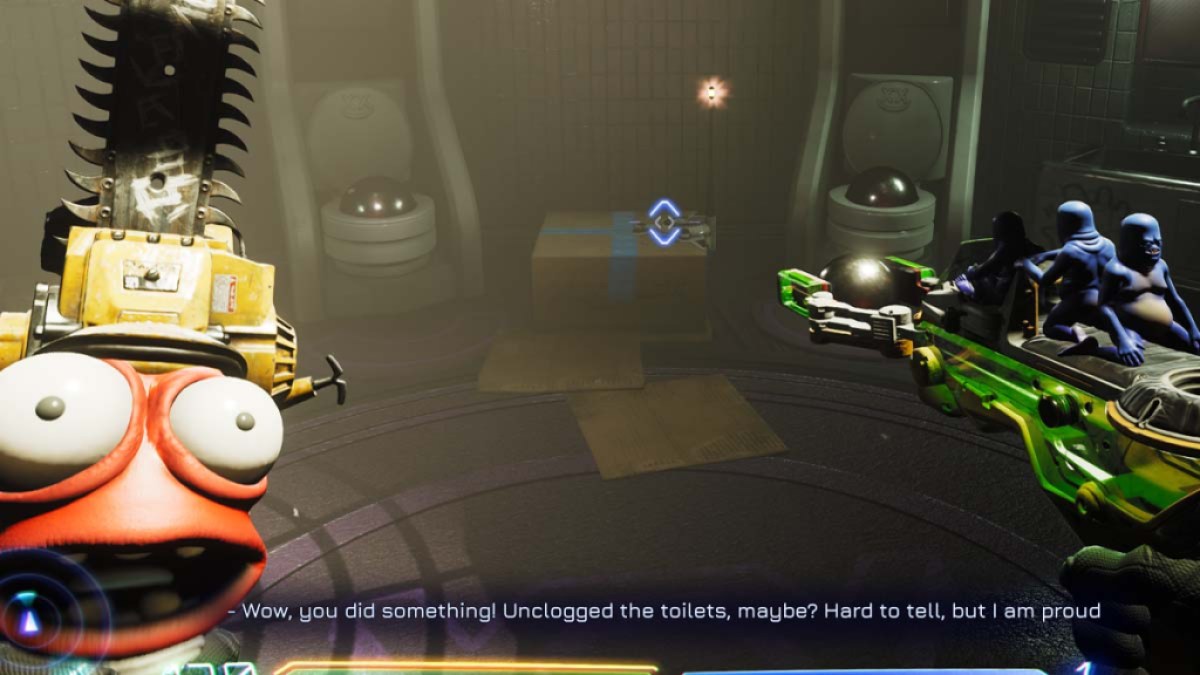
Go through the threshold that pass into the Plumbing Shaft , and then leap across to the toilet . Use the B.A.L.L. accelerator to plug the toilets and a loge will come along .
Screenshot by Pro Game Guides
Jump down a level in the plumbing key sleeping accommodation . You ’ll see a package on a ledge . If you go too far , you’re able to chainsaw hinge upon back up and try again .
Jetpack up to the chopine on the ceiling back in the principal room of the package you just grabbed . There will be a clit to hit that start a minigame . You ’re on a timekeeper that will contribute you to the box . Use the goo grease-gun to knock down a few doors , and you ’ll finish in no time . You ’ll get a trading circuit card here too .
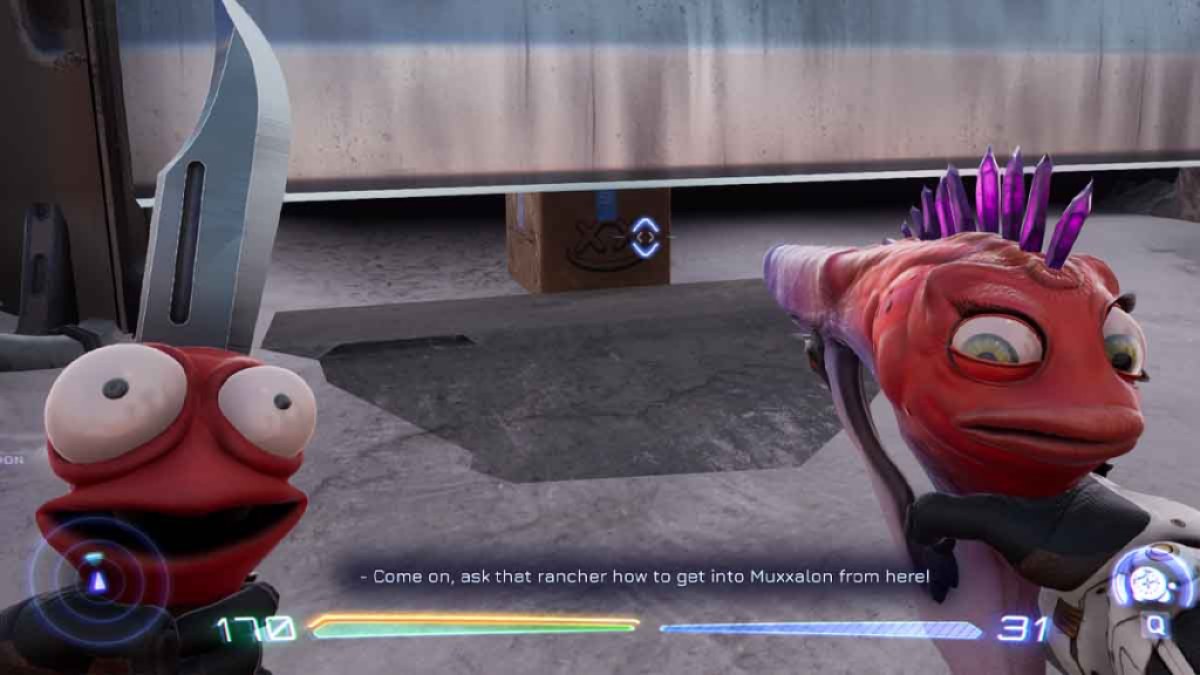
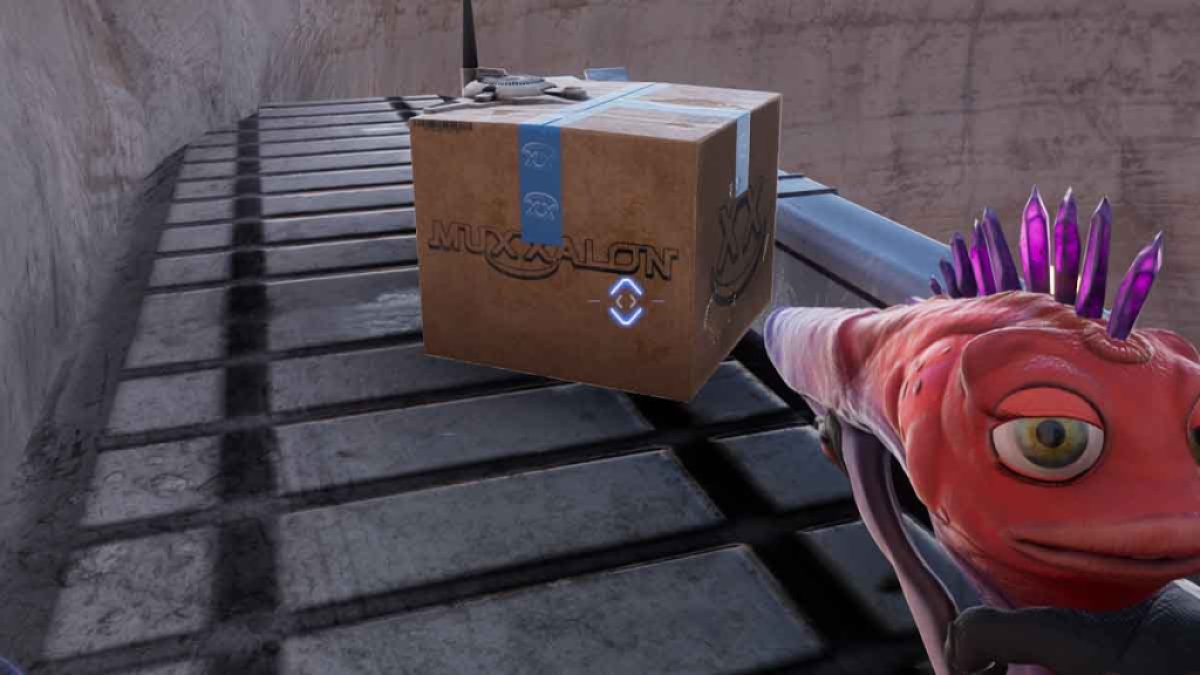
Jump down and take the lift to the Turbine Room . This way has an organ to destroy if it ’s your first playthrough , and you ’ll need to do that to get the fans be adrift the veracious way . The net packet will have to be opened by B.A.L.L ( you ’ll see it behind glass ) . The Book of Numbers on the wall indicate the lodge you have to rack up them in . Do that and claim the last software system . Just go straight to the Turbine room for your second playthrough .
Screenshot by Pro Game Guides
For more High on Life newsworthiness and guidebook , check outHigh on Life – How to beat out Douglason Pro Game Guides
Screenshot by Pro Game Guides
Screenshot by Pro Game Guides
Screenshot by Pro Game Guides
Screenshot by Pro Game Guides
Screenshot by Pro Game Guides
Screenshot by Pro Game Guides

Screenshot by Pro Game Guides
Screenshot by Pro Game Guides
Screenshot by Pro Game Guides
Screenshot by Pro Game Guides
Screenshot by Pro Game Guides
Screenshot by Pro Game Guides

Screenshot by Pro Game Guides
Screenshot by Pro Game Guides
Screenshot by Pro Game Guides
Screenshot by Pro Game Guides
Screenshot by Pro Game Guides
Screenshot by Pro Game Guides
Screenshot by Pro Game Guides
Screenshot by Pro Game Guides
Screenshot by Pro Game Guides
Screenshot by Pro Game Guides
Screenshot by Pro Game Guides
Screenshot by Pro Game Guides
Screenshot by Pro Game Guides
Screenshot by Pro Game Guides

Screenshot by Pro Game Guides
Screenshot by Pro Game Guides
Screenshot by Pro Game Guides
Screenshot by Pro Game Guides
Screenshot by Pro Game Guides
Screenshot by Pro Game Guides
Screenshot by Pro Game Guides
Screenshot by Pro Game Guides
Screenshot by Pro Game Guides
Screenshot by Pro Game Guides
Screenshot by Pro Game Guides
Screenshot by Pro Game Guides
Screenshot by Pro Game Guides
Screenshot by Pro Game Guides
Screenshot by Pro Game Guides
Screenshot by Pro Game Guides
Screenshot by Pro Game Guides
Screenshot by Pro Game Guides
Screenshot by Pro Game Guides

Screenshot by Pro Game Guides
Screenshot by Pro Game Guides
Screenshot by Pro Game Guides
